Monday, 11 May 2015

Masterboard Monday.

Welcome to all my new followers, hope you enjoy the journey.

I am here again to show you a Masterboard that I have been working on.

Remember this Masterboard from last week:

 
I only used half of it on some ATCs.

 
So I've used some of the left over piece to make cards.
Here's what I have done so far.
 
I stamped on the background paper using my new Stampendous Stamp called Cling Bird Gears. I also stamped with a Stampers Anonymous Classic Favourites from set 1. but that will be for another day.
 
 
Stamped the bird on white card and heat embossed it.

 
Next, using a Crafter's Workshop template I applied colour straight to the card blank.
 
 
Using the same template, I applied the design onto blue card with the Viva Modelling Cream and heat embossed this with the Shabby Blue Embossing Enamel.
When this was dry I went over the card with Dusty Concord Distress Ink and Waterfall BIG and Juicy.


I coloured the bird that I stamped on white card with the Chameleon pens and then added the foil and glaze.
 
 
Only part of the bird had been cut out and coloured and this was then attached to the stamped background paper. Part of the bird was attached using 3D foam tape to give some dimension to the card.


Cut some gears ready to embellish the card.


Now everything was ready for the construction stage.
I cut the embossed blue card into four squares and cut a piece of black net to size.


First I attached the net.
I used double sided tape for this as the other sections would be glued down and hold it in place.


Next I attached the squares.
I find wet glue is best for this.


I applied some of the gears before attaching the topper so that some were underneath and then attached some on top.


Hope you liked my card and I will be back soon to make the other one.
If you can leave me a comment I would be really pleased and can then visit you back.
 
Have a great week and happy crafting,
 
 
Angela x
 
 
I am entering this card in:


Saturday, 9 May 2015

Ali-Craft Workshop # Powertex.

Welcome to all my new followers, hope you enjoy the journey.

Here to tell you about the workshop I attended today.

I have so much been looking forward to this workshop.
I love Powertex products and have been keen to get started with them.

Some of you may have noticed the big yellow box advertising the:
Alicraftworkshops 

Both Ali and Ian are certified trainers in the use of the Powertex products and we spent a great day in their Green Room (workshop) practising the skills of using the Fabric Hardener and the Stone Art materials and this is what we made.

 
Ian in the Green room explaining about a canvas which we will probably be making at a future workshop.


It's a bit difficult to show all the stages as we are wearing gloves most of the time so photographing had to wait for rest periods!
 
However for those of you who are not familiar with this technique we are using fabrics with Powertex fabric hardener.
To find out more go to Alicraftworkshops
 
At this stage we had covered the fabric in the hardener and wrapped it around a bottle.


You will notice that we had also added some embellishments enclosed within the fabric folds.

 
Here you can see one of the Stone Art pieces under construction.


And the finished pieces which were completed by adding various pigment paints and gilding waxes.
 
They are even better in the flesh.


Just a close-up of the bottle I worked on.


I love these techniques and can't wait for the next workshop in June.
 
If you need any further details just leave me a comment and I will get back to you.
 
Happy crafty weekend everyone,
 
Angela x


Wednesday, 6 May 2015

WOYWW # 309 # "What's On Your Workdesk Wednesday".

Welcome to all my new followers, hope you enjoy the journey.
Hi Workdesk friends.

Back again for another Wednesday at the Workdesk.
I am here again to show you:

"What's on my Workdesk this Wednesday".

If you don't know what this is all about then please visit the

Stamping Ground, our host Julia will explain what it's all about.


Anyhow! this is what's on my desk today...
Click on the picture to get a better view of the labelling.


Yet another tidying up day today after finishing my DT sample for The Mirror Crack'd  Challenge Blog.

 
If you would like to see the rest of this project and instructions for making, just go to the post before this one or click the DT sample above.
 
Now that should be quick enough for you.
 
I'm off to see what the others are doing and hope you will too.
 
Happy crafting,
 
Angela x


Tuesday, 5 May 2015

The Mirror Crack'd Challenge # 9 - Make a Triptych

Welcome to all my new followers, hope you enjoy the journey.

Here we are again for another challenge at The Mirror Crack'd and this month it's Make a Triptych.


Instead of a physical prize this month we would like to offer our Winner a Guest Designer spot for a future challenge.
Do hope you will pop over and join in.

As you will all be aware the word refers to three.
Historically it referred to a set of three associated artistic, literary or musical works intended to be appreciated together.


For this project I decided to use a Wooden Triple Icon as seen below.
I apologise for the number of photographs but wanted to show you how I made this.


I started this project by sanding the Icon lightly and then sealing the wood with Gesso.

Here are the stamp sets I used with this project and the Icon painted with Gesso.
 
 
So here we go....
Started by applying Ferro through a Tim Holtz stencil and allowing it to dry. As I will be painting over this the colour doesn't matter.
The Treasure Gold will be used later.


The lettering was applied through a Crafters Workshop stencil using Grunge Paste.
This is probably my all-time favourite and is called Mini Silhouette Script.


From here I covered the Icon with the following paints.


And using this little collection! for the next stage.

 
This included some areas of crackle.

 
Next I started to add the Treasure Gold.
If you look at the right hand side, I have started to buff this which makes the Treasure gold nice and shiny.

 
I then stamped and coloured some of the images from the JOFY stamp sets and finished these by glazing them..

 
This is the front of the Icon which I decorated in a similar way.
And completed it all by rubbing some of the Treasure gold around the edges.

And here is the finished project.

OUTSIDE

 
INSIDE

 
Hope you enjoyed looking.
Would love it if you could leave a comment.
 
I am entering this in the:
Love to Create
That Crafty Place
Country View Challenges
The Mixed Media Monthly
Anything But Cute
 
 
Happy crafty week,
Angela x


Monday, 4 May 2015

Masterboard Monday.

Welcome to all my new followers, hope you enjoy the journey.

I am here again to show you a Masterboard that I have been working on.

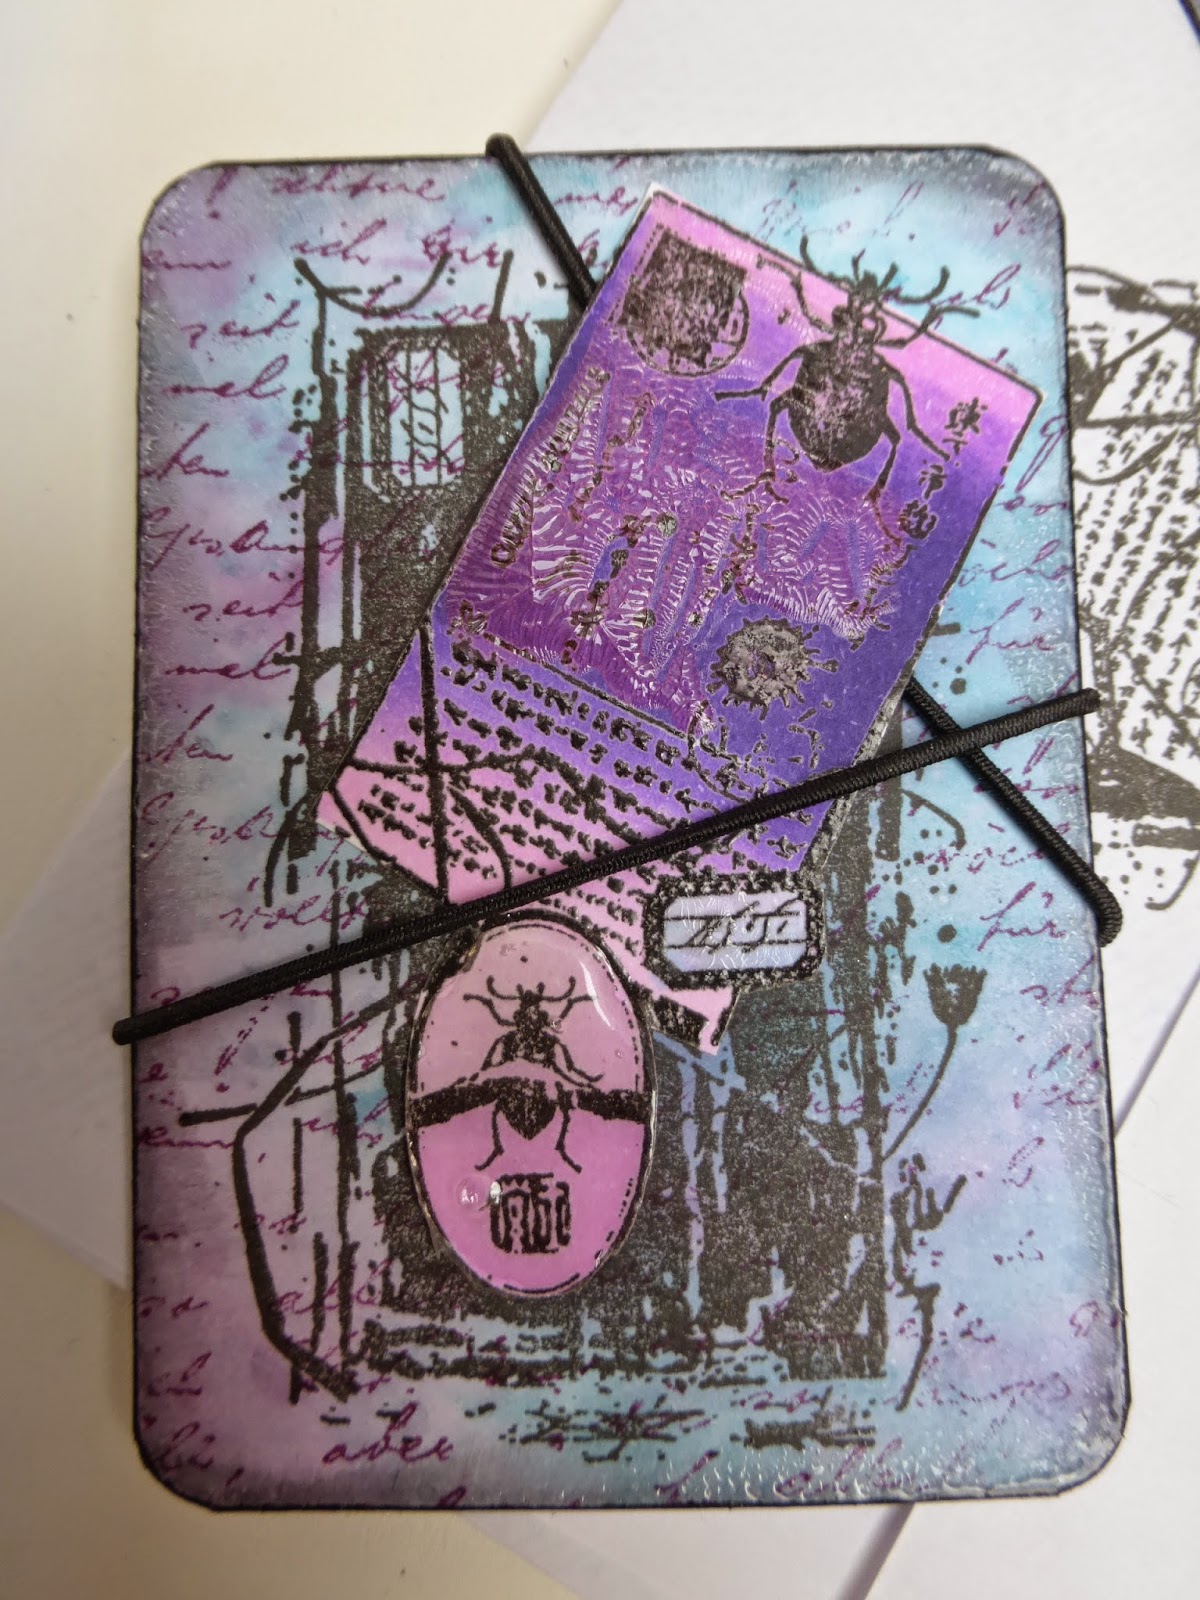
This time I am making one of my favourite projects, ATCs and these are for the annual swap at The Stamping Ground.

ATCs were one of the first things that I made with Masterboards in fact I probably started producing Masterboards because I was making the ATCs and they just developed from there.

I like using a Masterboard when making ATCs because I find them helpful as I often want to make several similar cards.

Although there are no hard and fast rules, ATCs are normally made as a One Off, Edition or Series.
  • A One off I believe speaks for itself.
  • An Edition are a group of cards which are almost identical and are normally numbered.
  • And a Series which look different but have the same theme and again are numbered.

For this project I am making an Edition.

This is the Masterboard:
Made this on A3 card.

 
After applying the colour I stamped on it with a text stamp.


 Then stamped onto it with an image stamp.

 
I also stamped onto white card as I wanted to create some pieces which would be used to layer up the ATCs.
I added colour to these using my Chameleon pens and Ranger glazes.

 
I edged the ATCs with black ink and heat embossed this and then add the toppers.
 
These are what I've made so far.
 
 
Close-ups.


The Stamp.


Hope you like them.
They would make great toppers for cards too but that's for another day.
 
Thanks for stopping by and happy crafting.

           Angela x           

Blogs I follow

01 09 10