Showing posts with label Masteboard Card Ideas. Show all posts

Monday, 7 July 2025

Masterboard Monday.

     Welcome to all my new followers, hope you enjoy the journey.

I am here today to show you a card made with this Masterboard:


I may be getting obsessed with these!


If you were around last Monday you might have seen the instructions for making these masterboards here.


More clouds today and Hot air balloons too.
Sentiment was from a magazine and the embossing folder is by Spellbinders. The balloon is by IndigoBlu and the clouds were finished with Stickles Glitter Glue.


I've used the swivel die by Lawn Fawn on the inside and more magazine stamps for the balloons.


The die works so well with the Balloons and clouds.

The round Birthday stamp is an old one from my stash.


I'm sure this die will appear again soon.


I would love to hear your comments.

Many thanks for stopping by and happy crafting,

Angela x

I am entering this project in the folowing challenges:


Monday, 29 March 2021

Masterboard Monday - Use it or Lose It.

Welcome to all my new followers, hope you enjoy the journey.

I am here today to show you a card made with this Masterboard:
I made this Masterboard by stamping with Distress Oxide ink which I sprayed with water before applying it to the card which gives this great additional effect with the ink. 
I just love the effect of Oxide inks on black card.


If you're wondering how I made and used the small yellow piece then you need to pop back next week when all will be revealed but for now......

this card was stamped using the Visible Image butterfly (Live Life Now).


Next take a card blank and stamp along the card with first and second generation ink to give depth to the design. I like to go onto the back too so I leave the whole card open when I do this.


The next stage is to stamp the chosen sentiment and then cut out a square from the Masterboard which I attached to the card trimming away the corner sections.
I also cut two circles, one from the masterboard and one which I had stamped onto white card and edged these and overlapped them.


I would love to hear your comments.

Many thanks for stopping by and happy crafting,

Angela x

Monday, 10 August 2020

Masterboard Monday.

 Welcome to all my new followers, hope you enjoy the journey. 
I am her today to show you a card made with this Masterboard.
I make no apologies I am still enjoying making cards using this great collection of my last Gelli print session and this is only the first Masterboard in the set that you can see on the top towards the left.
Following my earlier projects with this Masterboard I had a few pieces left which I've cut up and reshaped to go on top of the stamped card blank.
The stamp is actually a Carabelle texture plate which I used randomly over the card blank.
I di think that when you have a masterboard like this you don't really need a lot more detail.
The close-up gives a better view.
To complete the card I used a Woodware sentiment stamp and the texture plate directly to the card then added enamel dots by Altenew.
Next week will see me starting on another  Masterboard in the set so hope you will pop back again.

I would love to hear what you think about this project
and many thanks for stopping by. 

Happy crafting,

Angela x

Monday, 7 January 2019

Masterboard Monday, Left-Overs.

Welcome to all my new followers, hope you enjoy the journey.

I am here today to show you my first project for 2019, a card made with these left-over Masterboard pieces. It might be a New Year but you still have to use up those Left-overs.


I've been using some Paper Artsy stamps for this project stamping on the Masterboard pieces and directly onto card blanks in white, black and Kraft card.


And these are some of the cards I've completed so far.


Cut out the squares and attach to the stamped card blank.


I completed the card with Stickles Glitter glue, pearl gems and a sentiment stamp.


 I have also used some printed papers to make these cards which were left over from an earlier project.


I think these papers work well with this style of card too. Maybe this card is a little more masculine? 


I finished this card off with more Stickles Glitter Glue and a birthday sentiment stamp.


I love making this style of card, they're quirky and just a bit shabby looking as the stamps are scattered around though not quite as freely as they may appear of course. For something to work like this some thought must go into positioning the images. paper Artsy stamps work so well with this style.

 More samples to follow soon. 

I would love to hear your comments.

Many thanks for stopping by. 
Happy crafting and wishing you all a lovely and creative New Year.

Angela x

I would like to enter one of these cards in the following challenges:

Monday, 16 July 2018

Crafty Cardmakers Challenge Holidays/Vacations.


Welcome to all my new followers, hope you enjoy the journey.

Back again to tell you that it's time for another challenge over at Crafty Cardmakers.

As usual you can enter anything you fancy, it doesn't have to be cards as long as it meets the challenge.

Hope you will join in and here is my project for the challenge. 

June is hosting to day and our challenge is Holidays/Vacations.
 
I started with a collection of papers that I had coloured earlier with Distress Oxides.

 
Once I chose the paper for the background I stamped and heat embossed the background using Tim Holtz stamps and a text stamp by Stampendous.

 
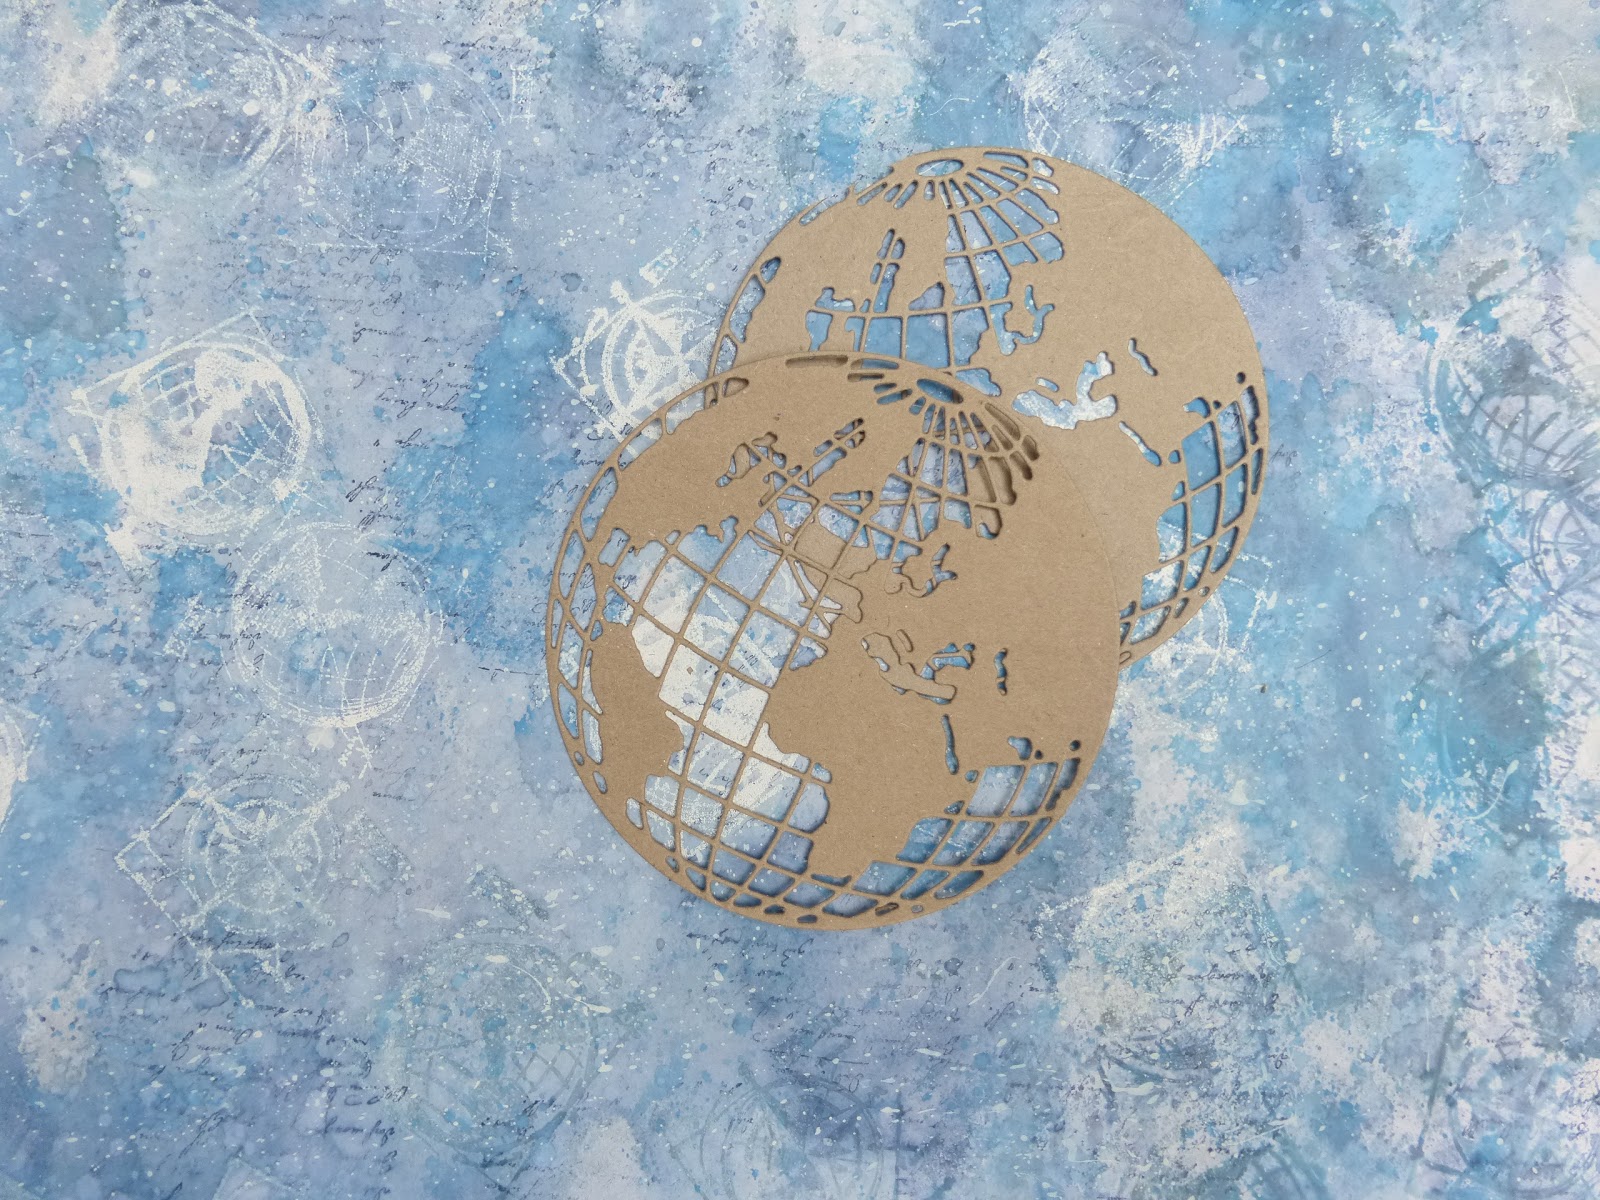
The next stage was to die cut the Tim Holtz globe which I did using Craft Card.
 

I also cut another globe using one of the coloured papers which were trimmed to retain the landmass which was glued to the craft card globe.


 Following that I cut up the mats needed to complete the card using Plain colours that match with the Oxides.

 
I still have this left over from the A3 Masterboard so can easily make another card with this.
 
 
To complete the card I used one of Tim Holtz bird stamp and matching die and the small birds and sentiments are Tim Holtz too.


I hope you will pop over to see what the rest of the DT have been up to and maybe join in the challenge.
I look forward to seeing what you come up with too.
 Happy crafty card making.
Angela x 

I would like to enter this card in the following challenges:
Crafty Catz: Challenge #425 ATG.
Simply Create Too Challenge Blog: 140#No Patterned Papers.
Die Cutting Divas: Ch 377-Add a Circle
 

Monday, 21 May 2018

Crafty Cardmakers Challenge - 'Things with Wings'

Welcome to all my new followers, hope you enjoy the journey.
Hi! back again to tell you that it's time for another challenge over
at Crafty Cardmakers.


  Glenda is hosting today and our challenge is 'Things with Wings' .


As usual you can enter anything you fancy, it doesn't have to be cards, as long as it meets the challenge. 

Hope you will join in.
And here is my project for the challenge:


I'm not normally a big lover of yellow but it must be the warm weather that has made me use these sunny colours.

Take a 6"x6" card blank and fold the front page back on itself.

 
Take a 5"x5" card blank to fit inside and create a fancy fold.

 
Wonder if you remember this which was made with a homemade embossing folder. I decided to include this in the front of the card.


Next I went on to create a new Masterboard using an A4 sheet which I had coloured earlier with Distress Oxides.

 
A little bit of stamping.
Faux bleaching first with water and some splatters too..


I used a text stamp too and then added some inked images.

 
Cut out the matting card.


I also decided to make another sheet of coloured card taking in all the colours used so far.

 
Then I stamped the butterfly onto the card above and heat embossed and die cut it.

 
Once the pieces were ready I started to mount them onto the card blank.
I have also added Faux stitching to the edges of the Masterboard.
I did rub on a little extra purple to match with the other Masterboard.


Showing the front flap section above.

 
The inside.

 
And the folded edge stamped with the butterfly (Crafter's Companion Flutterby set) using Oxide inks.
 
And here is the finished card:


Sentiment stamp by Inkylicious called 'Gentle Breeze'.


 I added a little Stickles Glitter Glue to the butterfly and black gems to the mats.

I hope you will pop over to see what the rest of the DT have been up to and maybe join in the challenge.
I look forward to seeing what you come up with too.
 Happy crafty card making.
Angela x

I would like to enter this card in the following Challenges:
That's Crafty - A Stitch in Time.
Paperbabe Challenge #73~ Picture Inspiration.
I included some of the colours used here and the butterfly image.


Stamping Sensations May Challenge # 'Close to Nature'
Stamps and Stencils 'Let's Fake It'

Blogs I follow

01 09 10