Showing posts with label general card ideas. Show all posts

Monday, 25 April 2022

Masterboard Monday with left-overs.

Welcome to all my new followers, hope you enjoy the journey.

I am here today to show you a card made with this left-over Masterboard:


This was actually left-over from an earlier project but too nice to waste.

It has very delicate colours just right for this project.


I've used some AALL and Create stamps to start the design directly onto the card which was used earlier to pick up left-over ink from my craft mat.


I've stamped some Tracey Evans stamps onto the Masterboard and fussy cut them. Just having a little play with the positioning here.

And here we are all finished.


Going round the back is such a nice surprise when anyone receives the card but what do you think?

I have completed this by adding some Stickles Glitter glue to the flower and coloured skeleton leaves.


I would love to hear your comments.

Many thanks for stopping by and happy crafting,

Angela x

Wednesday, 15 July 2020

WOYWW -580 # What's On Your Workdesk Wednesday.

Welcome to all my new followers, hope you enjoy the journey.

Hi Workdesk friends. 
Here we are for another Wednesday at the Workdesk. 
I am here again to show you:

"What's on my Workdesk this Wednesday".

If you don't know what this is all about then please visit the 
Stamping Groundour host Julia will explain.


So here is my desk for today!


In the centre is a new magazine with free die and next to it on the left are the moulded pieces for the tube box. 
To the right is a tub of Gesso, a box full of ...well all sorts of gloves and cleaning cloths, the little red spotty box has some paper clay in it. 
The box to the side of that has card with numbers and letters and below it the all important Huggies.

On the left side of the magazine the box holds some moulded pieces waiting to be added to the tube box.
The box next to it holds lots of sample pieces.


Since we were thinking about all those UFOs I've been sorting some boxes hoping to use up some half made projects and found these.


I originally put these together as samples but thought it would be nice to make some of them into cards.


One of my favourite techniques that I've not done for ages. I've stamped the Tim Holtz stamp onto black card and embossed it with gold powder and then stamped into UTEE which had glitter flakes and mica powder mixed in it.


When the UTEE has cooled and set I've glued it to the heat embossed card so that parts of the stamped image are still showing.


Same idea again using half of the stamped UTEE which was coloured with mica when cool.

Who knows I might even get these made into something soon.

You may notice that to the left of this is a new exploding box full of stuff, let's hope it doesn't explode!

  So that's me done for today.
Sorry still not got round to using the salad spinner as I've been a bit distracted with a few things but don't worry I will show you when I get round to it. 
If you would like to see one of the things I've been distracted with it's here.

 Thanks for stopping by and hope you will pop over and join in the visits around the other desks.

 I'm off now to see what everyone else is up to.
Have a great woyww 
and 
happy crafting,


Angela x

Monday, 25 November 2019

Crafty Cardmakers 246 'No Patterned Paper'

Welcome to all my new followers, hope you enjoy the journey.
Hi! back again to tell you that it's time for another challenge over
at Crafty Cardmakers.


  Monika is hosting today and our challenge is 'No Patterned Paper'.


As usual you can enter anything you fancy, it doesn't have to be cards, as long as it meets the challenge. 

Hope you will join in.
And here is my project for the challenge:


This Masterboard was made on an A3 sheet of Kraft card. I added screwed up tissue paper, texture with a stencil and layers of paint which I knocked back with some Gesso added with a dry brush.


To construct the card I ripped away a small section of the Masterboard which reveals the Kraft card along the edge leaving about a third of the white card blank showing. Now that's a real popper!


I had a little play around with some Seth Apter die cut pieces, a large gold jigsaw piece and more of the Masterboard.


Once again I've brought in the 'Press and Seal'. I'm beginning to wonder how I managed without it, it certainly makes jobs like this easier.


Once the pieces are well attached to the 'Press and Seal' you can turn it over and add the glue, sticky dots or whatever you wish to use.


Turn everything over and place in position, attach and then carefully ease away the 'Press and Seal'.


Everything looks exactly the same as the original idea, no movement and no problem in trying to remember the plan or photographing it before hand which is what I used to do to ensure the design was in position which never quite ended up as planned.


A few additional gems, Tim Holtz die sentiment and some clear glaze and the card's complete.

 I hope you will pop over to see what the rest of the DT have been up to and maybe join in the challenge.
I look forward to seeing what you come up with too.
 Happy crafty card making.
Angela x 

Monday, 16 September 2019

Crafty Cardmakers Challenge # 241 - Autum Colours.

Welcome to all my new followers, hope you enjoy the journey.
Hi! back again to tell you that it's time for another challenge over
at Crafty Cardmakers.

Marg is hosting today and our challenge is  Autumn Colours.

As usual you can enter anything you fancy, it doesn't have to be cards, as long as it meets the challenge. 

Hope you will join in.
And here is my project for the challenge:


If you look closely you might even recognise some of the papers as they are all bits of left-over Masterboard that I've used before just perfect for die cutting these Tim Holtz leaves.


I always admire people who make CAS cards as I think it's one of the most difficult styles to make them look complete and generally when I do them I feel there is something missing but this card worked for me....than goodness!


So I took the left-over Masterboards and die cut them using a Tim Holtz die then positioned then and put a piece of Press and Seal over the top to stop them moving.


Then placed the frame dies in position.


Die cut the sections


Then remove the centre. This can be kept for use on another card.


Keeping the dies in position I placed the design onto the card blank and then into my Misti. Next arrange the sentiment stamp.


Then stamp onto the card blank.


Turn the design over and attach the sticky dots and remove the backings.


Attach the whole design to the card blank and remove the Press and Seal.


I added some Peel Off stickers to complete the design.


I hope you will pop over to see what the rest of the DT have been up to and maybe join in the challenge.
I look forward to seeing what you come up with too.
 Happy crafty card making.
Angela x

I would like to enter this card in the following challenges:
Crafty Friends Challenge Blog: Challenge 118 Autumn Colours.
Cute Card Thursday: Challenge 599-Autumn.
Crafty Sentiments Designs: Die and/or Punch.
Creative Moments - Challenge 176 -Anything Goes with the Option, Autumn Colours.

Monday, 11 March 2019

Crafty Cardmakers Challenge 229 - Make it Green.

Welcome to all my new followers, hope you enjoy the journey.
Hi! back again to tell you that it's time for another challenge over
at Crafty Cardmakers.

 Julie is hosting today and our challenge is Make it Green .

As usual you can enter anything you fancy, it doesn't have to be cards, as long as it meets the challenge. 

Hope you will join in.
And here is my project for the challenge:


Gorgeous stamp by  AALL and Create and the sentiment by Altenew.
The die is by Lisa Horton for Creative Expressions and the card was completed with the addition of green gems and Stickles Glitter Glue.


Can't resist decorating the back too which also shows the background to the card which was done using a stencil before applying the stamping.


The die is divided into three sections but only used two of these on this card.


The die cut and the dragonfly's wings where made using this Masterboard which was layered up using Distress Oxides, Artistic Flair stencil, text stamp and green Gilding Foil.

I hope you will pop over to see what the rest of the DT have been up to and maybe join in the challenge.
I look forward to seeing what you come up with too.
 Happy crafty card making.
Angela x

I would like to enter this card in the following challenges:
The Artistic Stamper: March Challenge - Colour it Green.
Ellibelle's Crafty Wednesday Challenge: March - Think Spring or Add Some Green.
Double Trouble Paper Crafting: Challenge 23 - "Wearing O The Green"
Let's Craft and Create: Challenge #145-AG+ Option Green Things.
Joy of Sets Tic Tac Toe challenge : March 2019 -003

I'm using Green, Nature and pearls for this project.

Friday, 1 March 2019

Friday Fun Day with Smiles.

Welcome to all my new followers, hope you enjoy the journey.
Angela here again to show you what I've been up to this week.

Saturday I went to the Craft Club and for some reason it was packed out, more people than usual.


It's great to see so many people and all the different crafts they do and here are some of the knitters.


This lady is needle felting, what concentration!


My desk with cards I'm working on and the all important cuppa and a biscuit! Got to keep your strength up!


We also had a tutorial for this card which some of you will have seen me working on.
Basically you fold the centre first, cut one side down the middle and the other side is cut at a quarter of the card at both edges.
Using a 6"x 6" card is probably the easiest to start you off.


Once you've done that you twist one side in the opposite direction to give the shape you have here and then decorate it. The centre will pop up all on it's own, how clever is that!


And this was the one you saw me working on my desk on Wednesday though not finished yet.

The next Craft Club is going to be a workshop with a lady called Martine who also does workshops for Oyster Stamps so looking forward to that.


It's been an interesting week with walks in the park and we were being watched too.


And he/she just had to get a better look!


The weather's been mixed up here in the UK and so warm that we had some foggy mornings in the park.


Having got back from the walk Maisie decided it was time for a nap, still wearing her jacket however, she seems unable to decide which knee she wants to sit on Lol!


 Finally just wanted to show you one of my Christmas presents which is just starting to bloom on the kitchen window. 
Tiny little Iris flowers, now how sweet are they.
Hopefully you'll get to see them in full bloom next week.


So there you have it just a few of the things that have made me smile this week. I think Maisie was my favourite though.

Have a great weekend everyone and
 thanks for stopping by.

And if you would like some more smiles you just need to pop over to see what our other friends have been doing this week at Annie's for
"This Week's Smiles" and you can also share your  smiles too.

Angela x
Monday, 24 September 2018

Masterboard Monday.

Welcome to all my new followers, hope you enjoy the journey.

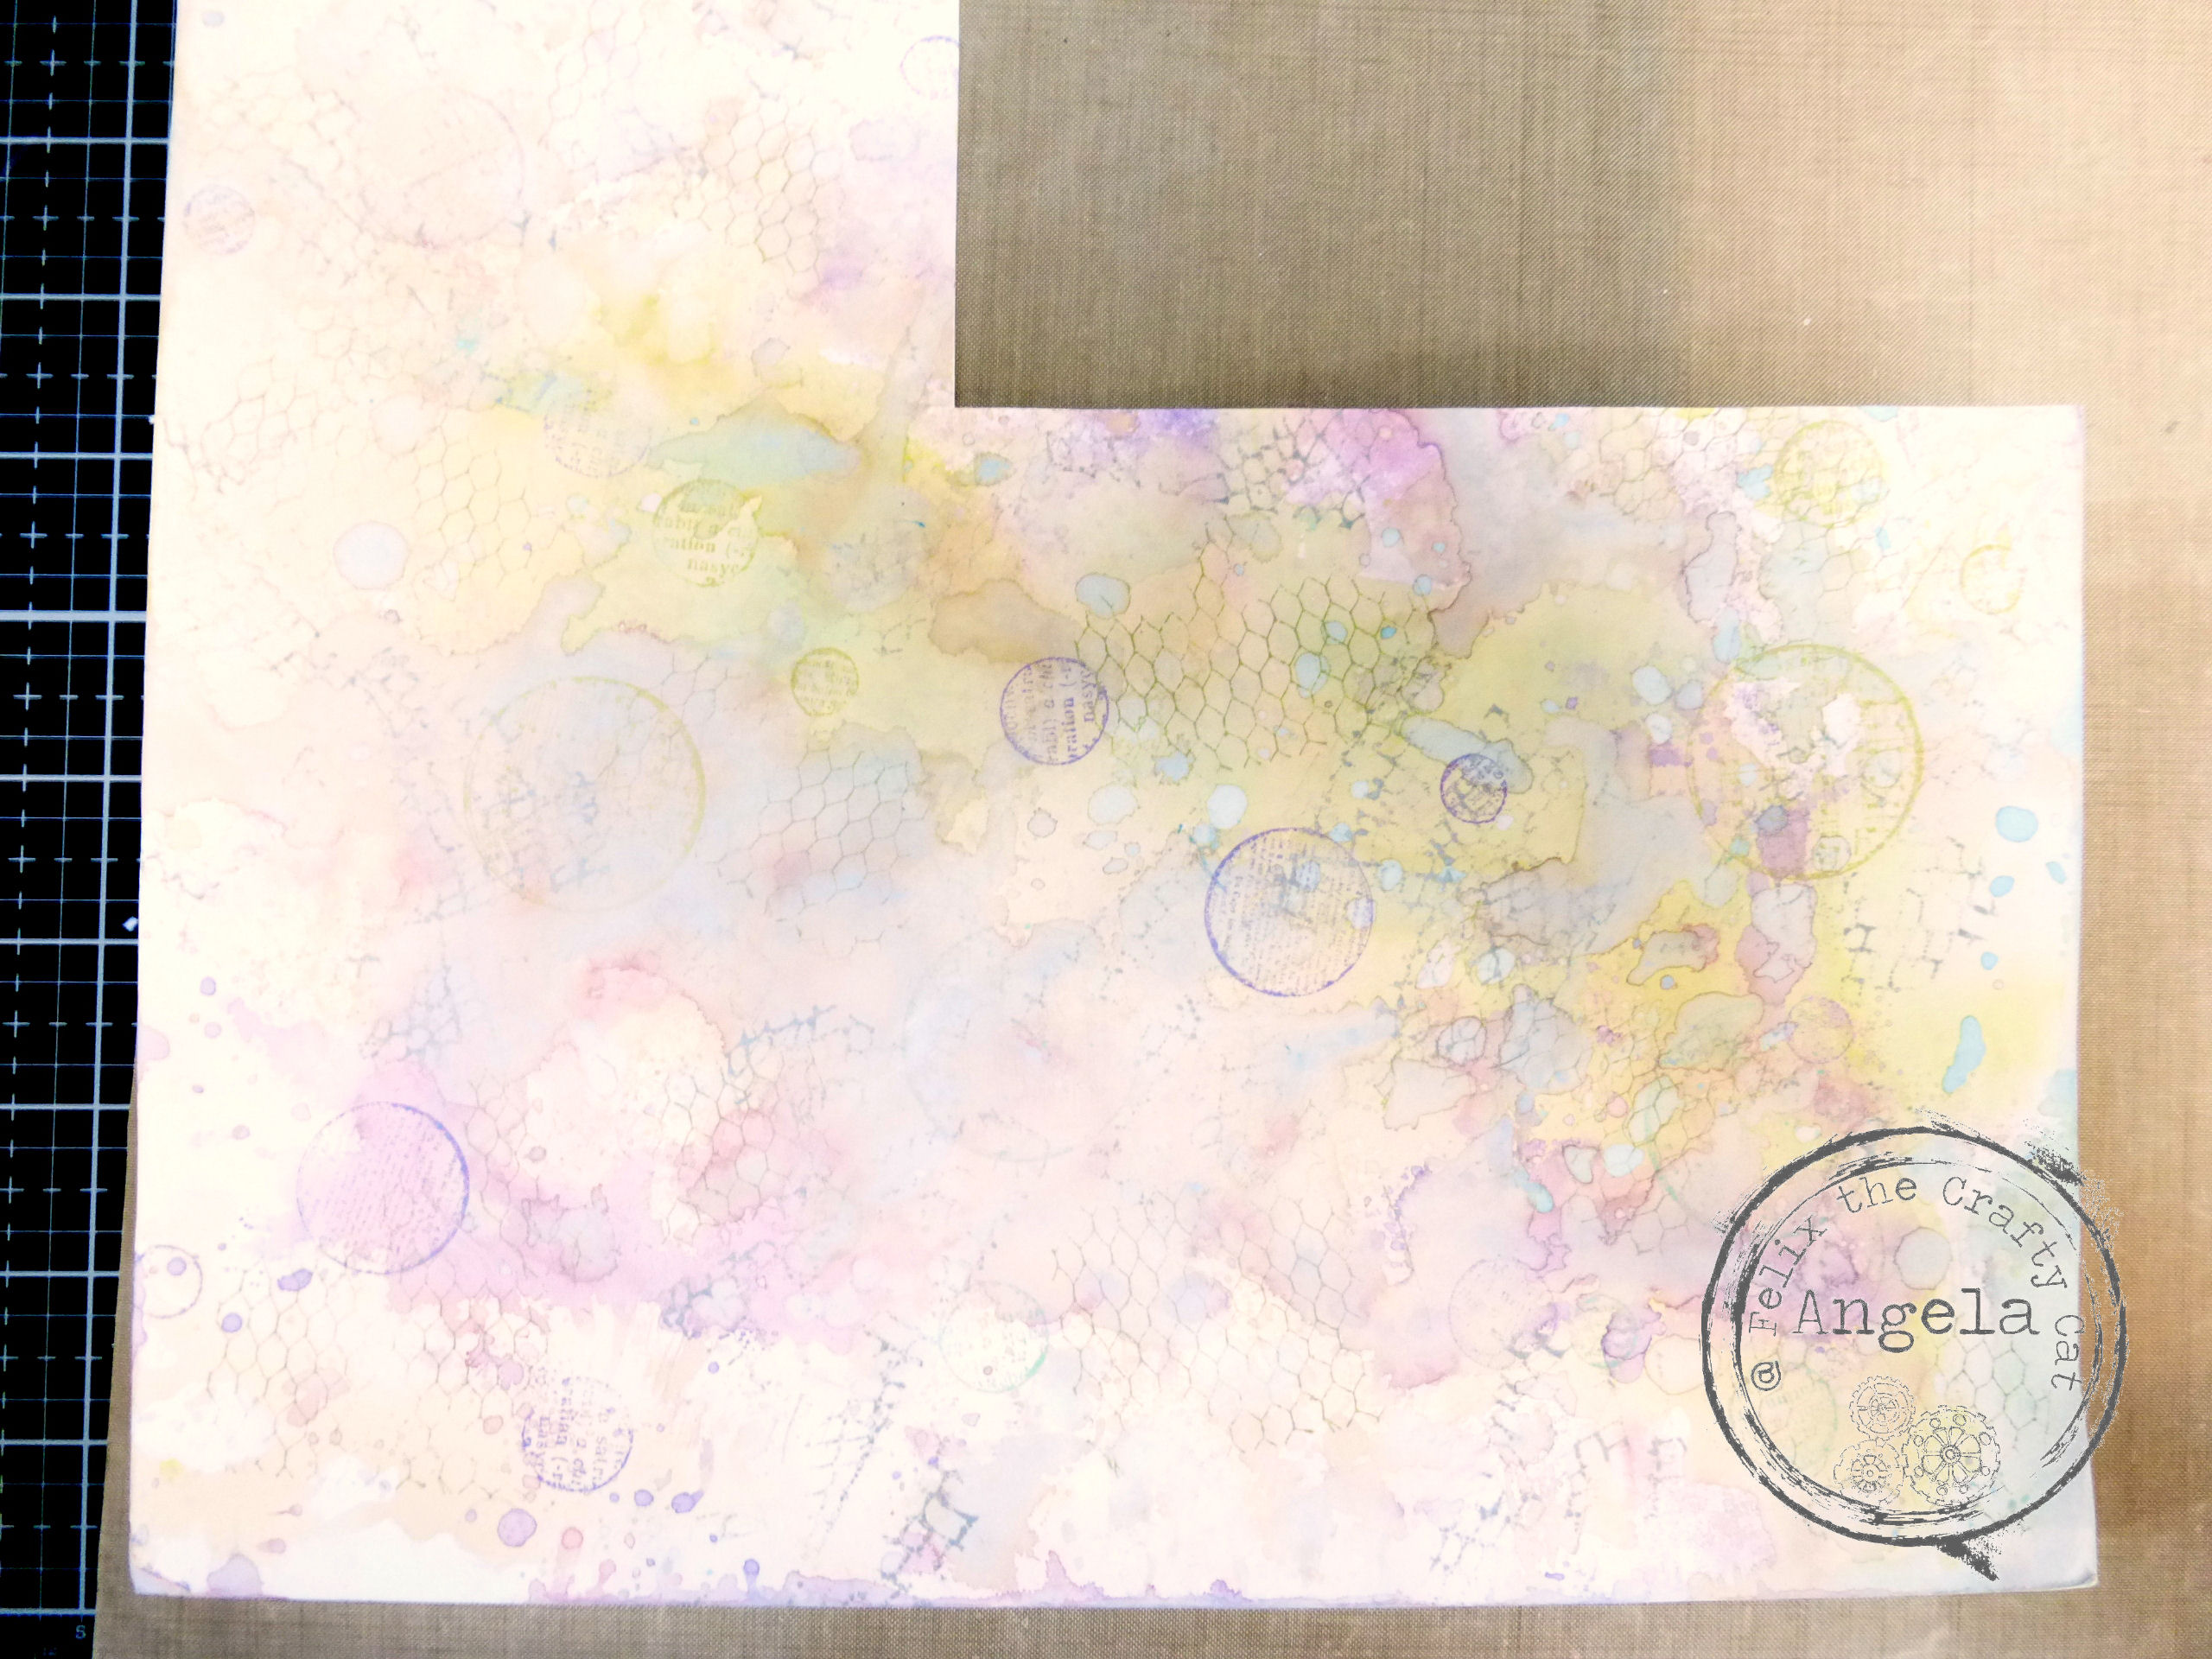
I am here today to show you a card made with this Masterboard:

 
And yes you've seen this A3 piece before but like all good Masterboards there's still plenty left to play with.
So here goes.

 
Black card blank, border stamp and Distress Oxides.

I lightly sprayed water onto the inked stamp and applied it to the card.
Allow this to dry before doing the next stage.

 
I so love this number stamp and used the stamp positioner for this part. Spray the inked stamp before stamping on the card and allow to dry.


I also stamped the numbers onto a small section of the Masterboard and die cut them before edging in black and arranging on the card.

 
To complete this card I added some white dots with a Sharpie pen. I love this on black card as it really makes the design pop. I also added some skeleton leaves in matching colours finished with a black pearl and a Tim Holtz sentiment die.

 
I still have a piece of the Masterboard left and it's nice
 
 
so will be finding a use for this later, we'll just have to wait and see what happens.

 I would love to hear your comments about this project.
 
Many thanks for stopping by and happy crafting,
 
Angela x
  

Blogs I follow

01 09 10

