Showing posts with label Ali-Craft workshop. Show all posts

Wednesday, 30 August 2017

WOYWW 430 # What's On Your Workdesk Wednesday.

Welcome to all my new followers, hope you enjoy the journey.

Hi Workdesk friends. 
Here we are for another Wednesday at the Workdesk. 
I am here again to show you:

"What's on my Workdesk this Wednesday".

If you don't know what this is all about then please visit the
 
Stamping Ground, our host Julia will explain.


So here is my desk for today!

 
It's not really very exciting, though there is a box on the right waiting to be altered. Crackle glazes to the right near the box.
Some Seth Apter stamps tucked towards the back and some of his paints from Paper Artsy.
 
The exploding box really can't take much more and needs sorting.

These are nice though.

 
I got these when I went to the Steampunk Festival at the weekend.
I have put some photographs on my facebook page which can be accessed here. and a few more on my blog here.

I so love this little diving helmet key ring.


Going to enjoy adding these to my art work.

 So that's me done for today.

 Thanks for stopping by and hope you will pop over and join in the visits around the other desks.

 I'm off now to see what everyone else is up to.
Have a great woyww 
and 
happy crafting,

Angela x

Friday, 13 May 2016

Friday Fun Days with Smiles # 169.

Welcome to all my new followers, hope you enjoy the journey.
Hi all, this was one of the great fun days that we had during the retreat. This was the final day and the tutor was Andrea who had a great project planned for us using Graphic 45 papers.
I am here today to show you what we made and how I finally finished it, sorry it's taken a while.

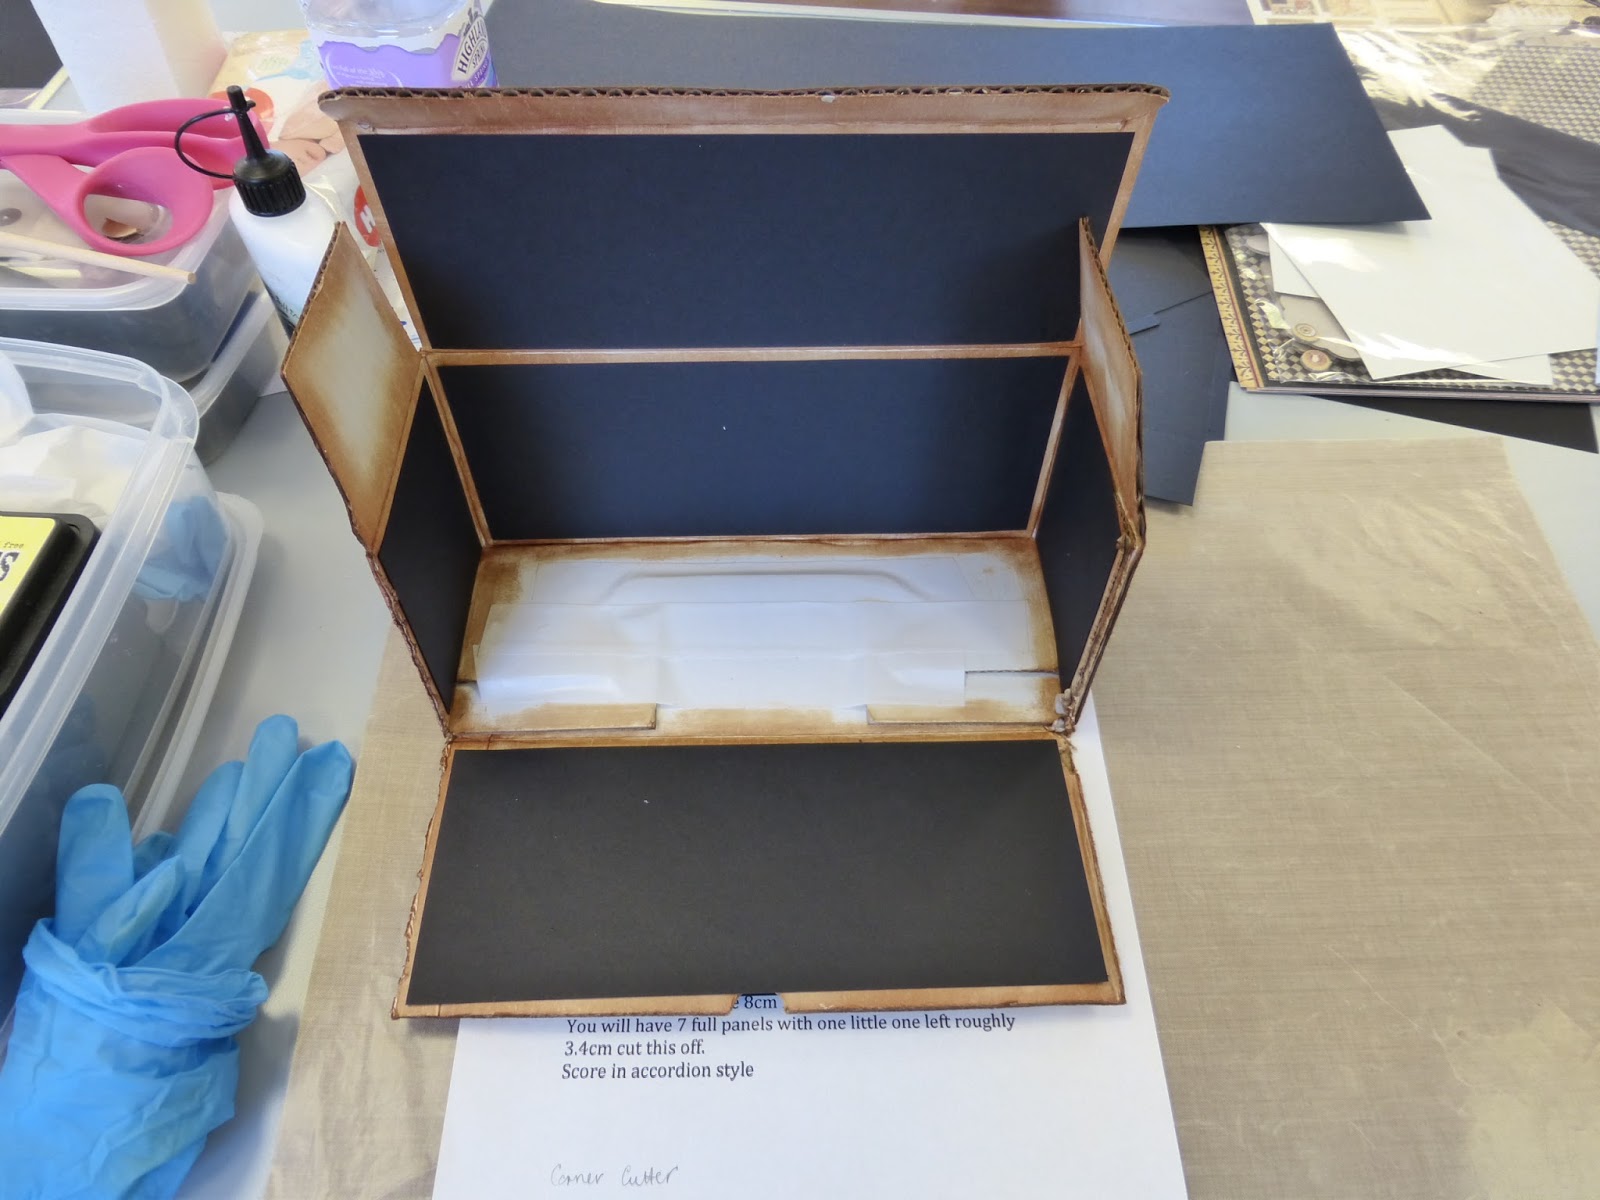
We started with a box which we edged with Tim Holtz Distress Ink.

 
Here you can see the ladies hard at work.

 
Ali and Andrea keeping an eye on the procedings.

 
No need to cover the centre sections as it wont be seen.

 
Next stage is the matting and layering and here you can see that I have cut out the black mats and attached them ready to receive the patterned papers.

 
Graphic 45 papers were chosen for this project.

 
And here you can see me gradually a attaching the patterned paper.

 
There are more details to the construction of this and I am only giving you the basics here.

 
The ribbon and brads are put in position before attaching this piece to the box.

 
 These are the pages which will go inside in the form of a concertina.

The next stage was to prepare the pieces to decorate the pages.

 
I decided to cut several up and play around with the positioning before deciding where they would go and mounting them.

 
And my finished box.
 
Front and Top.
 
 
Inner Pages.


Top.

 
Back.


So that's it finished.
Looking forward to the next retreat. So love a good workshop, great projects and brilliant company!

Hope you have a great Friday and thanks for stopping by.

And if you would like some more smiles you just need to pop over to see what our other friends have been doing this week at Annie's for
"This Week's Smiles" and you can also share your  smiles too if you like.

Thanks for stopping by,

Angela x
 

Friday, 15 April 2016

Friday Fun Day with Smiles 165.

Welcome to all my new followers, hope you enjoy the journey.
 
You may remember last week I showed you my bags all ready to go to the craft retreat. I can tell you it gave me plenty to smile about as it was a brilliant weekend.
Just a few pics. today showing you what I made.
Sorry if you've already seen some of these.
 
We all had a brilliant time with smiles and laughter, great projects and brilliant company too, perfect!
 

My finished Powertex lady and ball.


I so love making these.

 
My canvas in production, nearly finished here.

 
Box Journal made with Graphic 45 Papers. I have a few bits to complete on this so will show you what it looks like when completed.

 
 Thanks for stopping by.
Let me know if they make you smile.

And if you would like some more smiles you just need to pop over to see what our other friends have been doing this week at Annie's for
"This Week's Smiles" and you can also share your  smiles too if you like.

Thanks for stopping by,

Angela x

Monday, 11 April 2016

Craft Retreat with Ali and Ian.

Welcome to all my new followers, hope you enjoy the journey.
I know it's Monday and you may have been expecting a Masterboard but I've been away all weekend at a Craft Retreat which some of you already know so today I'm here to show you what I've been up to.

Saturday we were working on three canvases. I chose to make a Triptych though some people only used one or two of the canvases.
I had an idea in mind of how I wanted it to look so got straight down to it. I tend to think that if you are making a Triptych you really need to have a plan before you start.
If you missed my post on Saturday you can find it Here.

So here is the result.


Here we all are at the start of the second day.


And the stages in making:

 
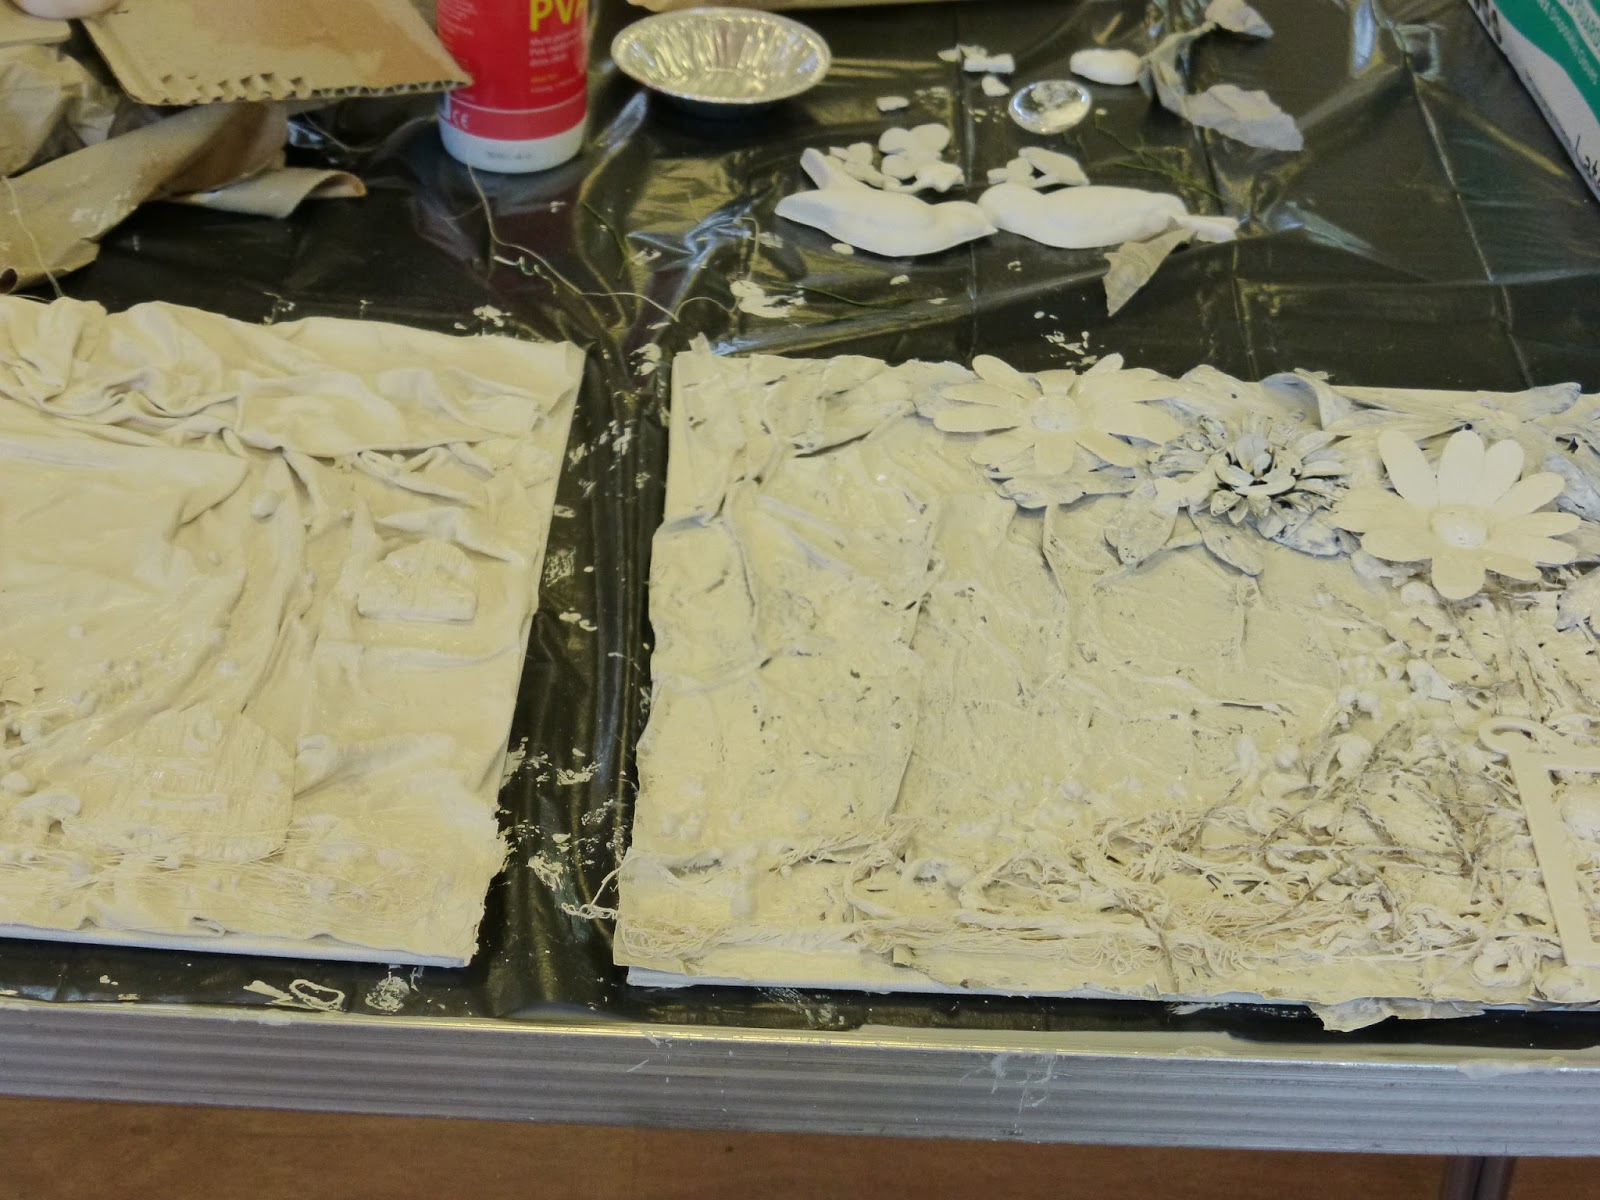
The fabric is soaked well in the Powertex liquid before being applied to the canvas and then the whole thing is painted thoroughly with a coat of the liquid.

You can see here that I have also added pieces of lace, small ceramic balls, net, cord and MDF circles.

 
And a close-up of the three pieces.


Everyone found their own way to use the techniques and here are a few examples.


Once the Powertex was dry it was time to start adding the colour.
This could be done in a number of ways but I chose to use colour sprays on mine.

 
My choice of colours is normally quite somber so this time decided to brighten things up a bit.


Not sure you can tell but I also added some clear gems in different sizes using cosmic shimmer glue to attach them which dries clear so the colours show through, gorgeous.
You can probably see it better here.


Each piece works well on it's own as well as a group and they can be turned to change the design.

 
Next I added Treasure Gold with a brush to highlight the relief.


To complete the design I brushed on Treasure Gold around the edge and splattered on some white paint to add a little more interest to the overall design. I also felt that this helped with the continuity of the three canvases.
 
And here they are once again completed.


Hope you enjoyed watching me make this project.
 
More to follow as there was one more day to go.
 
 Happy crafting,
 
Angela x

Saturday, 9 April 2016

Craft Retreat with Ali and Ian.

Welcome to all my new followers, hope you enjoy the journey.
Some of you know that I am away this weekend at a craft retreat with Ali and Ian Kemp and I am here to show you what we got up to.
Here we are at the start of the day, I'm sure you've guessed the empty seat is mine.

 
And the stages in making.
Just to reassure you, I am not a beer drinker the bottles were being used as part of the project.
Here you can see the start of this project.

 
These plaster body forms are so nice to work with.

 
It's brilliant how such simple things can come together to create something so lovely.


And here she is just waiting to dry off so I can complete the project.
Sorry I am unable to show you photographs of me placing the fabric but it's a bit messy.


Photographs of the finished pieces.


I highlighted her dress with Treasure Gold gilding waxes.

 
I also decorated a polystyrene ball too.


Hope you liked those, more to follow soon.
 
Happy crafting,
Angela x

Blogs I follow

01 09 10