Showing posts with label Stickles Glues. Show all posts

Monday, 10 November 2025

Make it on Monday.

 Welcome to all my new followers, hope you enjoy the journey.

I am here today to show you a new Ledger journal page:

Started by covering the edge with low tack tape and then used the Altenew stencil to create the background, first by applying the pale blue and then turned the stencil over and applied the darker colour.


Even more free magazine stamps and I've added some die cut pieces too.

The centre panel was coloured using Tim Holtz Oxide inks with a blending brush and left to dry then stamped on the detail. 
The sentiment was heat embossed and then I layered the panel onto white and black cardstock.
 The background stamping and some of the die cuts were attached before adding the panel so they looked as though they were coming from under the panel to give more depth.
Next attached the panel and added more diecut plants so they were spreading over it.

I have added some colour and Stickles Glitter glue to some of the shells too.

I would love to hear your comments.

Many thanks for stopping by and happy crafting,

Angela x

Monday, 20 October 2025

Make it on Monday journal pages.

Welcome to all my new followers, hope you enjoy the journey.

I am here today to show you another journal page and a fun technique:


Lots of stamps from magazine freebies, a stencil by Inkilicious and a collection of Distress Oxides.
I attached the Low tack tape around the edge before starting and then using a blending brush added the colours, slightly darker around the sides to add shadow.


I've drawn around the edge of the stencil on vellum and then cut it out. 
Next removed the Low Tack Tape, attached the mask over the stencilled design and add some stamping details around the edge.


Once that was done I removed the mask and added the inner detail and a little more shading.

I have applied stickles glitter glue and the sentiment but we're not done yet.


A few die cut bits and pieces to finish it and I think that will do but what do you think?

I would love to hear your comments.
Many thanks for stopping by and happy crafting,

Angela x

I would like to enter this project in the following challenges:
Creative Artiste Mixed Media Challenge #120th finishes 2nd Nov.

Monday, 13 October 2025

Make it on Monday.

 Welcome to all my new followers, hope you enjoy the journey.

I am here today to show you more pages in the Ledger journal:


More fun today with the Altenew stencil.


To continue with this page I've added some fish.
Stencil by Funky Fossil.


I applied  this with black ink and a blending brush.


Mermaids needed here to brighten up the page. this was a two piece die to cut the pattern in silver card and the background colour was Clarity card.


You can't have a sea page with out some bubbles so added those and ......


finished with a sentiment and Stickles Glitter glue.

That's all done! Hope you like it.

I would love to hear your comments.

Many thanks for stopping by and happy crafting,

Angela x

Monday, 6 October 2025

Make it on Monday.

       Welcome to all my new followers, hope you enjoy the journey.

I am here today to show you a  new Ledger journal page:


I made the background with two stencils, an Altenew for the water, one for the Sea Urchins and two colours of Distress Oxide inks then finished with Stickles Glitter Glue.


 It took me some time to decide what the focal image would be and then remembered some old dies by Tim Holtz.


I must have had these for ages but they work really well with this background. I think these dies are available again now as Thinlits.
I've cut the Urchins with Kraft card and then added Distress inks by smooshing and splatters then darkening the edges with a blending brush. 
The Seahorse was white card and colours of distress inks, crackle graze and Stickles Glitter Glue.
Finished with a sentiment.

I'm pleased that's finished as I have other things to come soon.

I would love to hear your comments.

Many thanks for stopping by and happy crafting,

Angela x

Monday, 16 June 2025

Masterboard Monday.

    Welcome to all my new followers, hope you enjoy the journey.


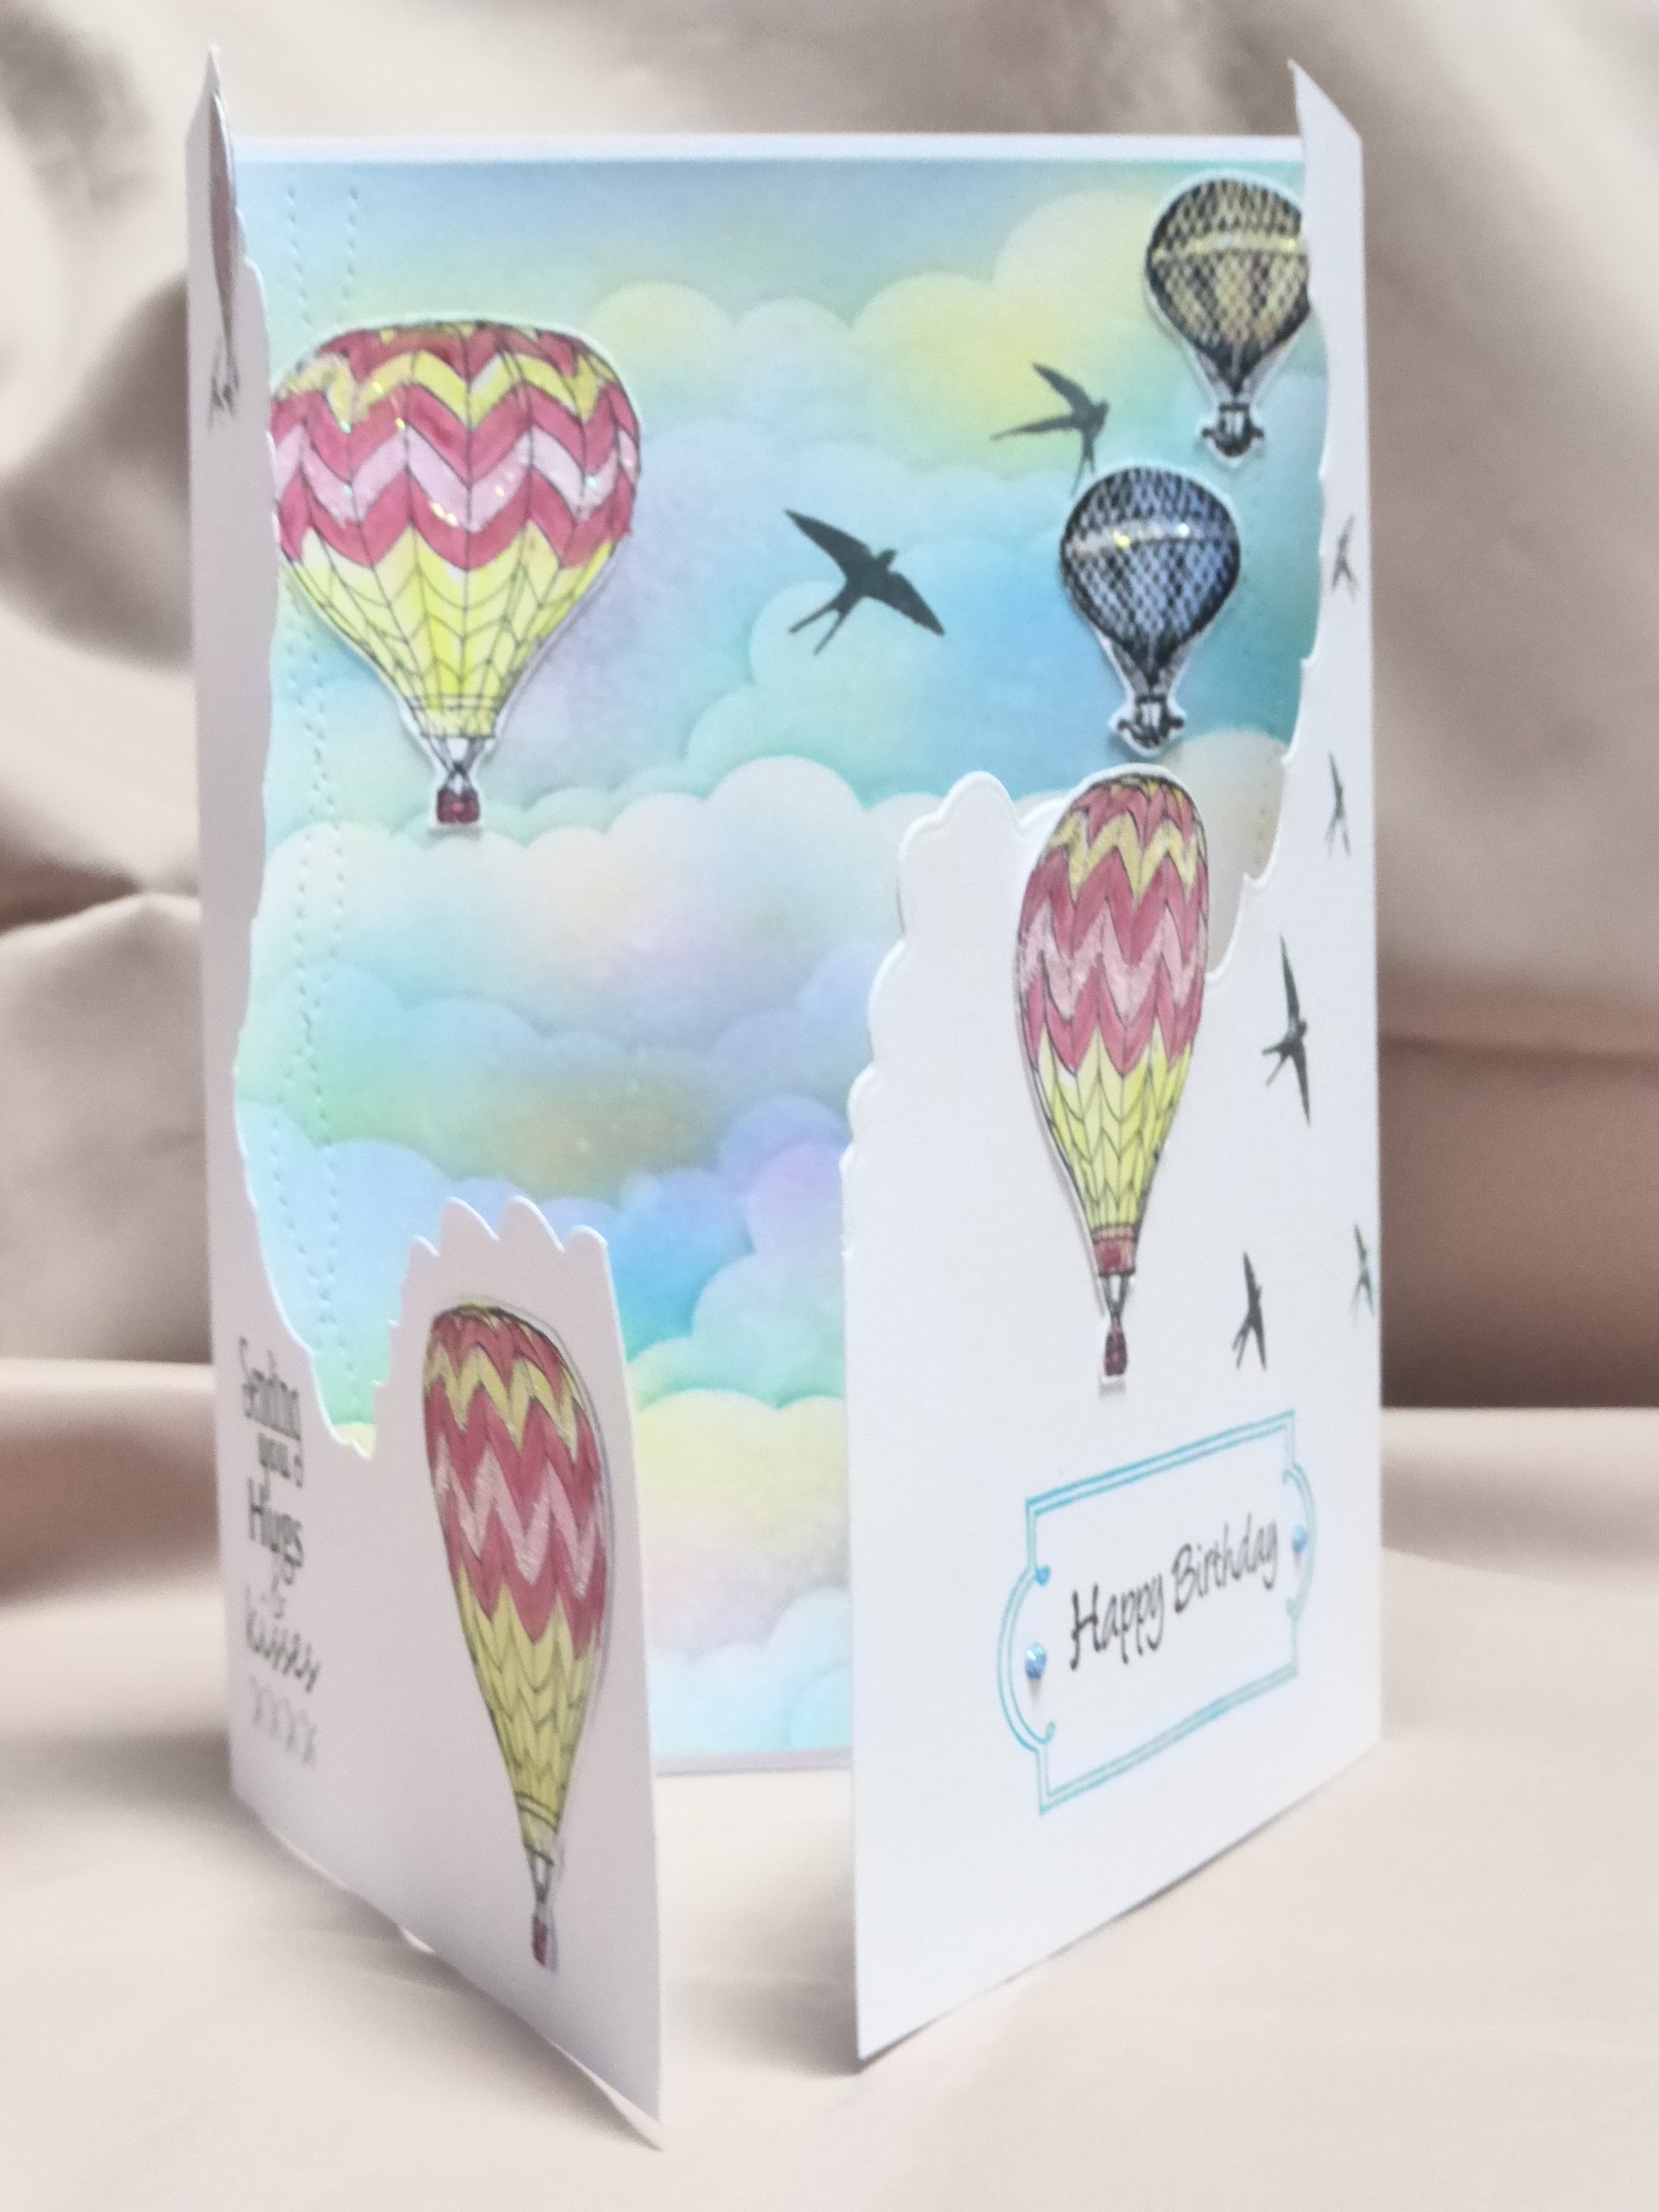
I am here today to show you a card made with this Masterboard:


This Masterboard is smaller than my usual ones at A4.


I used Distress oxide inks and a stencil by 
'My Favourite Things'. 

With just a small piece of this Masterboard I created this card.....


This is what it looks like closed.
The sentiment is stamped. I think this was free from a magazine at some time as were the hot air balloons and birds.


The diecut front sides are by XCut.

The card is 5" x 7" and I joined two together after die cutting the sides.


I also applied Stickles Glitter glue on the Balloons and birds.


Plenty of room inside for a message too.

I would love to hear your comments.

Many thanks for stopping by and happy crafting,

Angela x

Monday, 5 May 2025

Masterboard Monday.

   Welcome to all my new followers, hope you enjoy the journey.

I am here today to show you a card made with this Masterboard:


This is a Retiform masterboard. If you would like more details for making you can find them here.


This is a new set of dies and I decided to use these to create this week's card.


I started this card by cutting the Masterboard after applying double sided sticky tape to the back which makes it easier to attach the cut out pieces to the coloured background card. I layered this with a sheet of black card and then mounted it onto a white card blank.


To complete this card I have added some stamped and coloured Kate Crane stamped images and a sentiment.


And that's it, all done. I think I will have another play with this die set to see what else it can do.
Interestingly I found I had this waste piece too


Now that looks like another project soon for sure.


I would love to hear your comments.

Many thanks for stopping by and happy crafting,

Angela x

Tuesday, 13 August 2013

Steampunk

Hi Blogging Friends  I have been busy working on some Steampunk stuff, yes I have also been working on the journal and there will be more of that on Thursday. I just needed a change lol! A bit of fun lol!
Any way, hope you like it.

Most of this was made using the card from the back of old envelopes.
I like it, it's nice and stiff without being too thick.
  • Stamps by Chocolate Baroque and Creative Expressions, lovely!!
  • Dies and Embossing Folders by Tim Holtz.
  • Paper, sprayed with mica inks: Crafty Notions Colour Sprays.
  • Brads by Creative Expressions, Faux Screws.
  • Additional colour: Gelly Roll Pens.
  • Crackle Glaze: Kroma.
  • Gilding Wax: Treasure Gold.
  • Eco-Green Acrylic Paint.
  • Four Matchboxes.
  • Stickles Glitter Glues.
           
                Full view of the front.


The main body of the box was constructed with four matchboxes with the covers removed.

           Back view, clearly showing the design of the embossing folder.

 
I cut the card first using the cabinet die and then embossed it and
applied acrylic paint.
 
Closeup view of the right side.

 
After painting the front with acrylic paint, I added crackle glaze and when set, I rubbed over this with gilding wax.
 

                                   Closeup of the top section.

 
The balloon was stamped onto sprayed paper and card. The two stamped images were attached and finished with Stickles Glitter Glues.
 
Closeup view of the left side.
 
 
I finshed the cogs by adding the Faux Screws.
 
I would be really pleased to hear what you think about this project and thank you for visiting.
 
Angela x
 
I would like to enter this for the:
 August Steampunk Challenge at SanDee and Amelia's.
LOC Challenge 12: LOC Theme or Use Something Metal.


Blogs I follow

01 09 10