Showing posts with label altered stuff. Show all posts

Wednesday, 28 July 2021

WOYWW - 634 - What's On Your Workdesk Wednesday.

 Welcome to all my new followers, hope you enjoy the journey.


Hi Workdesk friends. 
We are here for another Wednesday at the Workdesk and here is:
"What's on my Workdesk this Wednesday".

If you don't know what this is all about then please visit the
 
Stamping Ground, our host Julia will explain.


So here is my desk for today!


Just finished a project so the desk is not too bad today but will soon be busy again.
There's a whole pile of stuff waiting for me to get started just to the left there.
The object in the center of the desk is the finished project.


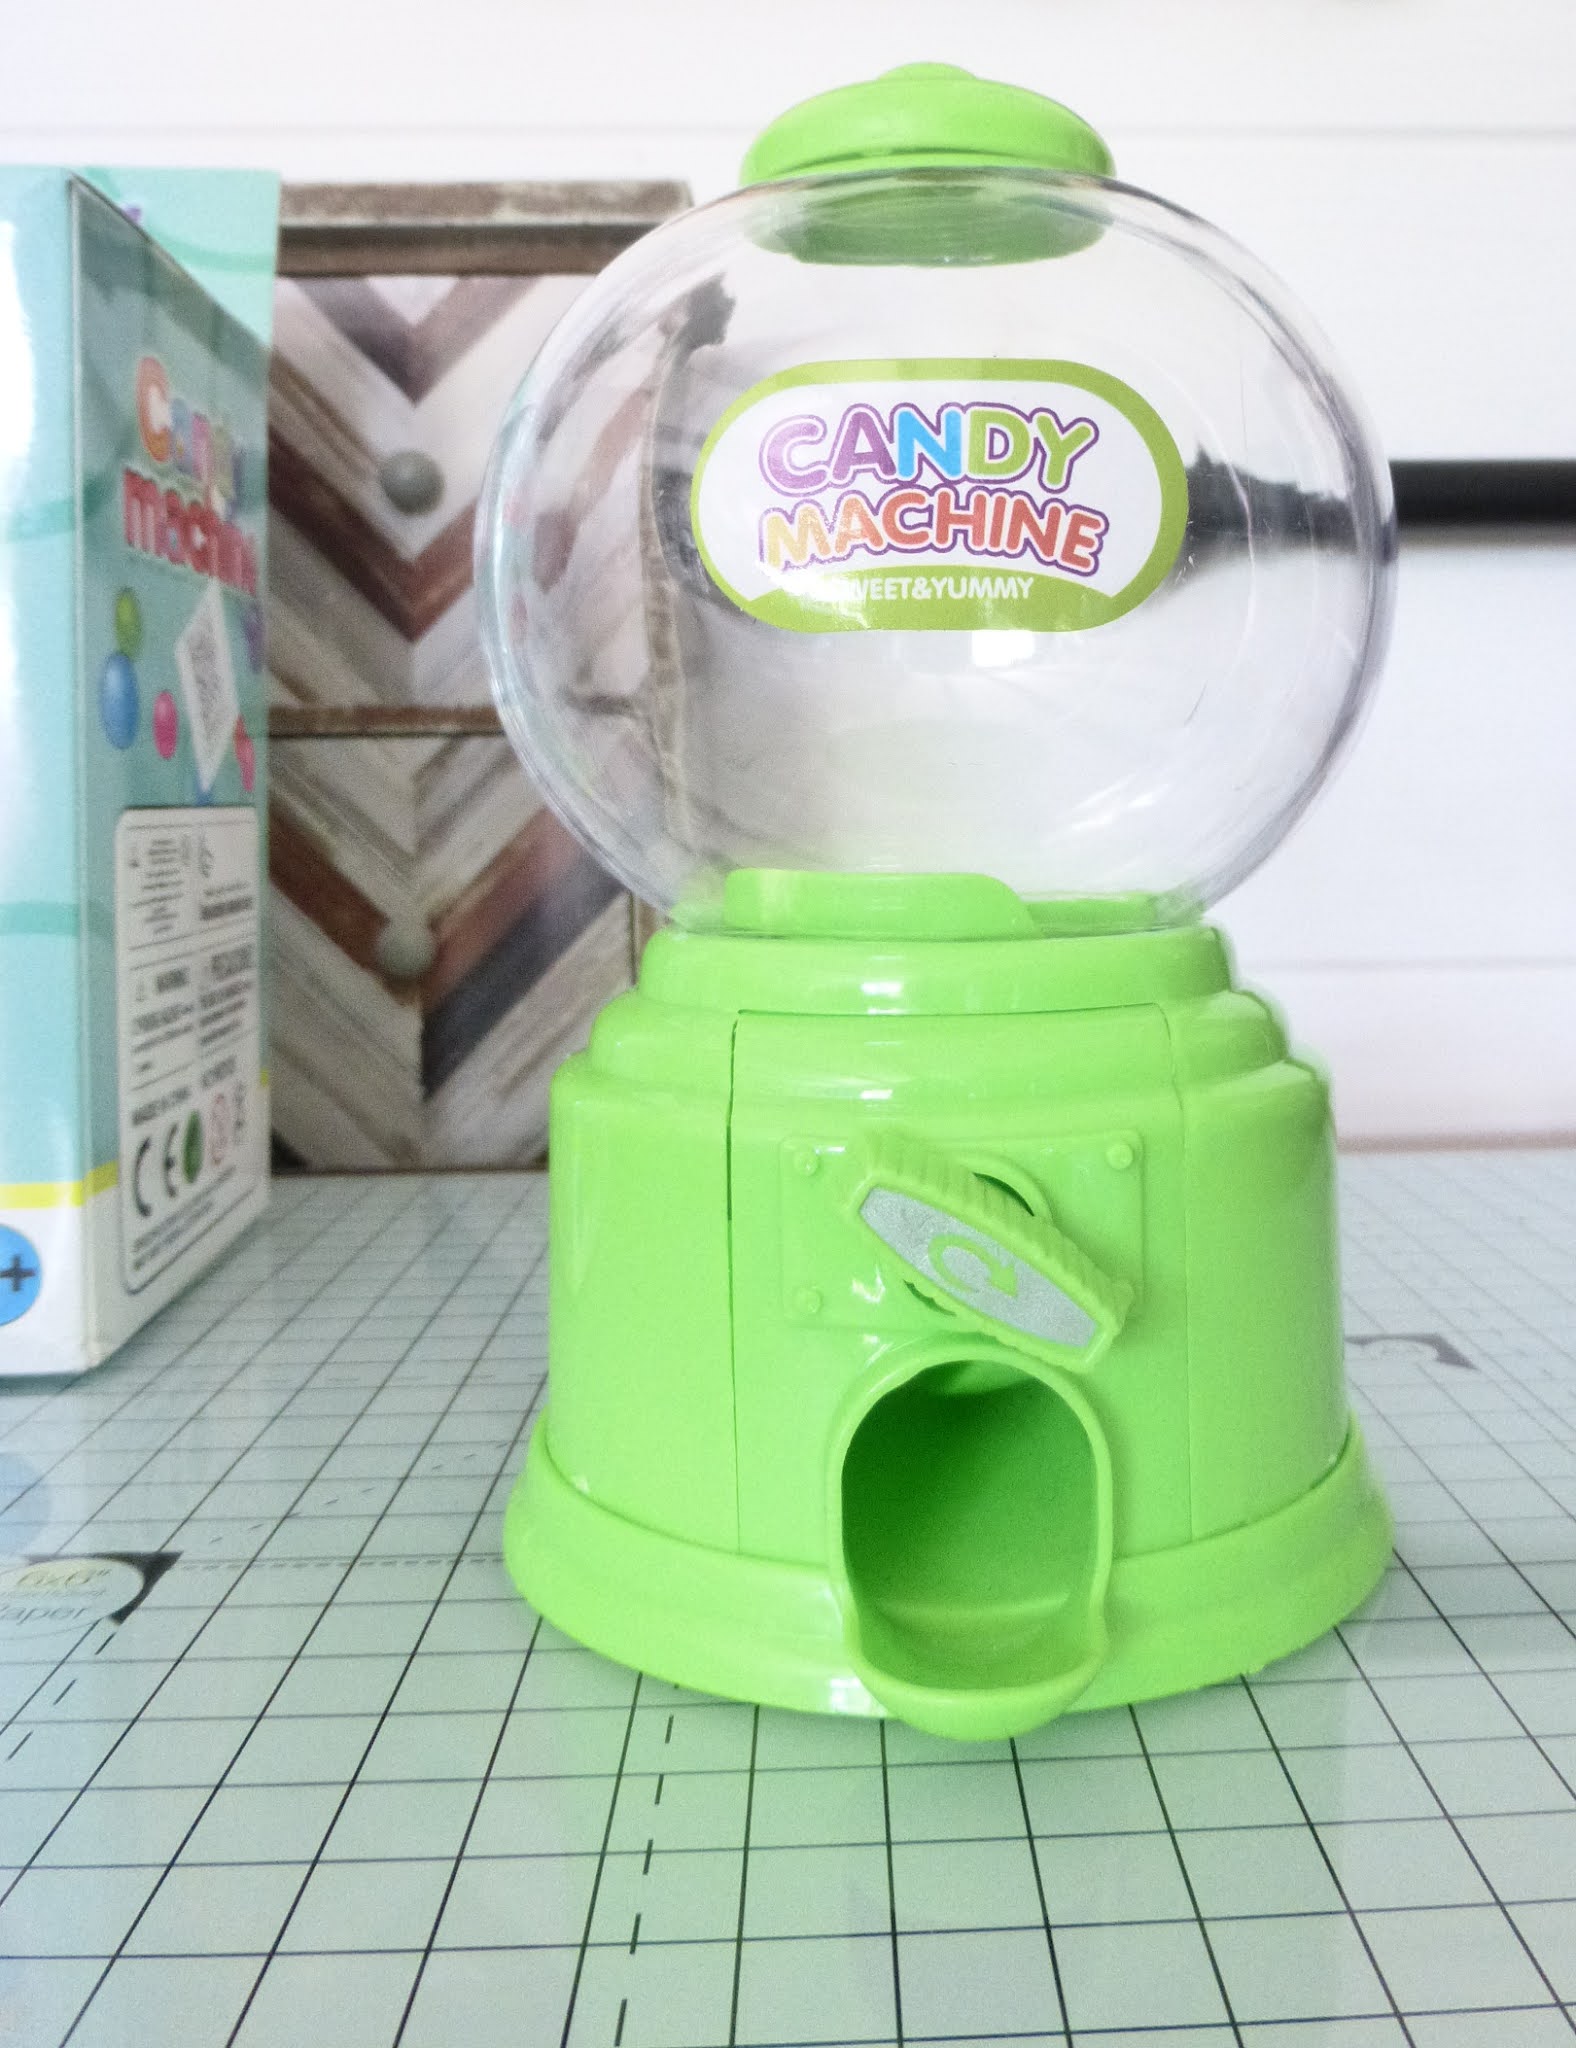
I've altered a candy/gum ball machine. There are details for this if you're interested here: if you do go over don't worry I haven't moved house just working in the cabin so a different desk.


New die too. 
Can't wait to have a play with these.

So that's me done for today.

I have to pop out for a while this morning but I'll be back soon to visits all the other desks.

Have a great woyww 
and 
happy crafting,

Angela x

Sunday, 25 July 2021

Mixed Media Monday.

  Welcome to all my new followers, hope you enjoy the journey.

Yes you heard right, no Masterboard today because I've been busy playing with something that I have  wanted to alter for a very long time, so here goes:


Yes it's a Candy Machine.


How cute is this! Well soon it wont be!


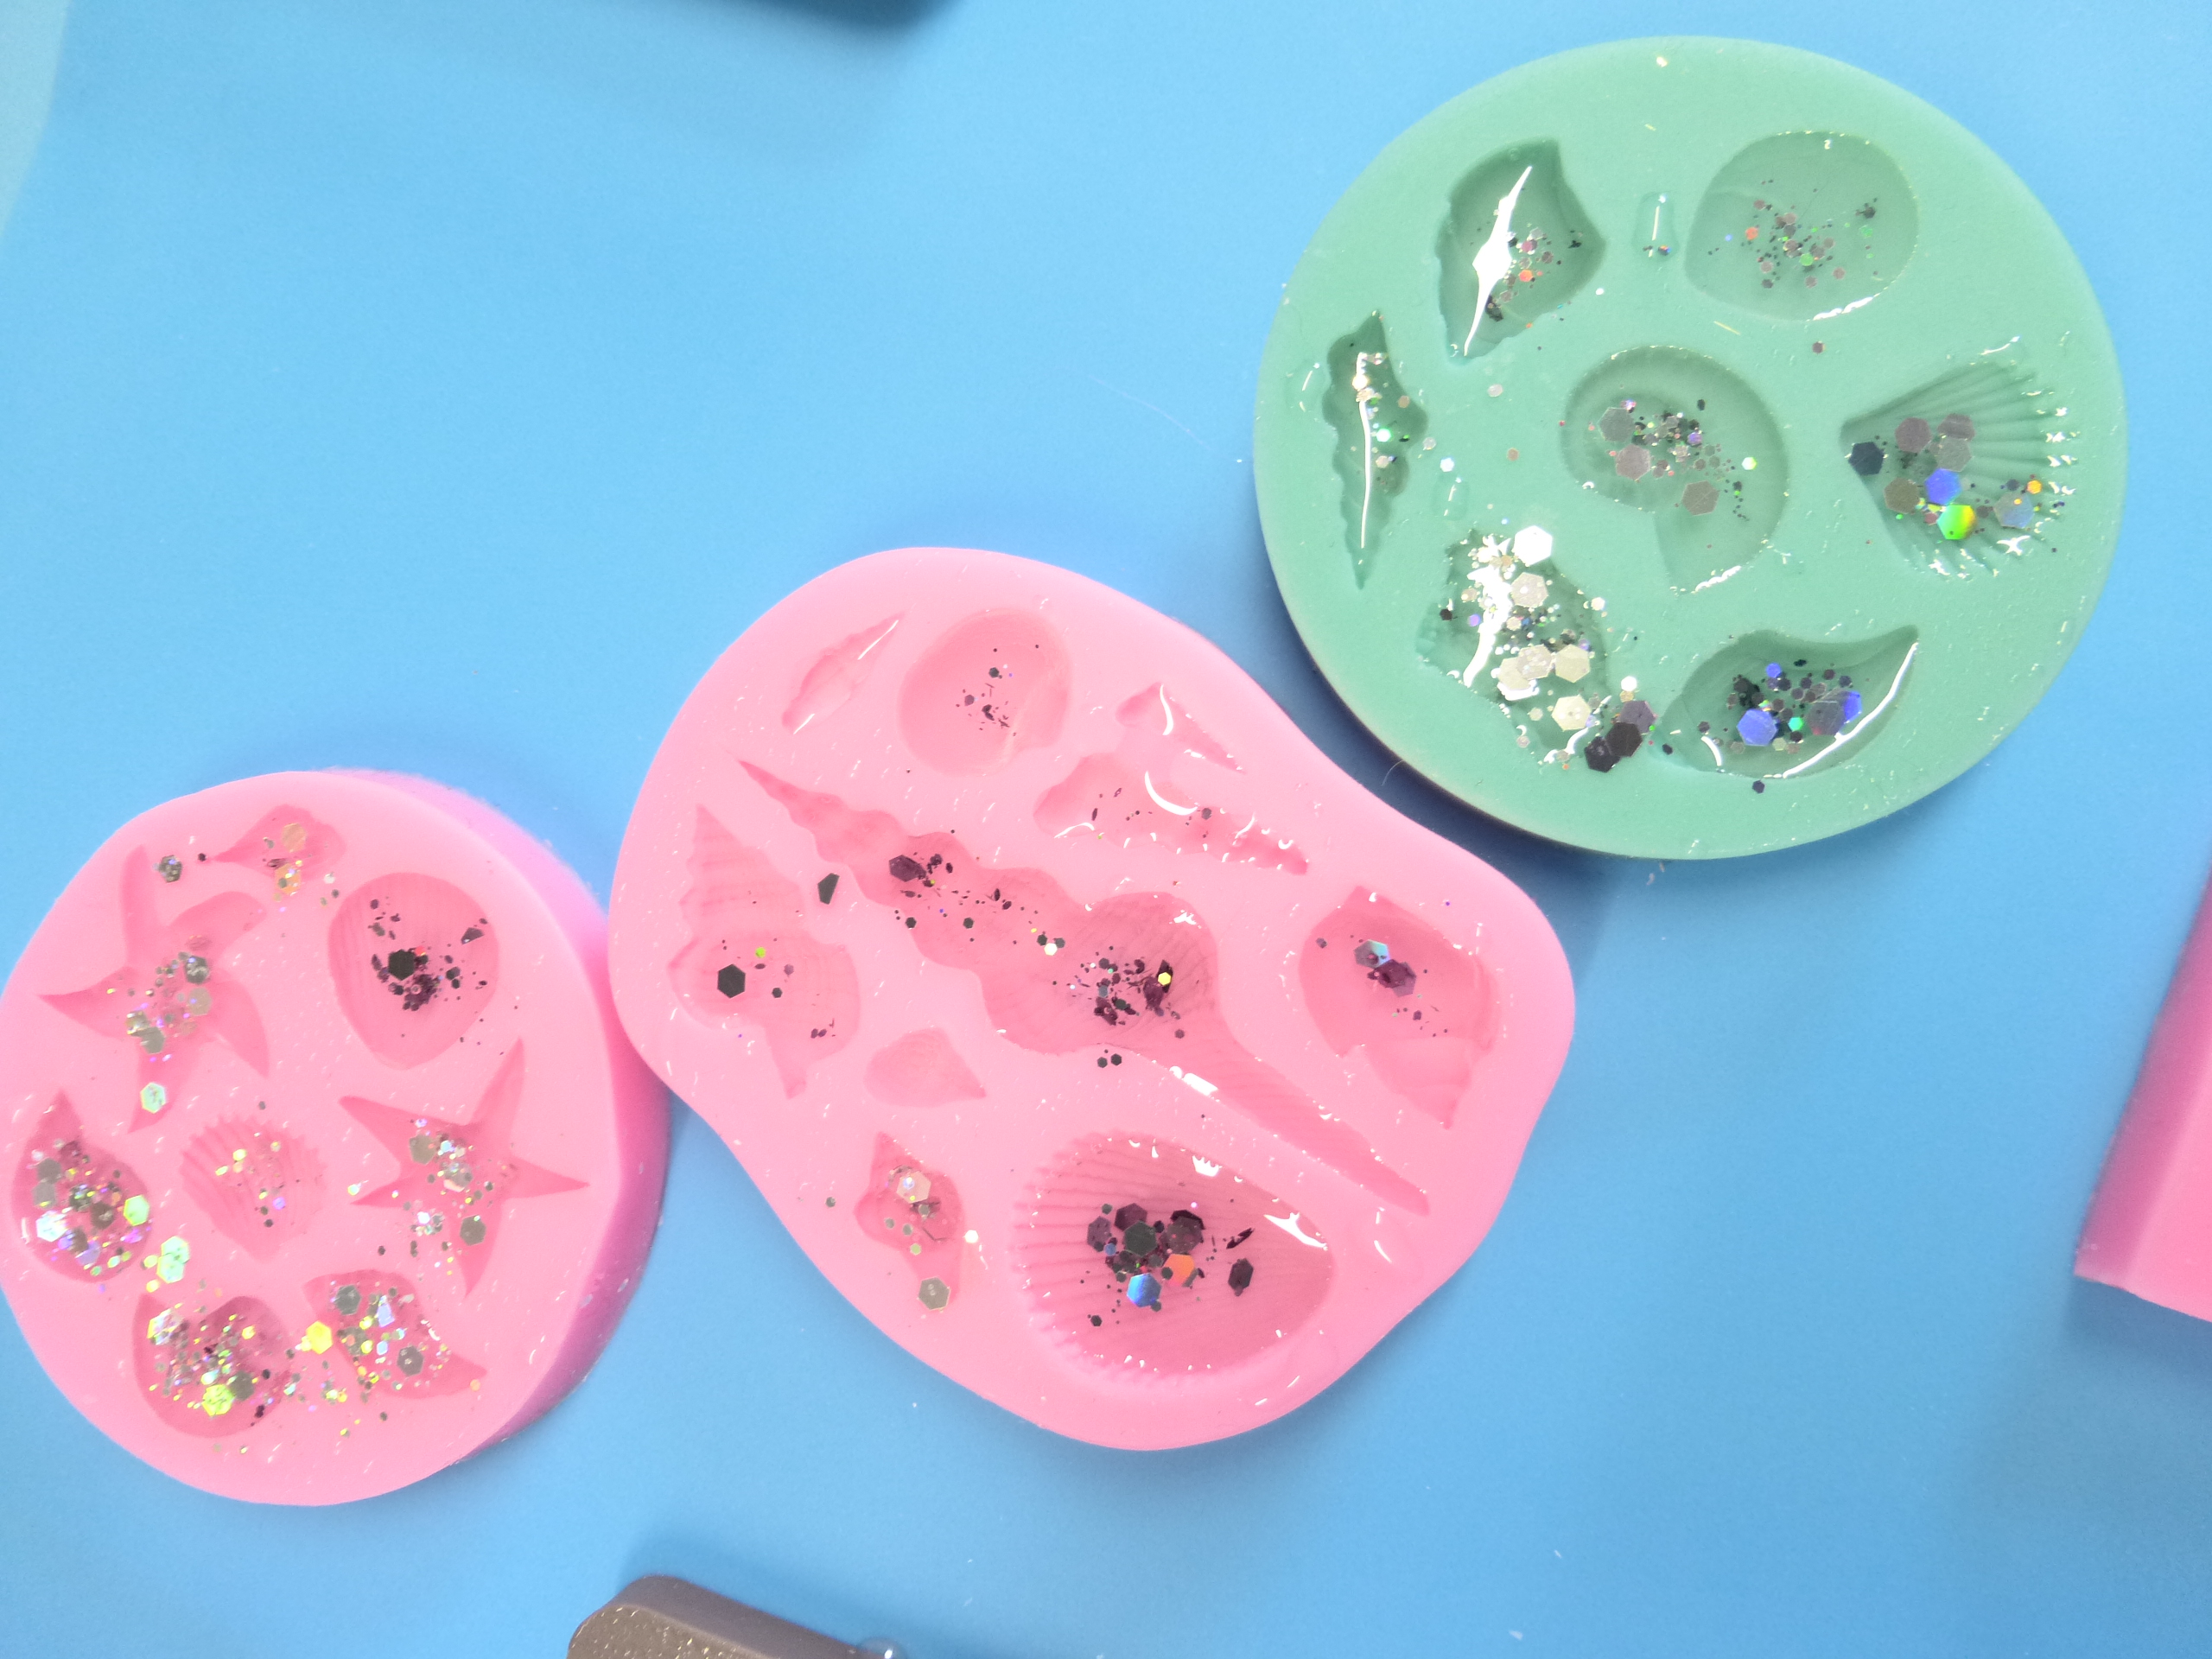
Here I am in the cabin, been moulding a few things ready to use on the project.


Not so pretty now and while I wait for the first bits to set......


I'm moulding a few shells with clear resin and glitter.


A few more pieces added and some white Gesso to seal the plastic and make it easier to add the colour.


I like the clear resin as I find that if you heat it up after it's cured it softens slightly and you can bend it gently which is how I did this with the seahorses and then glued them to the globe. Also added some of the shells and fish that I had moulded earlier.


These are part of three Mould sets that I got from Hobbilicious. 
Two are by Finnabair and the other Zuri. 
I've attached these together with Gel medium and left it to set. I like the Art Basics by Prima but there are other makes you could use too.


Then added some Hobballs also by Hobbilicious. These are available in different sizes too and a coat of Gesso.

And so to the fun part.
 

This is Pentart Patina Effect which comes with this brass colour and several shades of green.


So I started adding the colour.


Looking good?


And so to the finished project.


I completed this by adding some tiny pearls.
This is the top section and I love it.


You can see some of the shells better here.


And the finished piece with the shells inside, no bubble gum I'm afraid.

I'm not sure how clear this is but I've also added Decoart Iridescent paint to the Seahorses and shells which is almost clear but looks lovely when the light shines on it.

Any way that's me done for now.
Hope you liked it.

I would love to hear your comments.

Many thanks for stopping by and happy crafting,

Angela x

I would like to enter this in the following challenges:

Wednesday, 19 February 2020

WOYWW # 559 - What's On Your Workdesk Wednesday.

Welcome to all my new followers, hope you enjoy the journey. 

Hi Workdesk friends. 
Here we are for another Wednesday at the Workdesk. 
I am here again to show you:

"What's on my Workdesk this Wednesday".

If you don't know what this is all about then please visit the
 
Stamping Ground, our host Julia will explain.


So here is my desk for today!


To the back left are packets of enamel dots, my daylight lamp, a box of alcohol markers and a jar of water. You never know when you might need a drop of water for something.
To the front of those are some embossing folders waiting to be put away and a tub holding moulds.
To the right of the glass mat is a tub of Gesso, crackle paste, soft Gel paste, a tub with some screwed up kitchen roll and a tin holding pens, my camera case, baby wet wipes and the blue box full of an assortment of tools other than that the desk actually looks quite tidy.


Now you may be wondering what the thing on the glass mat is and you may remember seeing it on the desk last week.


 It originally held one of those scented diffusers and now it's being  altered and this is where we are so far.
I make no apologies for the way it looks at the moment as this is only the start of it's restructuring.

So that's me done for today.

 Thanks for stopping by and hope you will pop over and join in the visits around the other desks.

 I'm off now to see what everyone else is up to.
Have a great woyww 
and 
happy crafting,

Angela x

Friday, 15 September 2017

A Vintage Journey.

Welcome to all my new followers, hope you enjoy the journey.
Pleased to have been invited to be a guest designer at A Vintage Journey and I'm here today to show you what I've made.

The theme is 'Altered Art' and was just the push I needed to use a whole collection of boxes I've collected recently.

Now I make no apology but this is photo heavy but I didn't want anyone to miss out on how I made this so get a drink and sit back while I show you what I did.


So the first thing was to trim away the flaps.


And work out the cover.

 
Allowing enough space in the centre for the depth of the pages.

 
Using an old paperback book I covered the front.

 
Spread the glue well to ensure this sticks down fully.

 
 I covered the front of the boxes with more of the old book pages and then started decorating the front cover with textured gel.

 
And then applied Distress Oxide inks.

 
At this stage I started to build up the  design for the cover.
I have die cut several of the Broken Maze and glued them together to give depth, added crackle glaze and then painted them.


Finished them off with Treasure Gold, gilding wax.
 
 
Next I started the inner pages using various Seth Apter stencils.


Coloured these with Distress Oxides.


Then used Seth Apter Stamps and dies to decorate the pages.


I used more of the paperback pages to cover the back sections.

 
I glued the very front of the pages together.
 
 
And attached paper clips to hold them until dry.
 
 
The pages can be seen here after the clips were removed.
 
 
Now they are ready to be attached to the cover.

 
Where would we be without those paper clips!
 
So here we are all finished.

The front cover.

 
The metal embellishment is by Prima but not sure about the key, just found it in my stash.

 
Lots of lovely detail inside.
 
 
A few bits of Tim Holtz got in there too.


All that Seth stuff just works so well together, love it.


If you managed to stay till the end then well done you!
 
Thank you so much for stopping by and any comments will be gratefully accepted.
 
Happy crafting everyone.
 
Angela xXx
 
I would like to enter this project in the following challenges:

Mini Album Makers Challenge Blog launch.
Art Journal Journey# 'Colour In My World'
Country View Challenges # September 2017- 'Metal'
 Creative Artiste Mixed Media Challenge 30 - 'Anything Mixed Media Goes'
Stamps and Stencils: Challenge - Metallics.
San Dee&Amelie's SteampunkChallenges September 2017 - Anything Goes Steampunk/Industrial.

Blogs I follow

01 09 10