Showing posts with label resist techniques. Show all posts

Monday, 5 December 2022

Masterboard Monday.

Welcome to all my new followers, hope you enjoy the journey.

I am here today to show you cards made with this Masterboard:

 
Stencilling, stamping and layering Oxide inks.


One of Tim Holtz stencils was used and I applied Vaseline (petroleum jelly) through the stencil onto card. When this is left for a while it seals the area where it's been placed on the card and works like a resist similar to the Tim Holtz Micro Glaze.


You can see here what happens when inks are applied as you get a ghosting effect.

 
I added more of the stencilling to gradually build up the design and then another green oxide. the inks were applied using ink blending tools.


It's quite a delicate finish but we've not done yet.


This time adding red Oxide ink through the stencil.
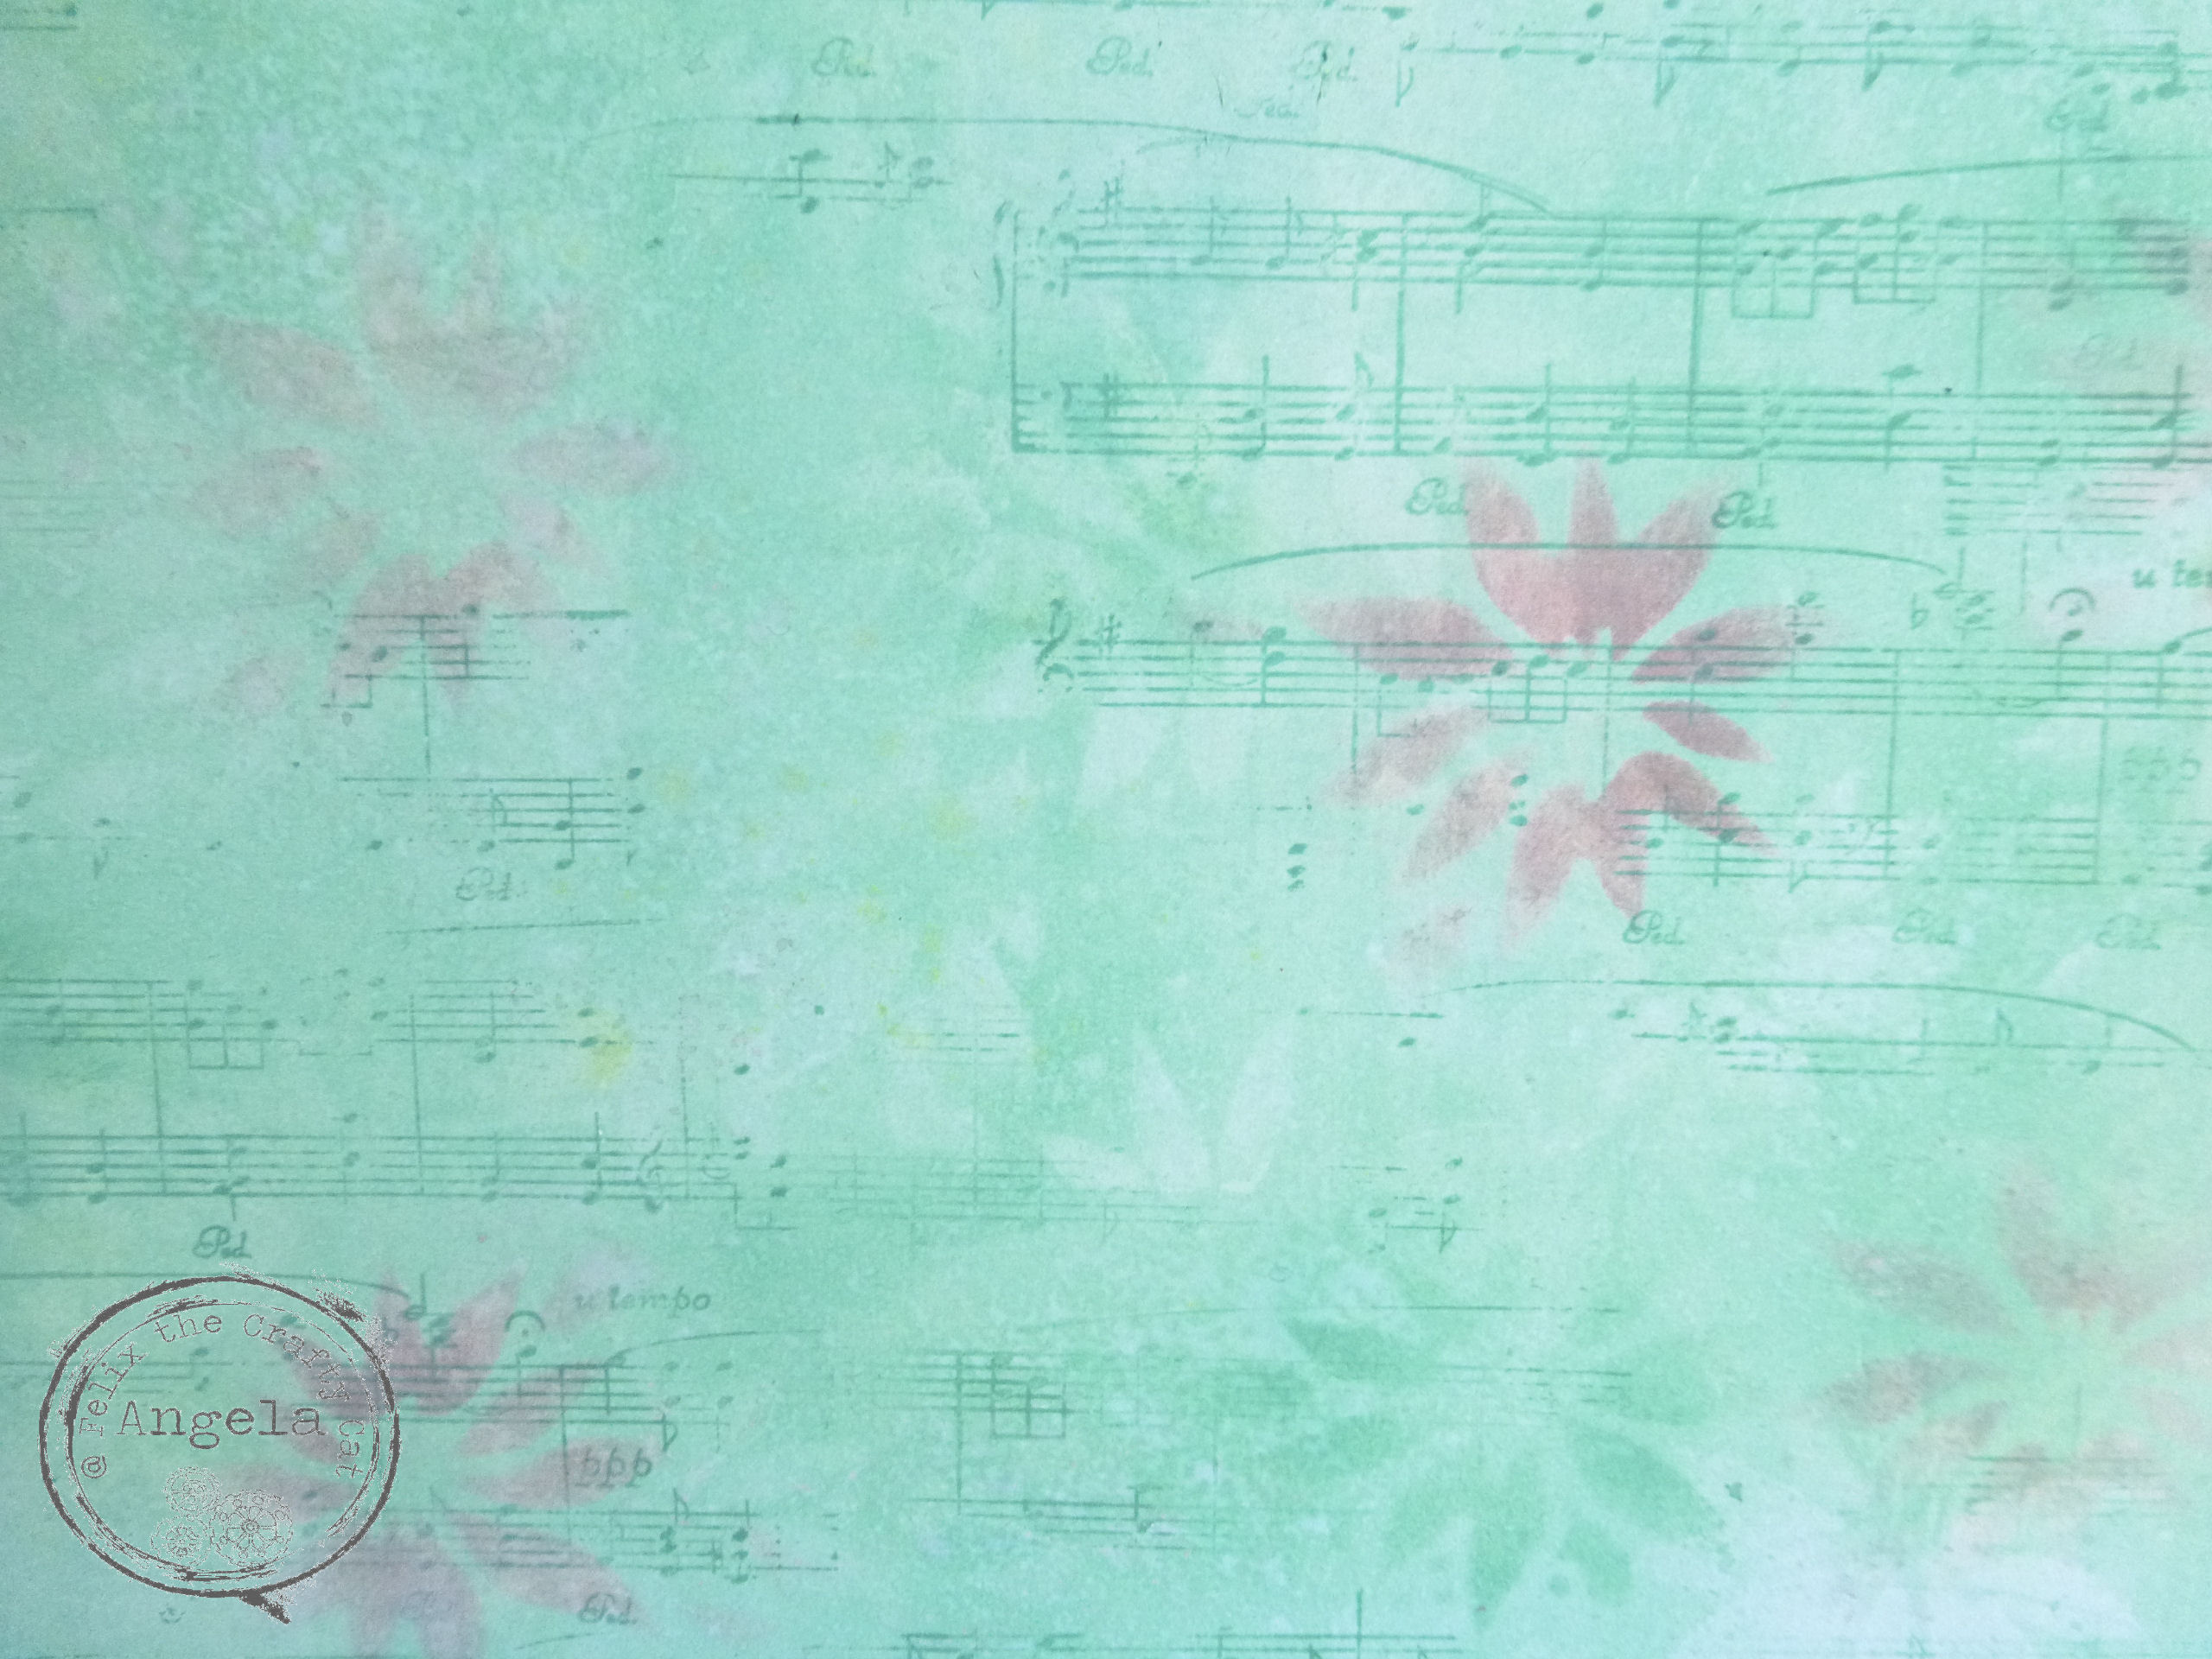
 
And as you can see here a sheet music script stamp.
 
 
Then it's just a matter of cutting it up to size and adding your chosen details. This is Memory Box 'Berry Corner Frame' and the snowflake dies are by Tim Holtz.
 
 
Layering everything up.
 
 
And with the addition of a few embellishments they are finished.
 
You may remember me making some of these last cards last week and if you would like more details you can find them here.

I would love to hear your comments.

Many thanks for stopping by and happy crafting,

Angela x

Monday, 20 June 2022

Masterboard Monday.

  Welcome to all my new followers, hope you enjoy the journey.

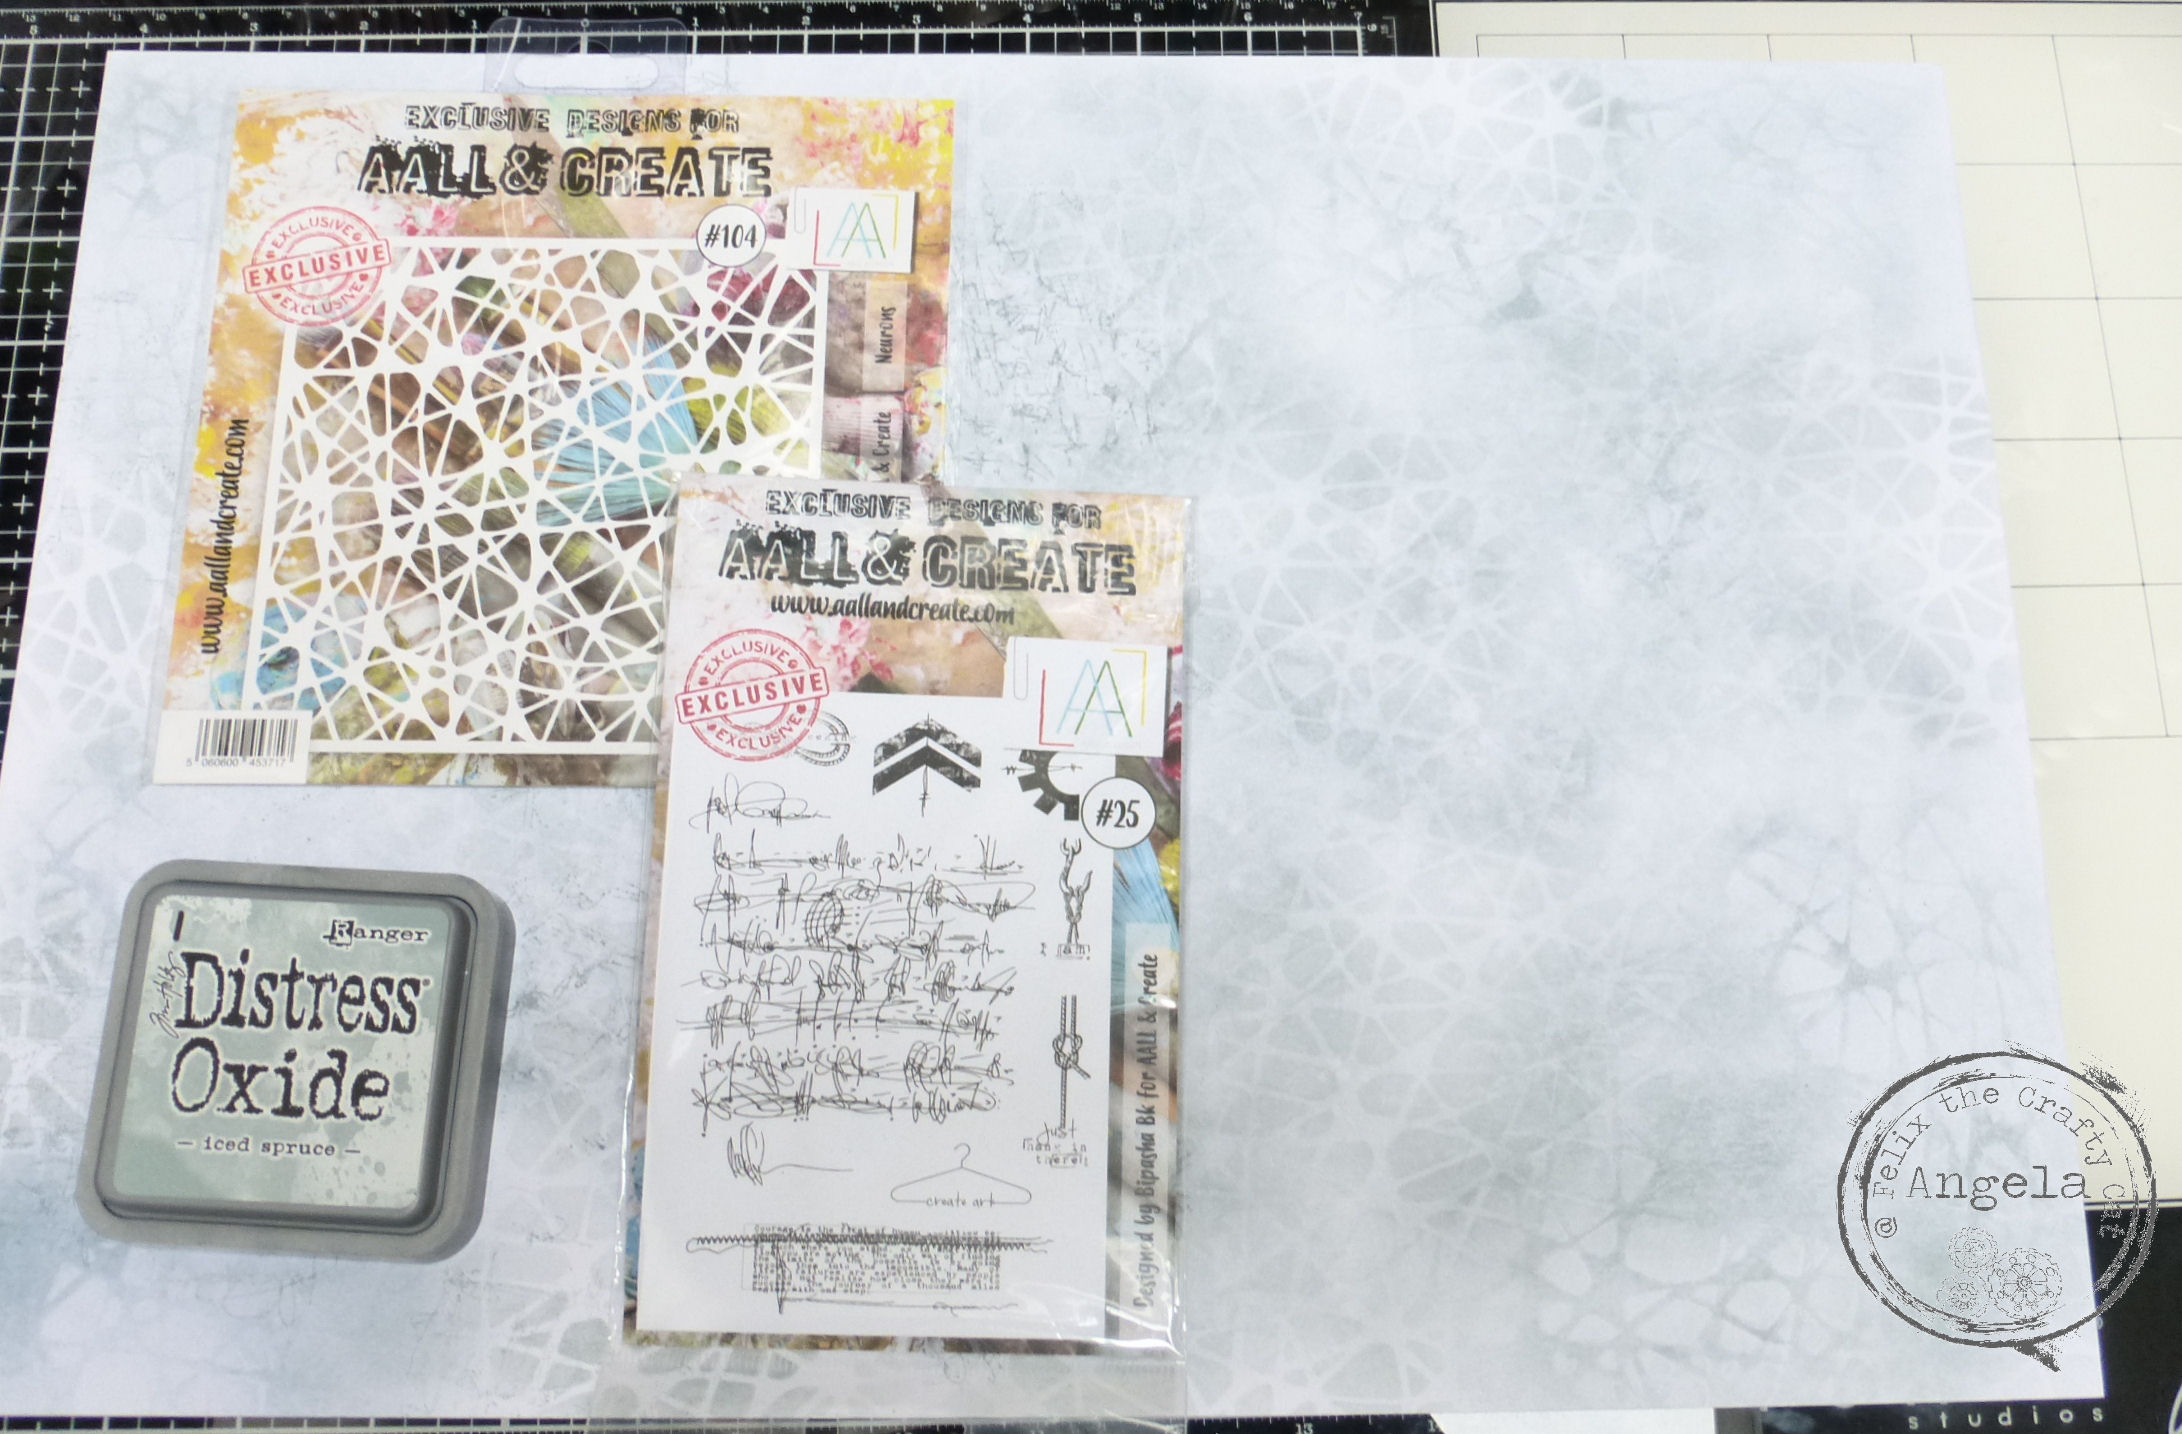
I am here today to show you a card made with this Masterboard:


This is a bit different today as I've done this with just one colour of Oxide ink.


I started by using the stencil with Vaseline. 
When you apply this product through the stencil it behaves like a resist. Apply it thinly and rub gently with a soft cloth to smooth away the excess before removing the stencil. Leave it for a while as it will be absorbed into the card or paper and then you can start to add the ink.


This shows the early stage of building up the colour over the Vaseline. If you are not familiar with this product it is a Petroleum Jelly normally used for dry skin, minor burns and sore lips. I think it's been on the market for a million years Lol! well a long time definitely.


I continued to add more detail with the stencil and some stamping too.
You can see the white areas where the vaseline has resited the ink.


When I felt happy with this I also splattered some water over it and blotted it with another piece of card which I kept to use later.


Even this piece with the tiny splatters will be useful.


This grey ink is quite pale but works well as a background.
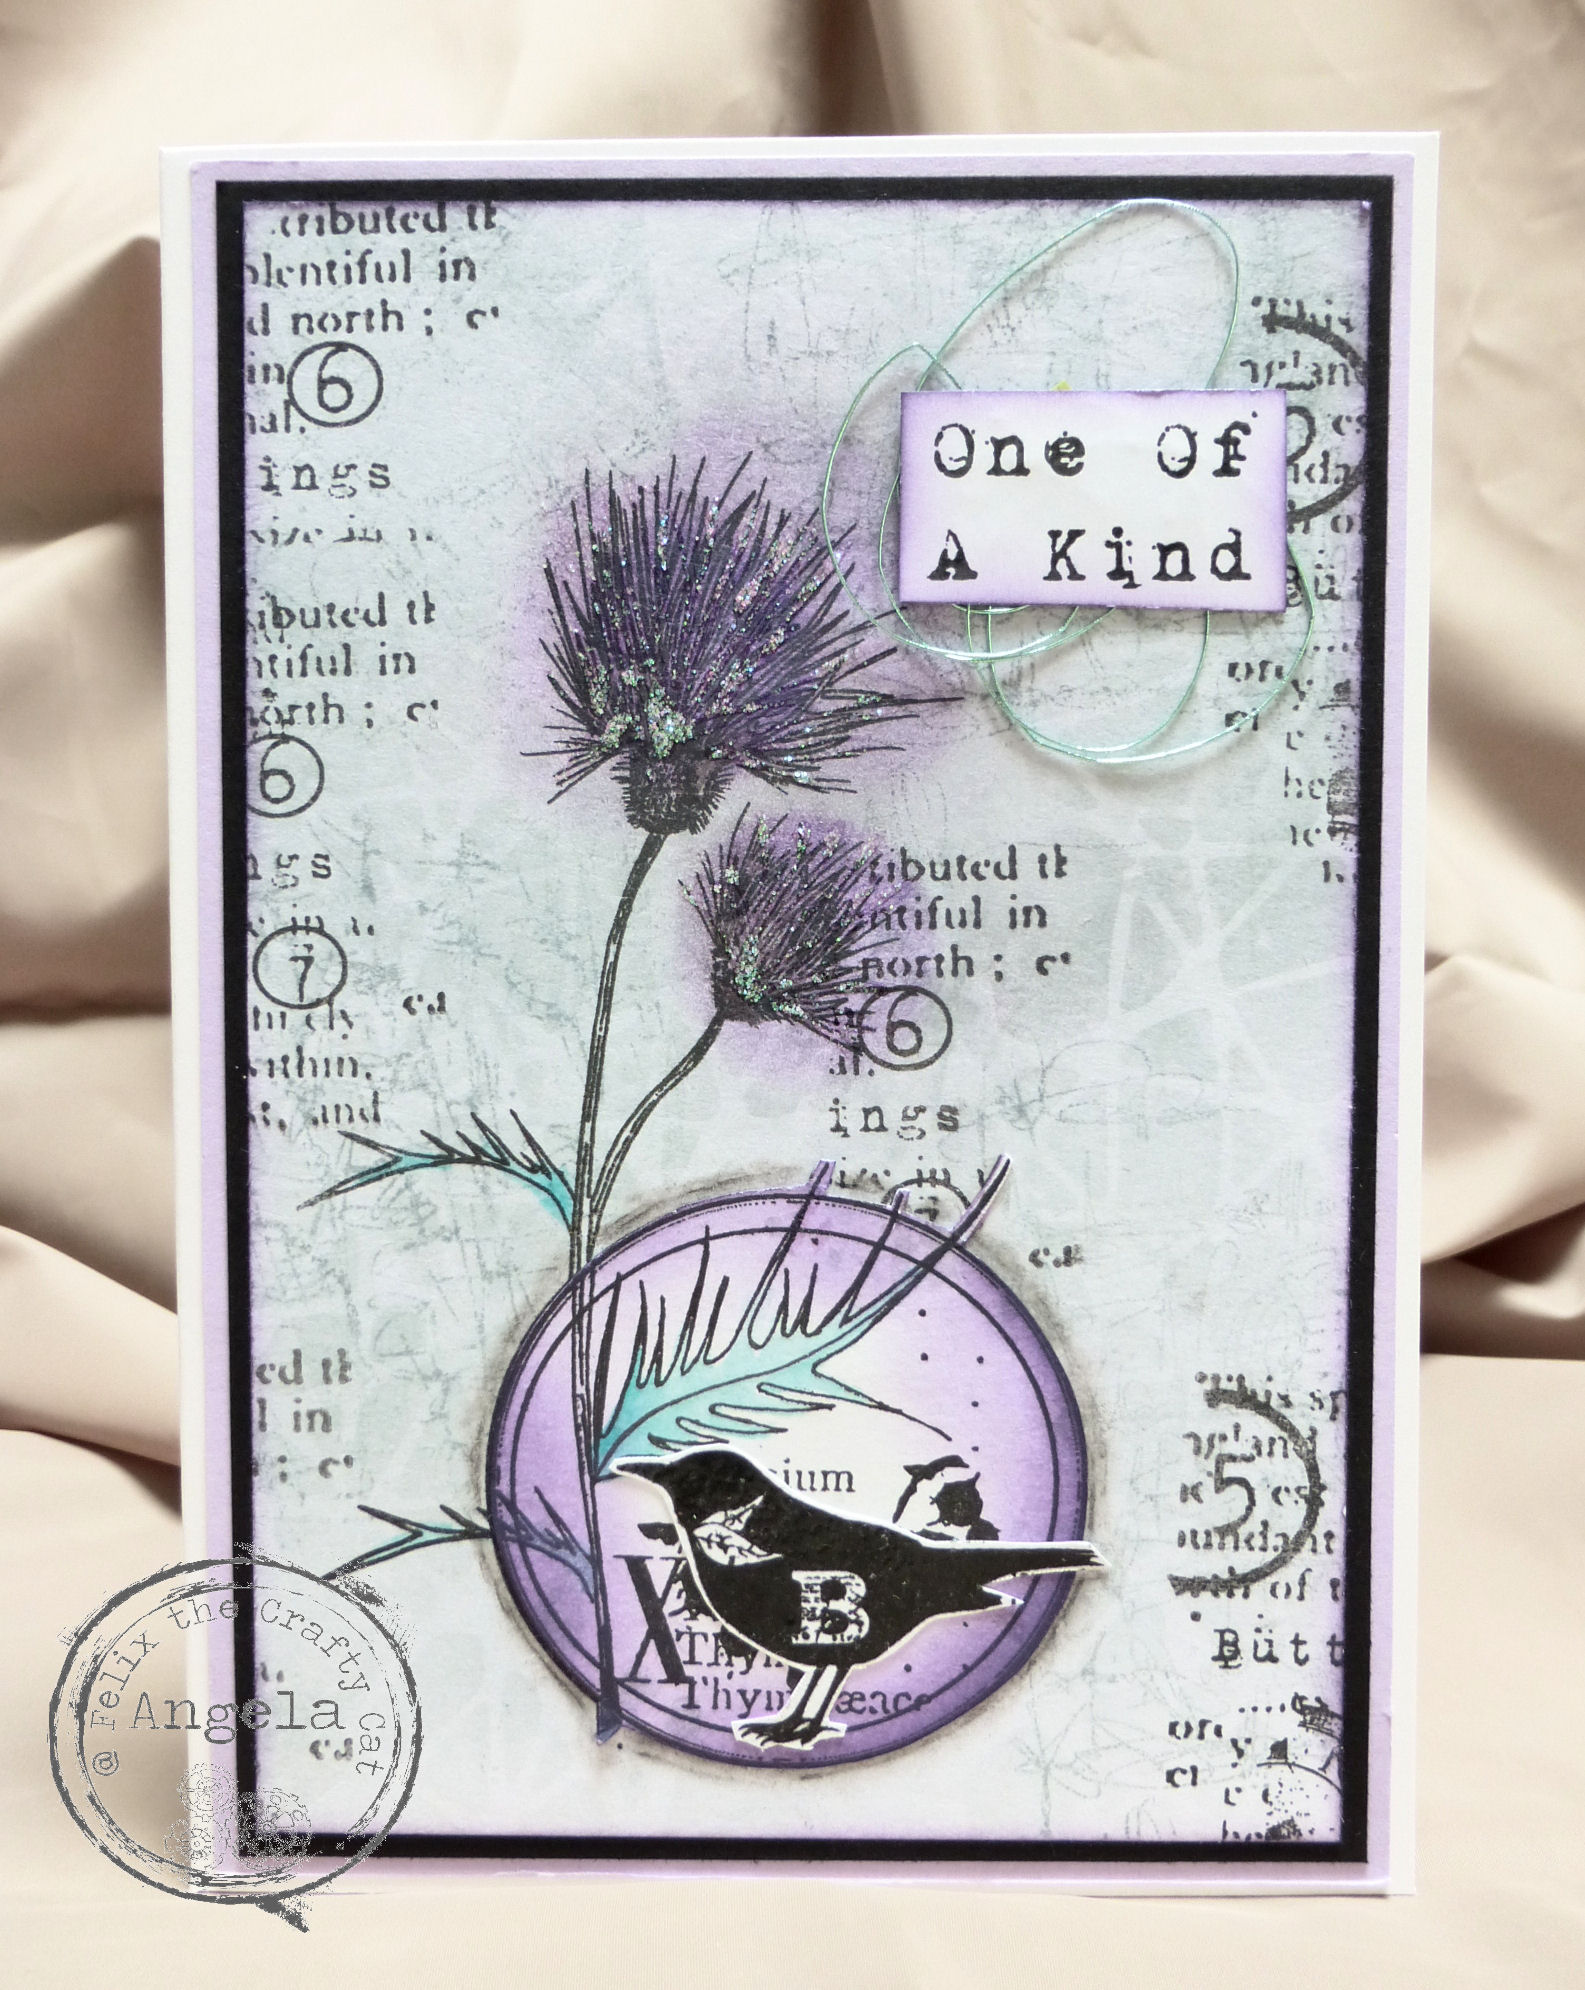
To make the card, I've cut a piece of the Masterboard to fit a card blank 5" x 7" with purple and black card for layering.
I stamped the circle part again on the splattered card and cut it out then added the lilac and green colours. I attached this over the original stamped image and added the shading around it. The little bird was also stamped and fussy cut then added.
All the stamps here are by AALL and Create and I've added some shiny cord and Stickles Glitter glue to complete the design.


I have fussy cut a small piece for the inside too and the sentiment is by Woodware.

So that's about it for today, hope you like it.

I would love to hear your comments.

Many thanks for stopping by and happy crafting,

Angela x

Blogs I follow

01 09 10