Welcome to all my new followers, hope you enjoy the journey.
I am here to show you this month's Masterboard from my friend Gloria which was based on the Circus and this is how I used it.
The Masterboard she sent me is here:
And now it's here:
I must apologise before I start as this is quite lengthy despite trying to explain the stages as briefly as possible.
I decided to combine some Graphics 45 stamps and papers with the masterboard and started by stamping and embossing the stamps and then colouring the images with Chameleon pens.
I wanted to make something which would work with the circus theme and decided on a bendy card of sorts as the curved front looks a bit like the circus ring.
However I am going to extend the card by adding doors but you will just have to wait and see what happens.
There are many tutorials for this type of card but this in simple terms is how I made mine.
Using a 6"x6" card blank I cut it in half giving me two pieces measuring 6"x6".
Take one piece and cut this horizontally at 2 1/2" to create two pieces, one will measure 6"x 2 1/2" and the other 6"x 3 1/2.
At the narrow end of each piece score at 1/2 inch and at the other ends create a tab by removing 1/2 inch at both sides and cut the tab at an angle as shown.
- Attach the scored end to the side of the 6"x6" card and create a slit at 4 1/2" for the tab to fit into.
Attach the smaller strip to the other side and this time create a slit in the first strip at 2" from the scored end.
When the tabs are put in place it causes the card to have a bend at the front which acts as a stand and looks like the circus ring (well I think it does anyway).
Here you can see how to place the die so that only the top section is cut.
This is the die I used.
All of this should be attached before we start to decorate it as the card will then be covered by the papers.
This is basically what it should look like when ready to decorate.
When the tabs are removed from their slots the card becomes quite flat.
Now you can start to cover the white card using the slits you have already cut as a guide to cutting through.
Here you can see that I have turned the card over so that you can see the slit.
Place the metal ruler against the slit and cut through.
Next attach the decorative paper to this side.
Turn the card over and repeat the process.
At this stage I have attached the decorative paper to the inside and the strips.
The next stage is to prepare the doors.
The little sticks will be the flag poles.
I have used some wide ribbon for the hinges.
I began by attaching them to the card with asking tape to hold them in position.
Then added the decorative paper from the Masterboard.
Then the doors and the back piece.
At this stage the rest of the matting can be completed.
Once that was done I edged it with distress ink.
And then added more stickers and posters from the Graphic 45 set and the stamped images I had made earlier.
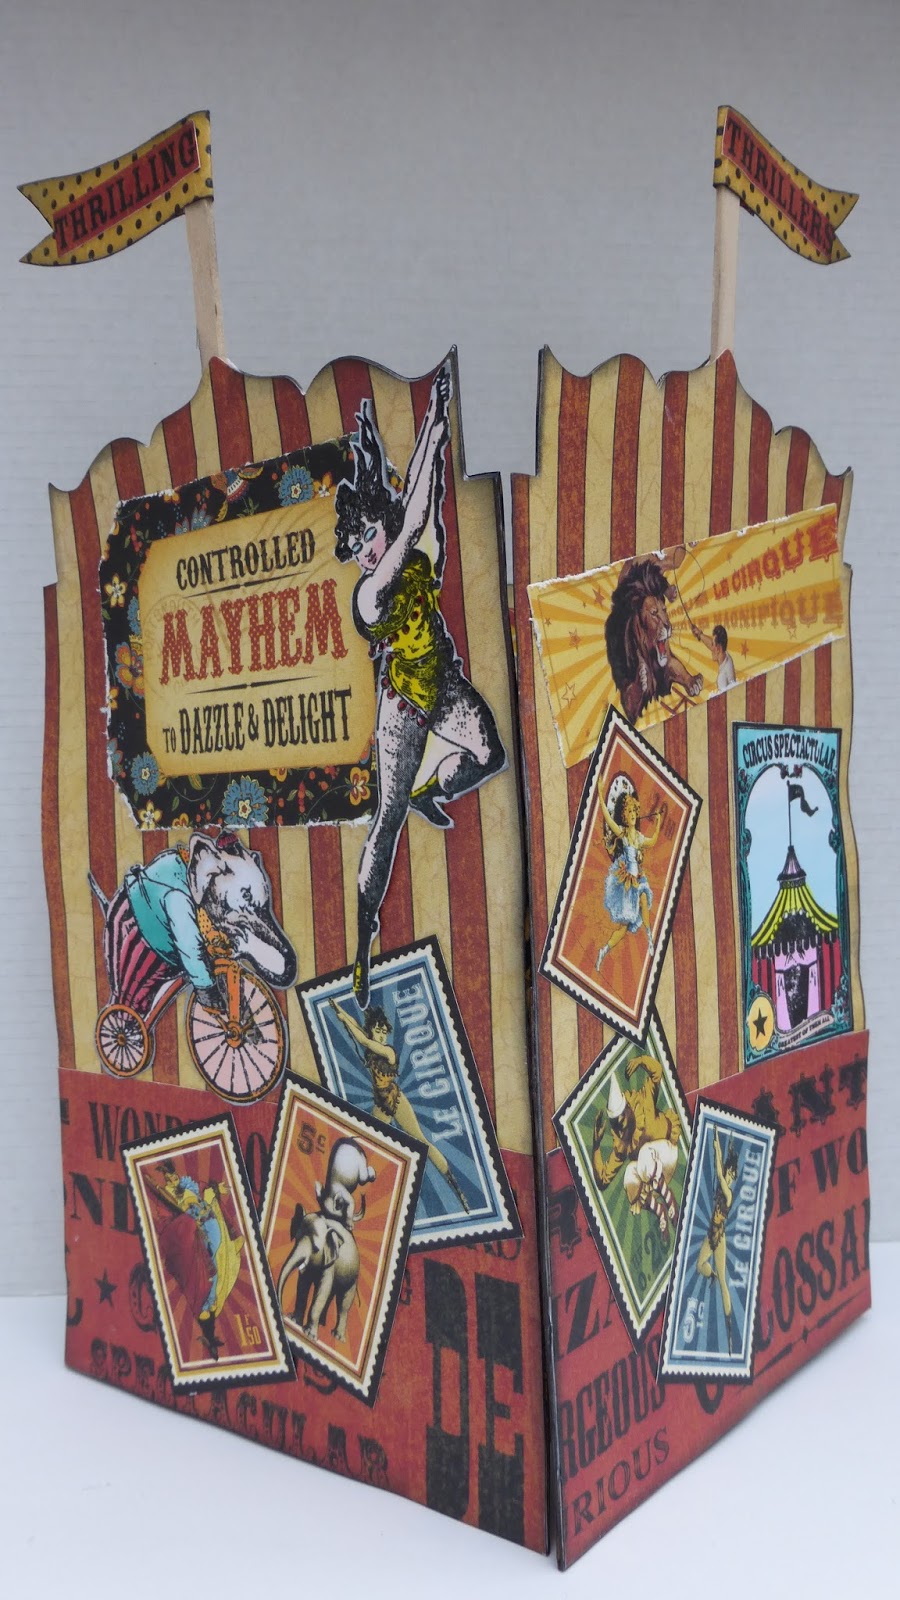
Here is what the card looked like when complete.
Push the left tab into the slit first then the right one.
Here you see the card in the closed position.
And the open position.
But it's even better with the doors round the back.
Viewed from above.
Close-up.
To keep it nice and flat for posting I have added a ribbon but there are other types of closures which could be used.
And that's it really, hope you liked it.
If there is anything that is unclear please leave me a comment and I will get back to you, in fact a comment would be nice anyway Lol!
Hope you found this tutorial interesting and thanks for the visit.
Happy crafting,
Angela xXx




.jpg)


.JPG)


.jpg)





