Showing posts with label Craft O'Clock. Show all posts

Wednesday, 9 April 2025

WOYWW - 827 - What's On Your Workdesk Wednesdasy.

Welcome to all my new followers, hope you enjoy the journey.

Hi Workdesk friends. 
We are here for another Wednesday at the Workdesk and here is:
"What's on my Workdesk this Wednesday".


If you don't know what this is all about then please visit
 Sarah's Craft Shed and our host Sarah will explain.

So here is my desk for today!


Some of you may remember this style of card from last week.


And yes this is another.
The card for this one was 'Craft O'clock'

Some of you were interested in the cards that I showed you last week and I've put the instructions for the Bow Card on my Monday post if you're interested.
It's here:

I've sent copies of the instructions to Angela, Neet and Cindy. Hope they arrrived okay.

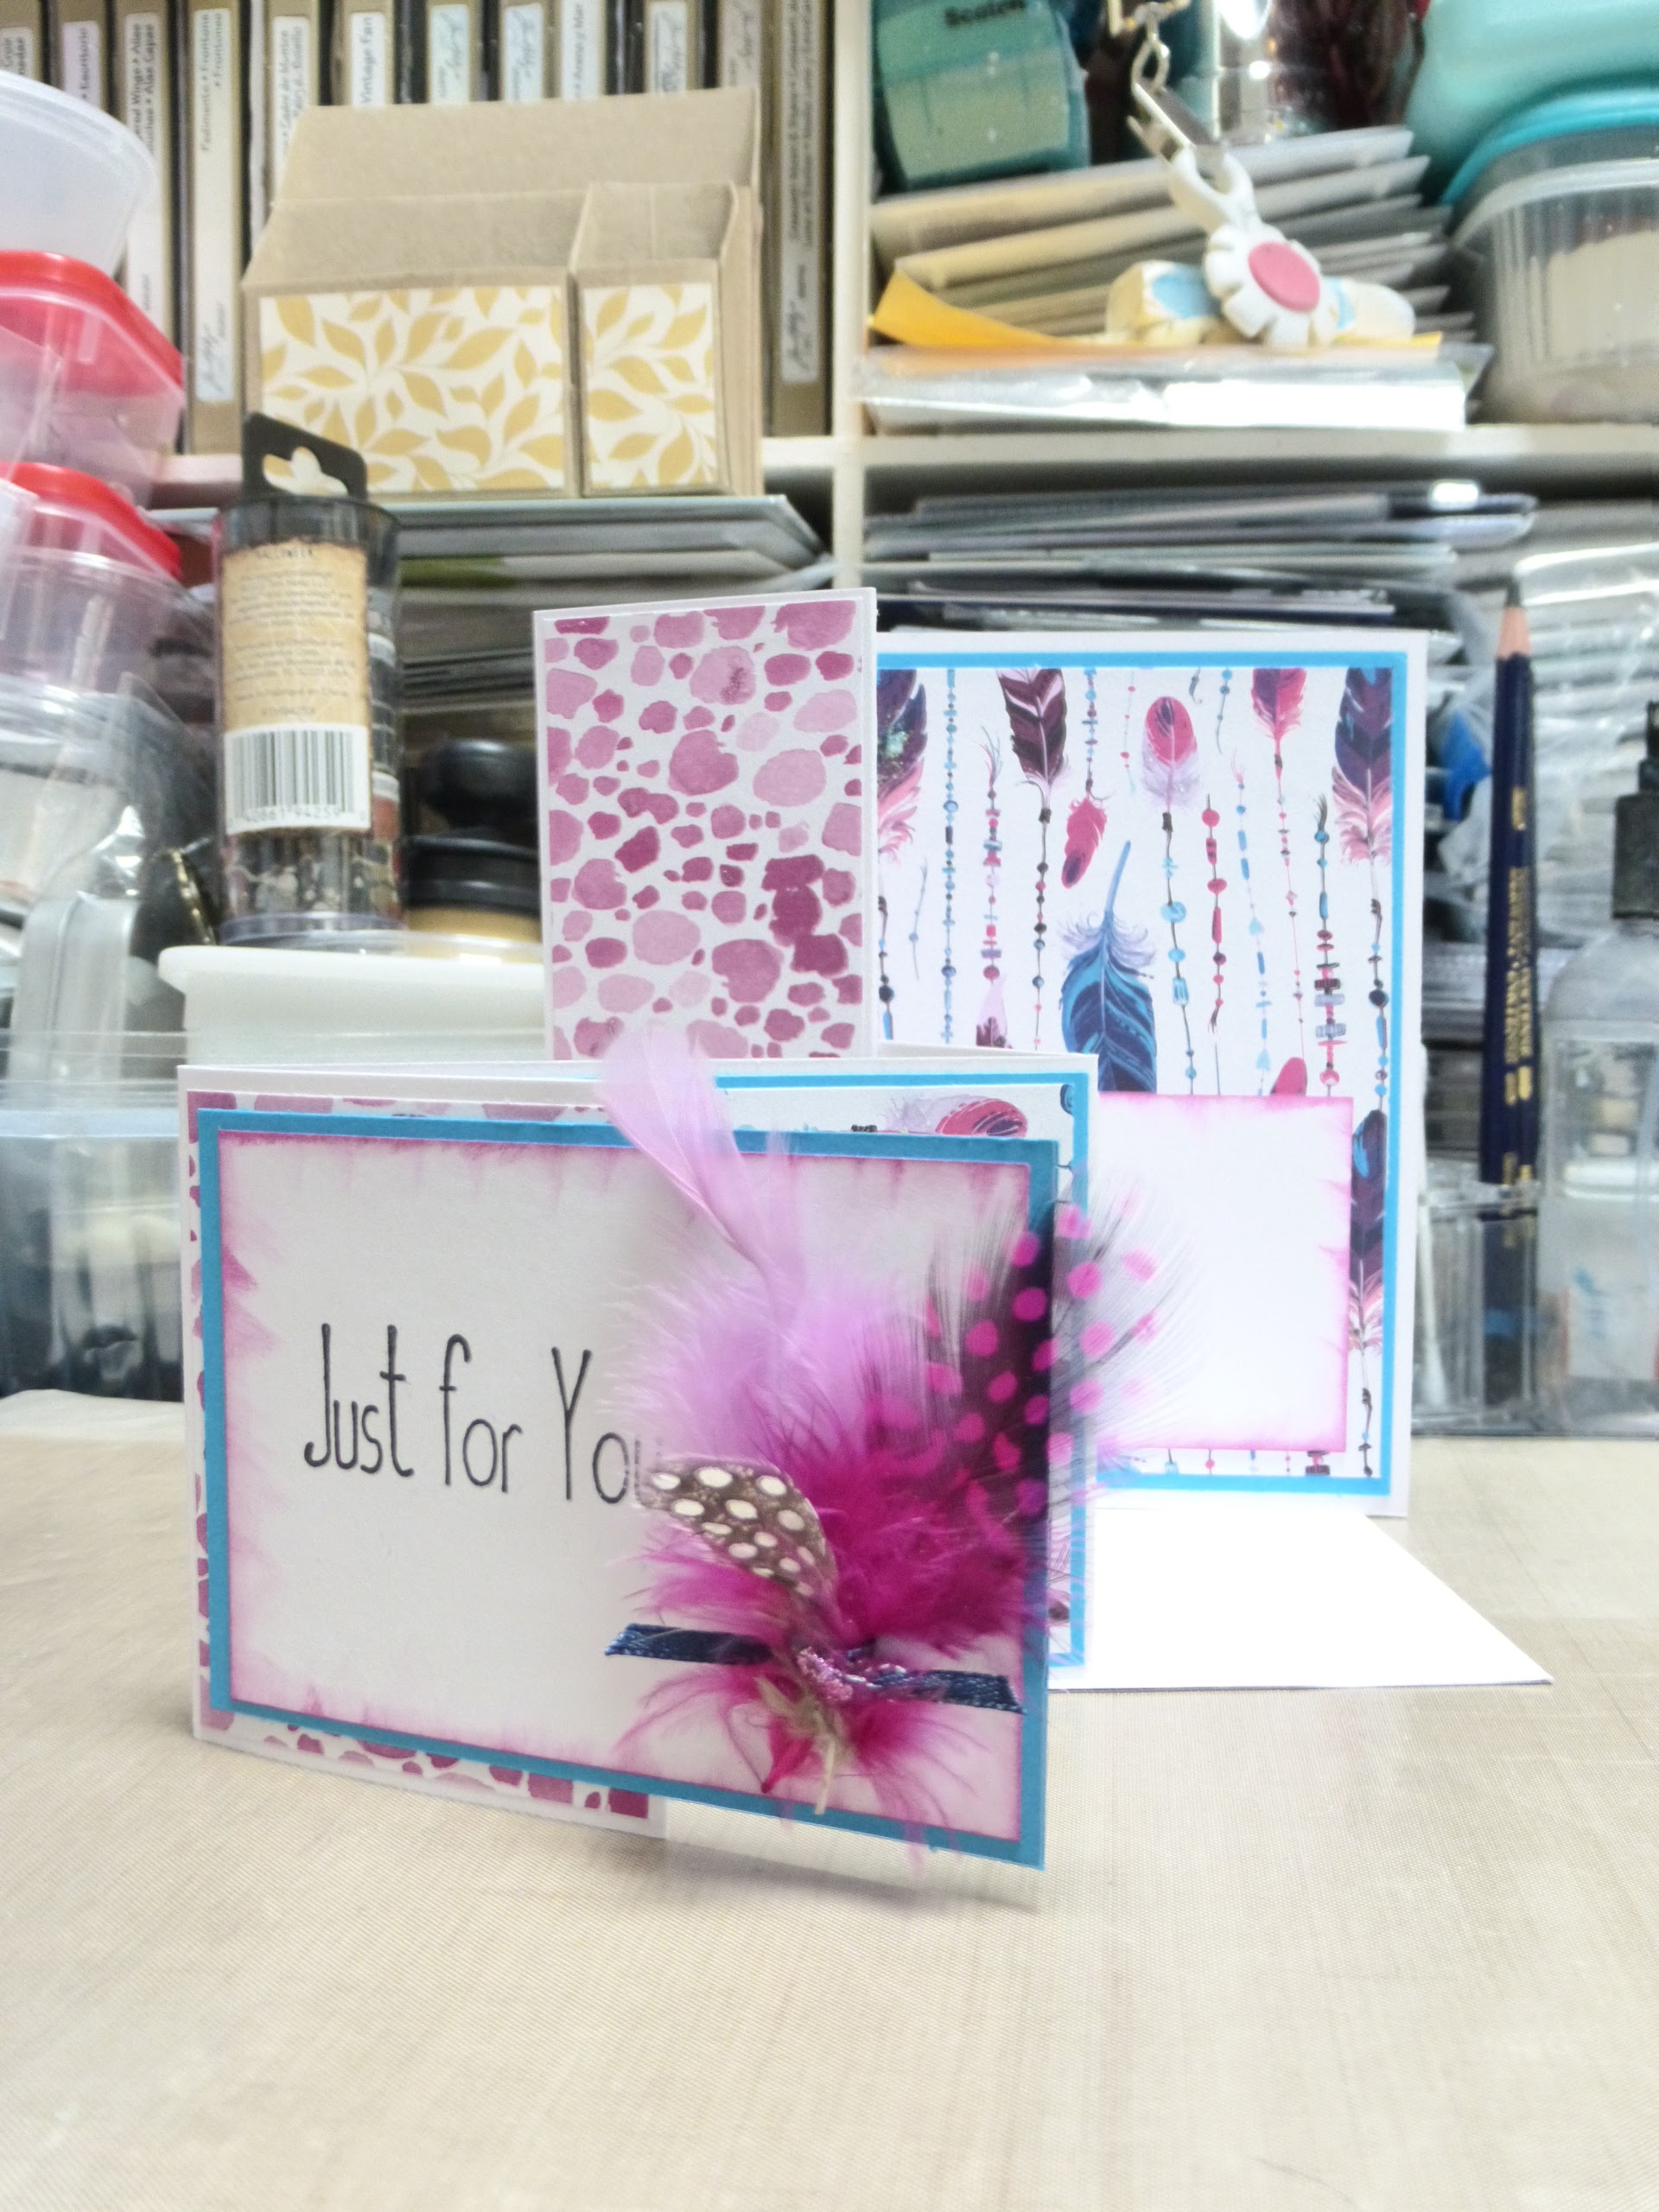
On my desk today I'm showing you the W/Accordion card again and the instructions for making it for all my friends that asked about it otherwise you may want to leave now Lol!


When you see it like this it looks much simpler, which it is you just need to get the folds in the right place.


I've decorated mine with matching ephemera.
This is from a set by Stamperia.
Lots of stickles Glitter glue too.


This is a plain piece of card on the back of the base to add further sentiments and messages.


Even looks good from the back and it's so good to see both sides of the card and remember if your patterned card is too light just attach the base to a 5" x 7" card blank.

Inside Pop Out Card ( Accordion / W Style) materials:

·        5”x 7” Card Blank if used / needed.

·        4 ¾” x 6 ¾” Base card any colour or white/black.

·       12” x 12” Decorative double sided card/paper ideally 180-200gsm so not too thick and cut to 12” x 6 ½” .

·        Inside sentiment Panel piece size depends on the front panel but could be placed on the back too.

Instructions for making:

Score the double sided card/paper at 1 ½” - 4 ½” - 6” - 7 ½”


Attach the 4 ½” right side to the base piece and fold the next piece (3) towards it and crease well. Fold the next crease going V and M until complete.

It is possible to attach the base to a 5” x7” card blank if the patterned card is not strong enough to let the card stand up but I did not find it a problem.

I added a plain panel piece to the inside to add a sentiment which is not seen when the card is closed but could be smaller or attached to the back or inside the 5” x 7” if used.

The size of this will depend on how you decorate the front as I like the inside panel to be hidden when the card is closed.

·        Add you chosen embellishments to complete the card.

Hope that’s useful but you can just send me a

 message if you need help with it x


So that's me done for today.

 Thanks for stopping by and hope you will pop over and join in the visits around the other desks.

 I'm off now to see what everyone else is up to.
Have a great woyww 

and 
happy crafting,

Angela x

Monday, 29 January 2024

Masterboard Monday review of 2023

 Welcome to all my new followers, hope you enjoy the journey.

We're coming to the end of the review of 
2023.


And here are a few cards which haven't been included so far.


Some are my favourite fold cards.


Some are made using free papers from magazines.


Some of my favourite stamps from 2023.


Couldn't go without some favourite Kate Crane stamps and these gorgeous Materboard background layers.


Floating balloon dogs.


oo0oo


And another interactive card using papers by Craft O'Clock.


These are so much fun to make and receive.


And a pop out card too.


I realised too that the only piece of assemblege art last year was this one:


Resin Octopus, bottles, light bulbs,


sea creatures and netting off my supermarket oranges.


Must sort that out this year so watch this space.

I would love to hear your comments.

Many thanks for stopping by and happy crafting. 
You can expect to see something new pretty soon.

Angela x

Monday, 5 June 2023

Use it or Lose it Monday.

  Welcome to all my new followers, hope you enjoy the journey.

I am here today to show you how I've used some more of my stash:

These fun papers are by Craft O'Clock and I used some light weight Kraft card for the base cards.

You may remember seeing me use these papers before when I made them into ATCs about two weeks ago here:


This card was made using the Crealies Never Ending Card die.


These papers are just the right weight for this type of card.


I found that the card opened really well but you need to be careful not too use anything to thick. 


As you can see here I did get away with some layering with thin black card.


And so to the final turn of the card.


And this is the back. 
You could easily add your sentiment here.


You can make this card stand up by opening the bottom fold.
The sentiment at the top was done on my Dymo.

Hope you like it as much as I do.

I would love to hear your comments.

Many thanks for stopping by and happy crafting,

Angela x

Monday, 22 May 2023

Masterboard Monday - Use it or lose it.

  Welcome to all my new followers, hope you enjoy the journey.

I am here today to show you ATCs made with these papers:


I love these little robots.


These are Craft O'Clock papers.


I've been making these for the Stamping Ground WOYWW 14th Anniversary.

I love a bit of movement in cards and ATCs so finished them with one of the images attached with acetate.

I will be receiving several ATCs from the swap so the next job was to make a pocket holder to store them in.


I started this with some old packaging card and made up the folder which was then ecorated with the same papers.


Pockets next using Kraft card.


I used this die by Tim Holtz but removed the top flap  then joined the pocket and attached them together with Redline tape. I also used the tape to attach the pockets to the inside of the folder.

Front.

And here it is completed and ready to hold the ATCs.


Back.

I would love to hear your comments.

Many thanks for stopping by and happy crafting,

Angela x

Blogs I follow

01 09 10