Showing posts with label Manic Monday. Show all posts

Monday, 13 January 2025

Manic Monday Baby Journal.

  Welcome to all my new followers, hope you enjoy the journey.

I am hoping that the baby journals are completed though I shall go through them once more before I am satisfied.

For now a few photos of the journals and by all means if you think something should be added please say so.


As I do not know if it will be a girl or a boy I have had to make two, one pink and one blue.
I used a vey old Spellbinder's die to cut out the title section at the front from the original book


and added it to the journal. 
"Waste Not Want Not" as they say.


The main journal fastens with a ribbon
and the inside starts with a smaller journal which fastens with a small magnet.


And a frame for the babies first photograph.


The frames are open at the top so that the photo can be inserted to fit firmly.


There are several pages and pockets in the small journal and I've included an information sheet too.


I think that's enough for today and will show you the rest of the journal next time.

I would love to hear your comments.

Many thanks for stopping by and happy crafting,

Happy Crafting 
Angela xXx

Monday, 16 December 2024

Manic Monday Baby Journal.

  Welcome to all my new followers, hope you enjoy the journey.

Still Manic here but got a bit further with the baby journals.

I'm working on both journal covers today to join the front, centre and back pieces.

The white pieces are strips of Tyvek.
I use up Tyvek envelopes for this that come through the post though you can buy it in pieces too but "waste not want not" as they say and better than binning it.
Tyvek is very strong if you're not familiar with it but easy to cut. It will not stretch or go out of shape so ideal for spines on books.


I've cut the strips to fit and covered it with score-tape either side of the fold line.


Attach to one side and then ensure the cover pieces are pushed well together and then stick that side too. Press the tape down well to ensure it's secure.
Important tip - don't touch the tape with you fingers as this can prevent it sticking firmly.


Next cut some strips of matching coloured card.


Cover with score tape and attach to the Tyvek.


This will cover the Tyvek so that it can't be seen.


Nice and neat?


Attaching the pages next.


Cut to size allowing half an inch extra to make the fold and add the Score-tape.
I attached the first page 1/2" in from the fold line to allow room for a mini book to be added.


Fold the page towards the left ready to attach the next page pushing each one up to the one in front of it and continue till all pages are attached.


And we're all ready for the next stage.
It's really startting to come to life now.

I would love to hear your comments.

Many thanks for stopping by and happy crafting,

Angela xXx

Monday, 9 December 2024

Manic Monday.

 Welcome to all my new followers, hope you enjoy the journey.

I am here today to show you what I will be up to for the next few weeks which may mean fewer Masterboards for a while:
This next photograph may give you some idea of why I will be busy with other stuff.


I have two of these one for a boy and one for a girl by Trimcraft.

My friend will be having a baby in the new year but I have no idea what it will be, a boy or a girl so two baby journals will have to be made. 
I should have started this earlier but Christmas cards got in the way!

I have made these before but some time ago so hoping they will look like these.......well near enough!


I'm starting here today by prepping the covers. The Greyboard is 8 1/4" square and the spine 
8 1/4" x 3 1/2" covered with a Linen texture card measuring 9 3/4" for the main piece and 5" x 9 3/4" for the spine.


Place the Greyboard on the texture card and


crease the edges inward then cut the corners just above the fold which helps the card to fold neatly without extra weight in the corners.


Then check the fold and extra creasing with a bone folder if necessary.


The next stage is the front of the Greyboard.


You need the best double sided tape available and I've used Scor-Pal Tape for this but you could use wet glue too.


Attach this to the coloured card and then tape to the back edges of the Greyboard.


When you fold the sides press firmly on the corners to ensure a good crease.


Not long to wait for the next stage.

Many thanks for stopping by and happy crafting.

Angela xXx

Monday, 4 November 2024

Manic Monday.

 Welcome to all my new followers, hope you enjoy the journey.

Christmas will be here before we know it so C. cards are now my priority.
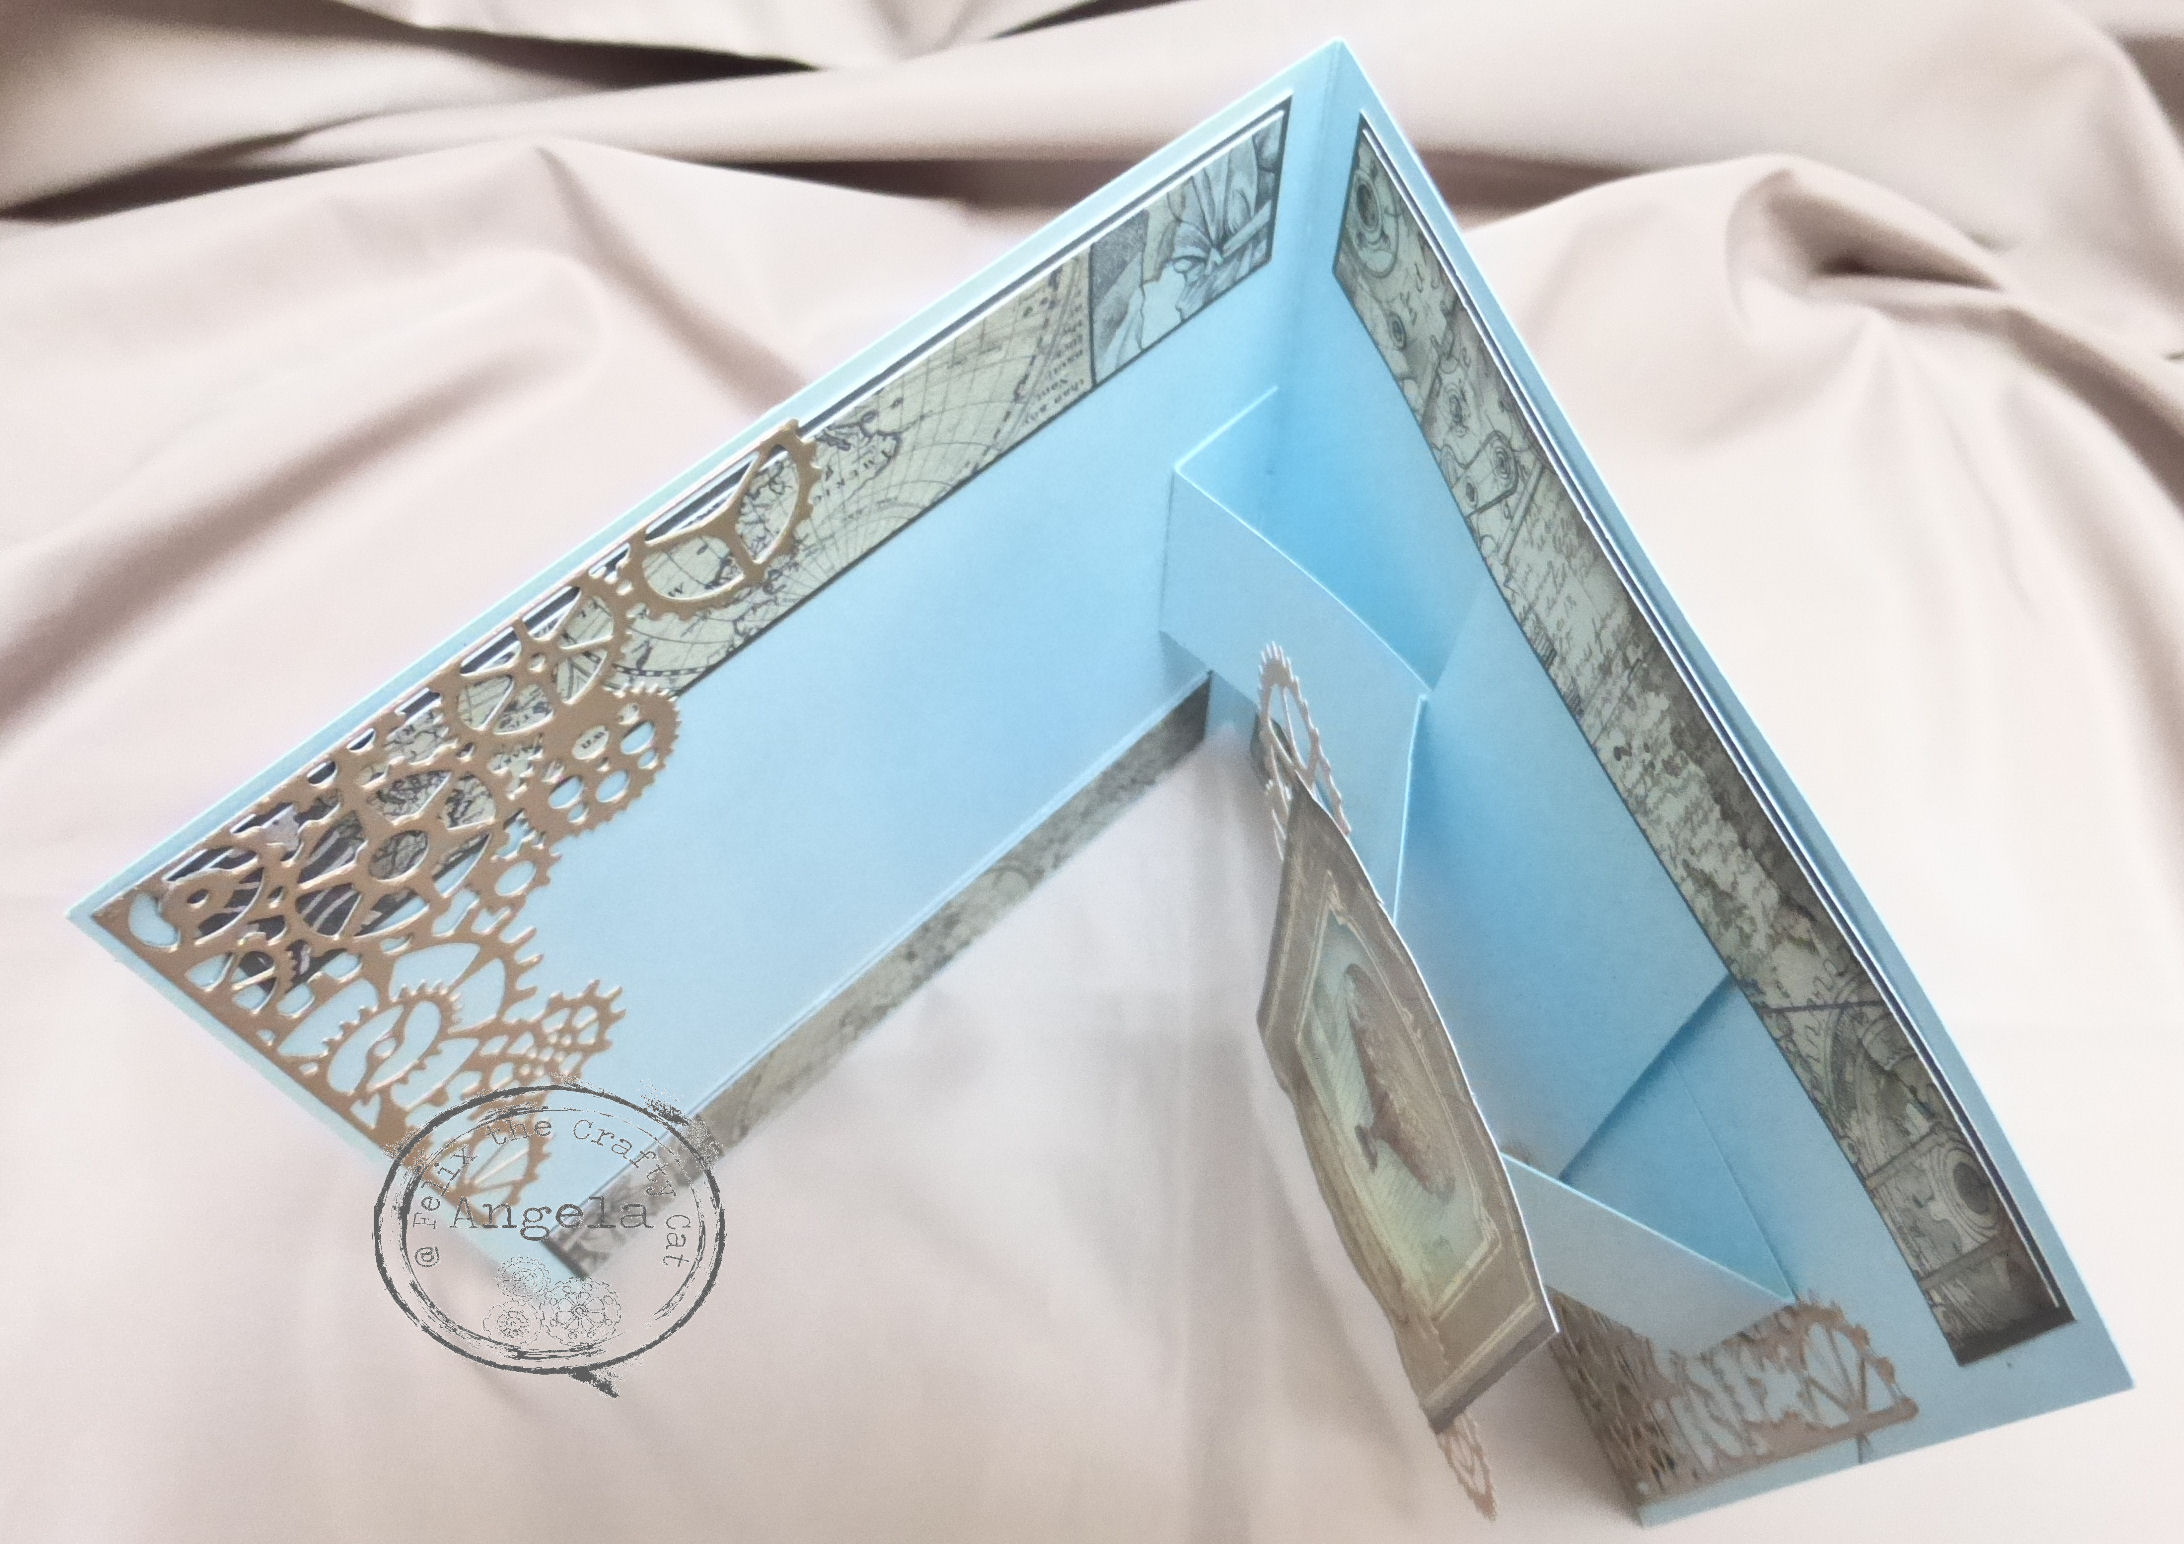
Fold cards have been something I've really got into this year and I posted this card here last week and some of my friends have been asking how it's made so today I have the instructions for you.


This is called a Cascading Pleat Card.


It can be made with either two A4 sheets of card or one 12"x12" sheet.


For mine I've used A4 and you need to start by cutting along the length at 5 1/2" then put the small piece on one side for later.


The next stage is to score along the length starting on the left at 1 3/4", 3 1/2", 5 1/4" and 7".
Measure to 11" this end piece should measure 4" from the last score line.
Cut off the small strip at the end, don't throw this away as you will use it soon.


Take the small strip and fold it into three, this will be used to measure the Cascading pleats.


Place the strip on the second score line from the right and mark ready to cut.


Place the strip on the last (fourth) score line as shown here and mark it.

When all the marks are ready start the cutting from the short end straight to the first score line from the left then upwards on the diagonal to the second score line, straight to the third score line and then diagonal to the fourth one.
It will look like the card above.


You are then ready to cut the pages to fit each of the folds. 
They will be 4" wide but it's best to measure the height as they can differ slightly.


Cut both of these and then decorate as you wish before attaching them to the card folds.


I have layered the decorative papers with a second layer but try not to use anything too thick or it may not close flat.
Finished mine with Stickles Glitter glue and a peal off sticker.

Hope you enjoyed watching me make these.

If you were wondering these papers are by Crafter's Companion.

Happy creative week 
and
many thanks for stopping by.

Angela x

Monday, 6 May 2024

Manic Monday!

  Welcome to all my new followers, hope you enjoy the journey.

I am here today to show you some cards made with a Pop Up mechanism:

I love making Fancy Fold and Pop Up cards and working out the mechanisms.

So I hope you enjoy looking at a few of my samples from this technique.


I have so many patterned papers that it feels more like I collect them rather than use them but this type of card is a great chance to use some of them so here goes.


This mechanism looks so simple and it's fun to make and receive too.


This gives great depth to the card while being completely flat when closed so great for posting too.


I have seen other crafters using a similar mechanism on-line but no measurements so I've worked this one out for myself. It looks simple but you have to be accurate with the measurements or it just doesn't work.


I've also made this one with the mechanism Vertical too.


So many cards that by now you will know why this week has been titled Manic Monday.
Once I got started with this I couldn't stop!


Pretty cards, grungy cards, they all work with this design.

I would love to hear your comments and any questions too.

Many thanks for stopping by and happy crafting,

Angela x

Blogs I follow

01 09 10