Showing posts with label Stampotique Stamps. Show all posts

Monday, 8 June 2026

Make it on Monday.

  Welcome to all my new followers, hope you enjoy the journey.

I am here today to show you a very old card!


I've been busy this week sorting out the cabin and found this card I had long forgotten about.


The stamps are by Stampotique and the die cut edge by Tim Holtz.
Maybe you can see there's someone waiting to come through the door..........


And here he is!


The faces are attached with thin strips of Acetate which is attached before the front layer of card is added.
I have always liked making cards that have some kind of movement (Kinetics) and this is a great way to do it and easy too.


And I finished with a stamp for the inside too but pale enough to write you sentiment on it.

I have always liked Stampotique stamps, they are very quirky and Gothic in style and quite different from anything else.

Hope you enjoyed looking at this card.
I must use some of these techniques again soon.

I would love to hear your comments.

Many thanks for stopping by and happy crafting,

Angela x

Monday, 16 November 2020

Masterboard Monday.

  Welcome to all my new followers, hope you enjoy the journey.


I am here today to show you a card made with this Masterboard:


You may remember this from last week and the card below.

I am still working with this paper to show you a different card this week, well two actually.


The style is very similar just different colours and this week he is definitely sliding down on his gift box Lol!


No wonder his eyes are so wide!
These are the Christmas set of the Snarky Cat stamps by Tim Holtz.


I've stamped towards the back of the card again as usual. I just feel that this finishes the design off rather than a sudden stop at the fold.

And here they are once again.


Will I use this Masterboard again next week? You will just have to pop back and see.


In case you were wondering the background was stamped with this Stampotique stamp which is part of this set and the branches are Tim Holtz dies by Sizzix, everything was completed using Stickles Glitter Glue.


Hope you like the cards.
I would love to hear your comments.

Many thanks for stopping by and happy crafting,

Angela x

I would like to enter these cards in the following challenges:
2 Crafty Critters - Crazies - Challenge # 44.

Monday, 9 November 2020

Masterboard Monday.

 Welcome to all my new followers, hope you enjoy the journey.

Hi! back again to tell you that it's time for another Masterboard and a Christmas card too.


I got these gorgeous Tim Holtz Snarky Cat stamps and couldn't wait to have a play with them.


The twisted fairy lights are by Stampotique and just work so well with the cats. The die cut Pine tree branches are from the Tim Holtz collection.


I started by stamping the cats several times and colouring them in.


I made my Masterboard using the stampotique fairy lights. 


The card blank for this project is black, not usual I know for a Christmas card but with the white embossing and Stickles Glitter Glue it looks just the part.


I like to continue the stamping towards the back of the card too.


So here we are once more before I pop off.

I think the white part looks a bit like snow now I'm looking at it and the cat looks as though he's using the parcel as a sledge! Love it though but what do you think?
As I've only used a tiny amount of the Masterboard you can be sure to see it again.

Happy crafting.
Angela xXx

I would like to enter this card in the following challenges:
Craft Rocket Challenges # 76 Christmas/Winter.
Animal Friends Challenge: 92 November Dog/Cat.

Wednesday, 5 September 2018

WOYWW #483 What's On Your Workdesk Wednesday.

Welcome to all my new followers, hope you enjoy the journey.

Hi Workdesk friends. 
Here we are for another Wednesday at the Workdesk. 
I am here again to show you:

"What's on my Workdesk this Wednesday".

If you don't know what this is all about then please visit the
 
Stamping Ground, our host Julia will explain then show us yours!


So here is my desk for today!

 
Sadly that roll of ribbon is still there unused but I will get to it sometime.
 
Not sure how the door hanger ended up there (top left), made it ages ago.
 
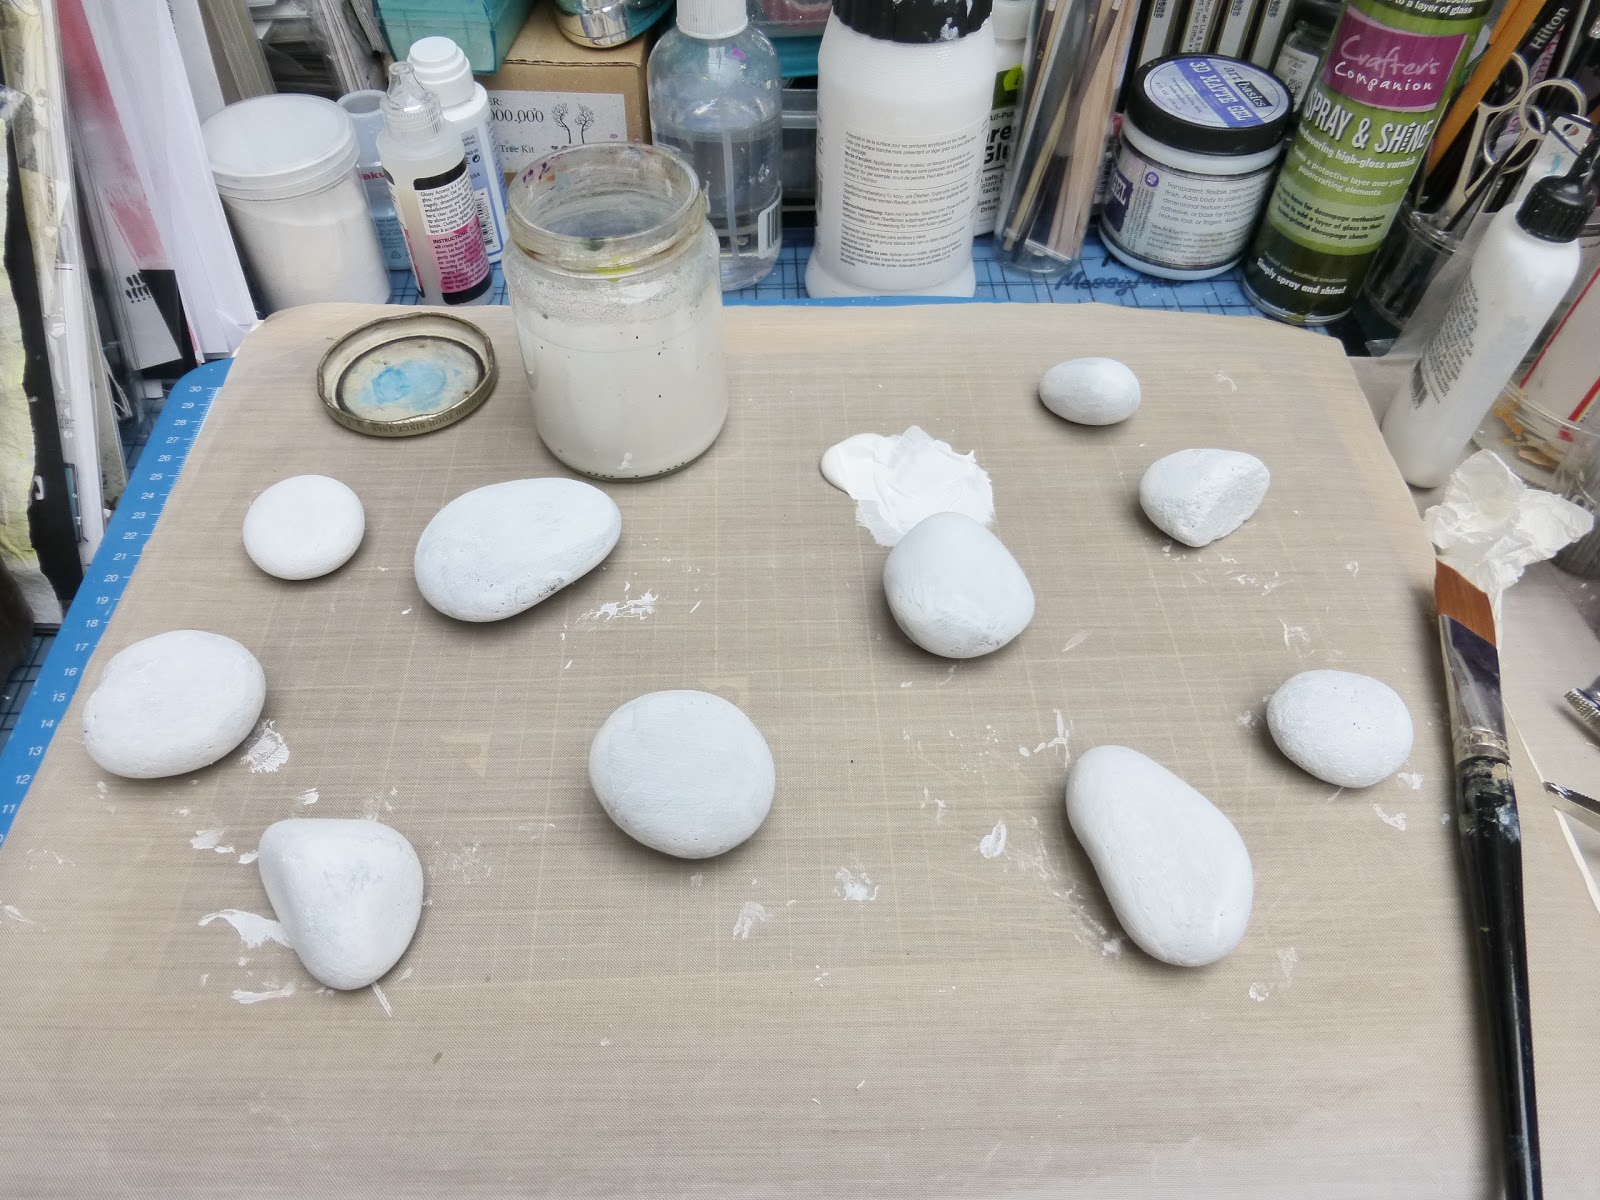
A new thing that you might notice is just on the right towards the front. It's a grippy thing that I am using to hold the pebbles while I paint them.


The tags hung up are some that I made for the Steampunk Festival. If you haven't seen the photos there are lots of them. Some here: https://angelacuttingandcarving.blogspot.com/2018/08/friday-fun-day_31.html 


I love these cog dies by Tim Holtz.


 The pebbles are being painted and will end up as more dragon eyes.


So that's me done for today.

 Thanks for stopping by and hope you will pop over and join in the visits around the other desks.

 I'm off now to see what everyone else is up to.
Have a great woyww 
and 
happy crafting,

Angela xXx

I would like to enter my tags in the following challenges:
Sandee and Amelie's Steampunk Challenges# September - Anything Goes - Steampunk/Industrial.
The Artistic Stamper September Creative Challenge-Going Round and Round. The cogs go!

Monday, 27 August 2018

Masterboard Monday Using Left-Overs.

 Welcome to all my new followers, hope you enjoy the journey.

I am here today to show you a card made with left-over Masterboard:
I coloured a piece of A4 card with shades of red Distress Oxide and used a small section to make a card and as usual the spare pieces just got put away and forgotten.
Well that piece of paper has shown it's face again and has been stamped and revitalised to make this card.

The heart stamp I used on the background is Stampotique so are the little dogs and also the heart bunting along the top. The border stamp and sentiment stamps were free with a magazine.


I have stamped the Stampotique girl (Gooseneck) several times, sections were cut out and attached to the card.
The stamped areas to be coloured were heat embossed to resist the inks used for the colouring.
Small areas were completed using white and red pens and others by adding Stickles Glitter Glue.
I love this make of stamps but they seemed to have got packed away and not used for a while so pleased to have them out again.

I would love to hear your comments.
 
Many thanks for stopping by and happy crafting,
 
Angela x
 
I would like to enter this card in the following challenges:
Dragonfly Dreams - August challenge # Monochrome.
A Vintage Journey - 'How can you Resist?'

Sunday, 5 April 2015

The Mirror Crack'd Challenge # 8 - Make and Use a Masterboard

Welcome to all my new followers, hope you enjoy the journey.

Here we are again for another challenge at The Mirror Crack'd and this month it's Make and Use a Masterboard(but not cards please).
This month we are being sponsored by Woodware a Yorkshire based craft company who have kindly donated a £12 voucher for the winner so it's definitely worth a go.

http://www.woodware.co.uk/

Hope you will pop over and join in, we would love to see your designs.


  ooooooo0ooooooo
                                     
Lin has asked me to host this month's challenge which is perfect for me as I love making Masterboards as some of you will already know.

This is what I came up with.
The Masterboard was created using various masks, stencils and stamps with the addition of tissue paper.


I started by placing one of the Tim Holtz masks onto the paper and then applying ink with a blender.
I continued adding colour over the paper until it was covered with ink and allowed it to dry.

Once this was complete I used stencils and stamps to decorate the surface.
I used black ink for this often softening the effect by applying the second or third press of the stamp.
I added the tissue paper by first scrunching it up and then applying glue directly to the masterboard and smoothing the tissue paper in place as I went along.
I continued to add detail until satisfied and soon it was ready to be used to decorate the chosen product.

In this case I chose to use my Masterboard to decorate a Mini Wallet Book.
You can get the full tutorial for making the basic book by using this link.
I changed the inner pages but as you will see you can vary this to suit yourself.

I started by decorating the outer part of the wallet with a Crafters Workshop template and texture paste.


I prepared several pieces of red card for the layering and rubbed over the edges with Black distress ink using a blending tool.

And then began cutting the Masterboard pieces to size.
I distressed the edges before mounting them onto red card and then  attached them to the black pages.


I also wanted to add some other images to this and decided to use some Stampotique stamps to create them. I add colour using one of my new Chameleon pens.

Here is what I did:


Later I glazed parts of the stamped images and also added stickles glue to them.
 These are just a few of the stamped images and I will show you more in the completed book.

Sure you don't want to see me sticking it all together so...

Here it is, all finished!!!

I have to warn you there are lots of photographs but then there are lots of pages Lol!

So here we go...


I have used several makes of stamps to create this wallet book but the main images are by Stampotique.

The camera stamp was free with Craft Stamper magazine.


Pocket pages for the ATCs.


Think I might have made too many of these so you will be sure to see these pop up again soon.


If you liked it please let me know by leaving a comment if you can.

Hope you will pop over to see what my team members have been up to using this link 
The Mirror Crack'd.

If there is anything you see that I haven't explained just ask and I will try my best to answer your queries. 

I have entered this wallet book in the :
Left of Centre     Challenge # 72 "Monochrome"
Crafty Calendar  April Challenge # "Add a sentiment"
Sisters Of Craft   April "Anything Goes Challenge"

Happy crafting,
Angela x


Wednesday, 18 March 2015

WOYWW 302 # What's On Your Workdesk Wednesday.

Welcome to all my new followers, hope you enjoy the journey.

Hi Workdesk friends.
Back again for another Wednesday at the Workdesk.

So here I am to show you:
"What's on my Workdesk this Wednesday".
If you don't know what this is all about then please visit the
Stamping Ground and our dear host Julia will explain and all will be revealed.
And here is my desk this week.
 
 
 This is not my usual desk, well it's far to tidy for a start Lol!
But mainly because we are in France skiing so I hope you will forgive me but don't worry I will be visiting as normal probably in the evening between bath-time and dinner.
 

As usual I have packed some crafting stuff (sad girl!).

I have brought one of the Chameleon pens and I am working on some Stampotique stamped images which I prepared in advance. 
I cannot tell you yet what the finished project is for but you will find out very soon (5th of April).
 
 
We have not stayed in this Hotel before and it is right on the slopes at Tignes in France so very handy for someone like me who is not keen on early starts.
 
This was Monday Morning:
 
 
And yes the white spots are snow which came down more or less all day though it did not stop us skiing and the sun came out in the afternoon which was lovely.
 
This is the view from the bar.
 
 
And this is a view from the bedroom.
 
 
I know you probably think these people could be anybody Lol! but the one in the black pants is me and the others are some friends we have been skiing with.
The lady at the end in the pink pants is my friend Lorraine who works in Tignes for the season as a Nanny but she is having the week off.
The yellow pants, that's Emma and the purple pants, Jill.
 
 
Sure you can see from this that the snow here is lovely.

I realise that for most of you this is not really very exciting so I will not keep you very long.
 
Have a lovely woyww and I will be back in my usual place next week.
 
Now lets go and find out what everyone else is up to.
 
Happy crafting,
 
Angela x
 

Blogs I follow

01 09 10