Welcome to all my new followers, hope you enjoy the journey.
I am here today to show you a card made with this Masterboard:

Think of spring and we think of flowers so here goes.
The stamps used for this were by Altenew called Watercolour Halftone but I'm sure there are other makes that work just as well.
Stamps that have a large surface area work best for this technique rather than those which create fine lines.

If you like this here's how I made it.

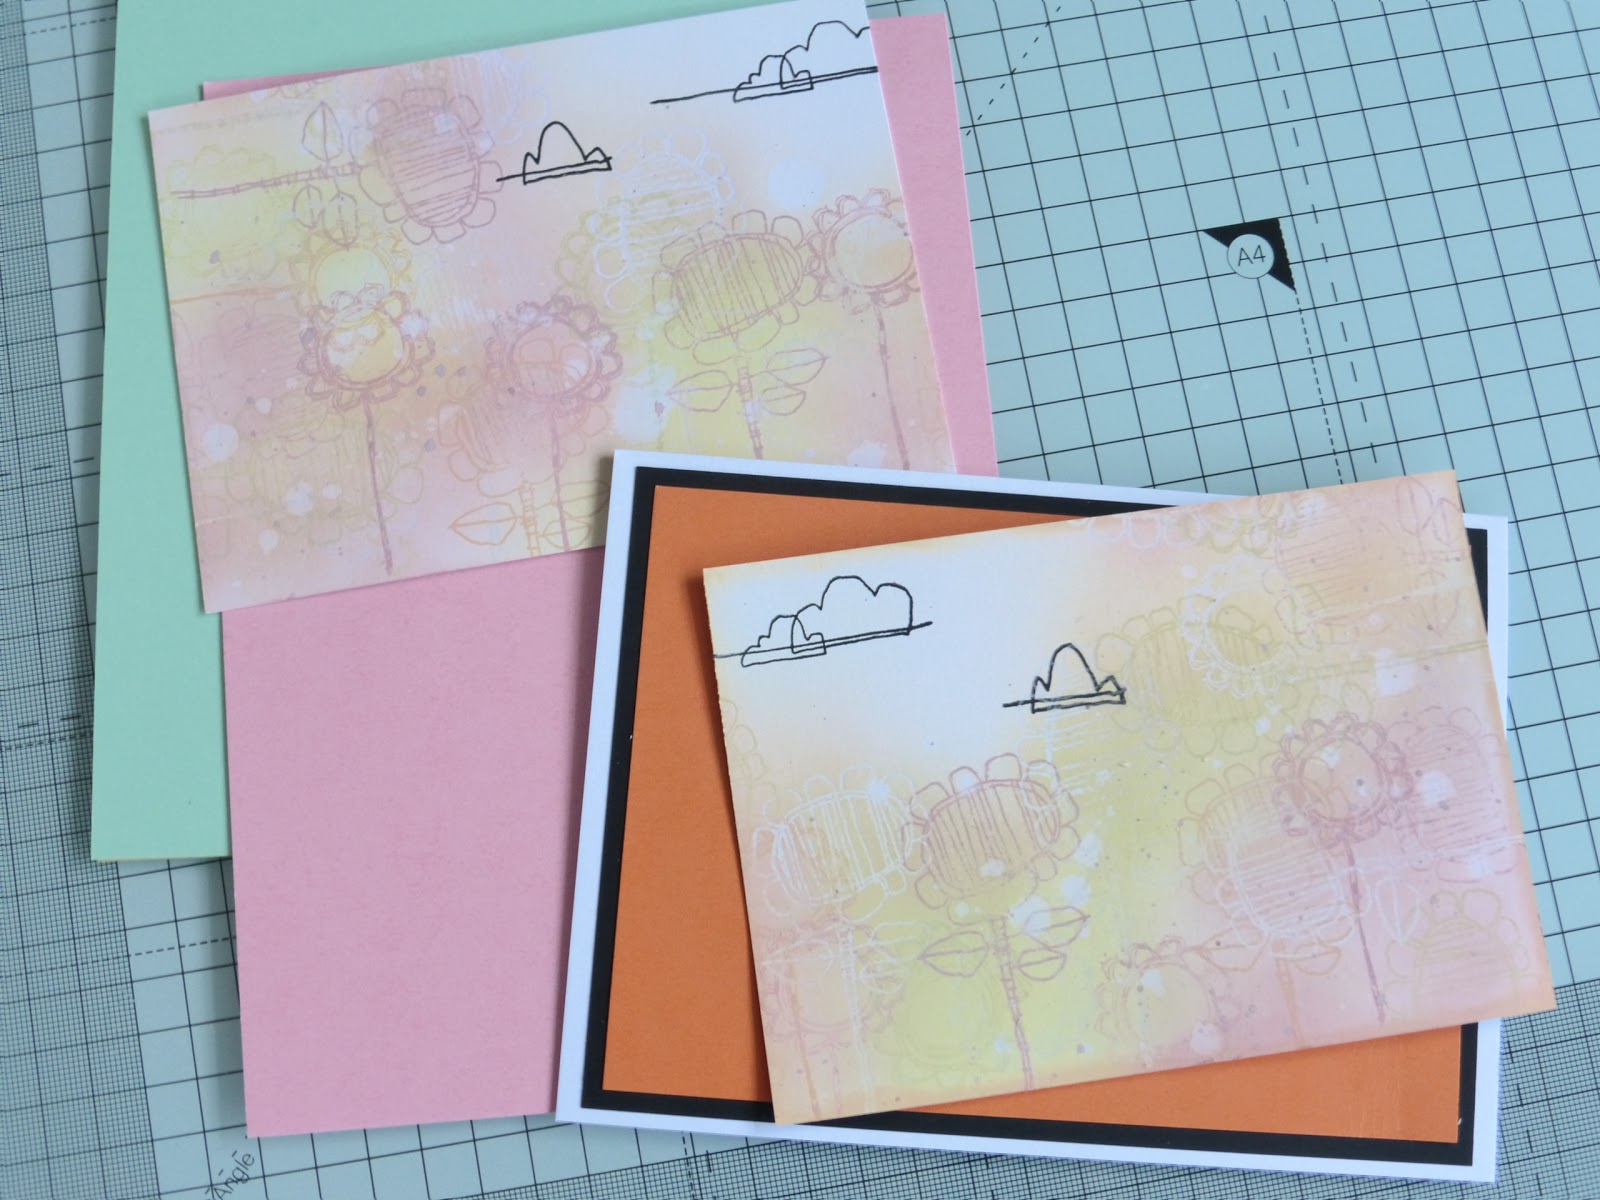
So that you don't have to stay too long I'm showing you three stages in one photograph here.

This is the first and second stage in the Ghosting technique.
1. Apply a light blend of colour around the edge of an A4 sheet of card.
2. Heat emboss your chosen stamp with clear ink and embossing powder.

3. Apply more colour around the edge going inwards but leaving some white card showing in the centre.

4. Place a thin sheet of paper over the card and remove the embossing by ironing over the paper which will absorb the melted powder.
This photograph was actually from an earlier project but it's the same technique.

5. Now go around the design with more stamping using a slightly darker ink.

The ghosting will now stand out almost white as there was very little ink applied when the embossing was done.

At this stage you are ready to cut the card into four pieces ready to make the cards.

And finally this was the first finished card I made.

And I decorated the insert too.
The sentiment is by Woodware.

One final look and that's your lot for today.

However there are three more pieces left so be sure there will be more to follow.
Many thanks for stopping by and happy crafting,
Angela x
I would like to enter this card in the following challenges:
Stamping Sensations: March - Spring Florals.
Creations In Pink - Challenge 20 -Anything Goes In Mainly Pink.
Sweet Stampin Challenge - Make your own Background.






.jpg)


.jpg)


.JPG)


.jpg)








