Welcome to all my new followers, hope you enjoy the journey.
at Crafty Cardmakers.
Angela (me actually!), is hosting today and our challenge is Anything but a Card.
As usual you can enter anything you fancy, it doesn't have to be cards, as long as it meets the challenge.
As usual you can enter anything you fancy, it doesn't have to be cards, as long as it meets the challenge.
Hope you will join in.
And here is my project for the challenge:
I've made a little wallet album to house my ATCs.

Here is how I made the wallet using this Masterboard:
And here is my project for the challenge:
I've made a little wallet album to house my ATCs.
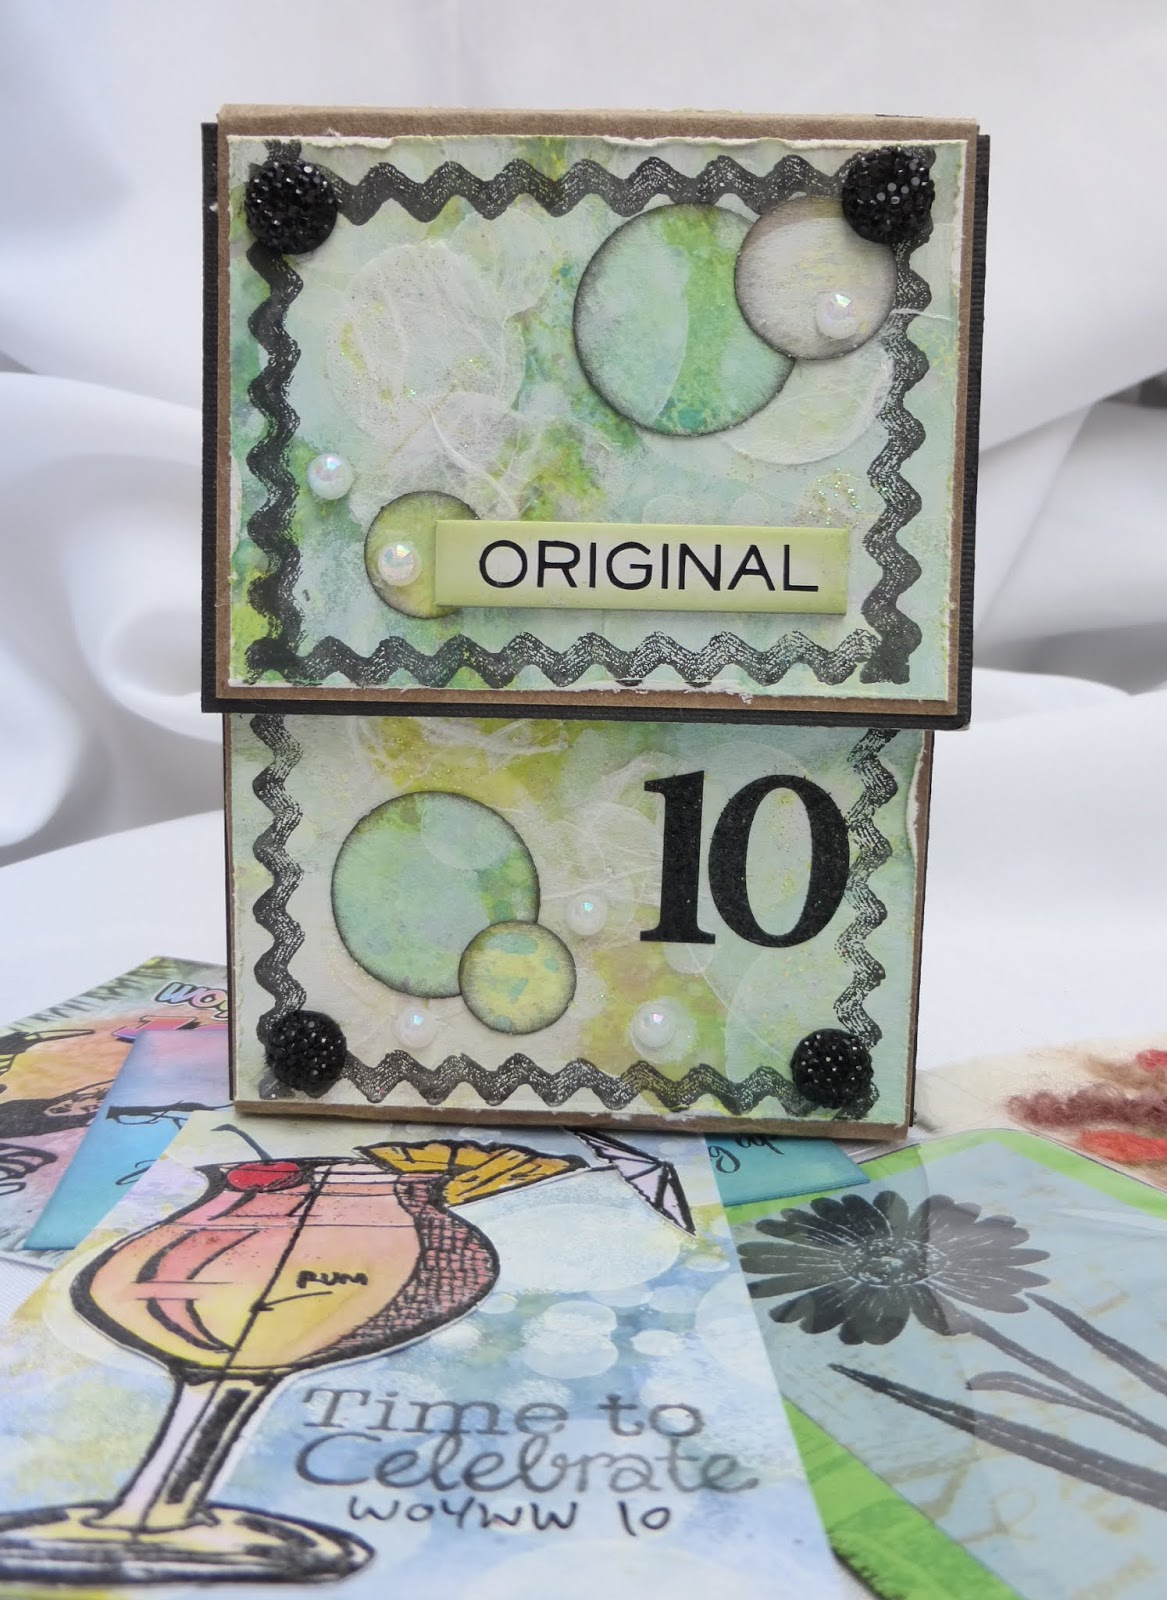
Here is how I made the wallet using this Masterboard:

Basically the same technique used for the ATCs which you can find HERE just different colours. Using that favourite stencil again to create the Bokeh effect.

Cut up the pieces to the size you want them and some chipboard to strengthen the structure.

This piece of Craft card will have the sections attached to it.

And so to the construction.
I've positioned the black card under the craft card. The craft card is just a little narrower than the black chipboard.

Here you can see I've turned it over and you are able to see the positioning. The areas where the craft card is still showing will be where the folds are made.
I've cut the Masterboard to size and started grunging the edges with a pair of scissors but you can also use a distressing tool or leave them smooth.
Construction is next so started attaching the pieces. If you intend using a magnet for the fastening, now is the time to add it but you could also add ribbon or cord under the card before attaching it.


Then decided they needed edging so added some faux stitch detail. You could do this before it's attached to the background or after as I have done here.


Next we need embellishments and a sentiment.

Get out the old punches and handmade paper! Still find these useful occasionally.

A little play around with the pieces and an embellishment by Tim Holtz,

then attach them.


Folders for the inside are next.

I used light weight black card for this and the Tim Holtz Pocket Envelope die.

Cut off the flaps as you don't need these.

Then close.

I prefer to use wet Glue to join all the pockets together.

I know people have different ways of doing this part but I find this works fine.

Paper clips ensure that they are all glued firmly together.

Then attach the first pocket to the front and last pocket to the back.

Paper clips again ensure that everything is secure.

And there you have it completed and ready to put the ATCs inside.

Side View.

Back View.

And from the top.
I do have more detailed instructions for this wallet from 2018 if you would like to see it you can find it here:
I hope you will pop over to see what the rest of the DT have been up to and maybe join in the challenge.
I look forward to seeing what you come up with too.
Happy crafty card making.
Angela x
I would like to enter this project in the following challenges:
Papercraft Challenges: challenge 39 - No Cards.
Shopping Our Stash weekly Challenge blog: 397 - Stencil me This.
A Place to Start: June challenge - Stencil me In - Use your Favourite Stencil.
Craft Stamper Magazine - Take it, Make It challenge - June.
Mini Album Makers Challenge - June Challenge.
I would like to enter this project in the following challenges:
Papercraft Challenges: challenge 39 - No Cards.
Shopping Our Stash weekly Challenge blog: 397 - Stencil me This.
A Place to Start: June challenge - Stencil me In - Use your Favourite Stencil.
Craft Stamper Magazine - Take it, Make It challenge - June.
Mini Album Makers Challenge - June Challenge.


.jpg)


.JPG)


.jpg)








