Showing posts with label Easter card. Show all posts

Monday, 13 March 2023

Masterboard Monday Use it or Loose it.

 Welcome to all my new followers, hope you enjoy the journey.


I am here today to show you a card made with this Masterboard:


Do you remember this from last week?
Not had a lot of time since then so I've used some of the Masterboard from last week.
 
 
It's funny how the embossed areas shine when you photograph them, they were heat embossed.
 
 
So enough of that let's see what happened next.


A simple card, quick to make and only uses a small piece of the Masterboard so that's got to be good.
This is a very clean card but I did add some blended colour around the edge of the white card before layering it on top of the green.
 
Hope you like it.

I would love to hear your comments.

Many thanks for stopping by and happy crafting,

Angela x

Monday, 6 March 2023

Masterboard Monday.

  Welcome to all my new followers, hope you enjoy the journey.

I am here today to show you a card made with this Masterboard:

 Couldn't resist another Retiform design as I've not made one for a while so I got out the ink and A3 card.

 
Any combination of different colours for this is good and I've chosen three Distress inks for this project.
 
 
I  use sticky notes to blank off the lines and then apply the ink with a blending tool.
 
 
I have scanned this finished Masterboard so it's ready to use again and I can have a play later at changing the colours too but we'll see.
 
I know it's a while to go yet but his year I will make sure I have Easter cards at the ready so that's what I'm making here today.
 
  These images are all by Lavinia stamps including the stencils and perfect for Easter cards.


I've stamped and heat embossed some of the larger hares and fussy cut them out.

And I'm guessing you'd like to see how I've used this right! so here goes.

 
I've only been making these fancy fold cards for a short time but they are so much fun to work on.
 
This one is usually called a Triple Point Crossover Card.
 
 
I've stamped some of the Hares inside the card too and included a sentiment.
 

I finished the card with a small bow and Stickles Glitter Glue.
I can't help using the glitter glue it just makes the imagers stand out that bit more.
 
Hope you like it.
With an A3 Masterboard there will certainly be more cards to follow but better get a Mother's Day card made next.

I would love to hear your comments.

Many thanks for stopping by and happy crafting,

Angela x
 
I would like to enter this card in the following challenges: 
 
https://secretstamper.com/2023/03/anything-goes-with-a-fun-fold-for-creative-creases-52/

Monday, 18 April 2022

Masterboard Monday.

Welcome to all my new followers, hope you enjoy the journey.

I am here today to show you a card made with this Masterboard:


You may remember seeing this Masterboard before with the instructions for making.


As it's still Easter I thought you wouldn't mind seeing it again with a different card this time.


I've included one of my favourite techniques by stamping on the card blank including the back of the card then mounting a piece of the Masterboard and layering it with coloured card and mounting it so that the stamping is visible around the edge and the back of the card.


The image stamps and stencils are by Lavinia Stamps, the sentiment is by Tracy Easson and the inks are Distress Oxides.
The large hare has been stamped and heat embossed before being fussy cut and attached to the card.

Hope you are having a lovely Easter. 
Comment if you can, I would love to hear your thoughts.

Many thanks for stopping by and happy crafting,

Angela x

Monday, 4 April 2022

Masterboard Monday.

   Welcome to all my new followers, hope you enjoy the journey.

I am here today to show you a card made with this Masterboard:


I wont apologise for using the Retiform technique again as I still feel I have some way to go with it.
Today you see I'm working this technique with Lavinia stamps and stencils which have always been some of my favourites.


I've use an A3 sheet of card for this Masterboard and fairly light colours to create the nets.
I'm sure you've seen me working on this technique before but if you need more details just look here.


And when that's completed start adding the detail........


until it's full and completed.


I chose a small section for the masterboard and a piece of white card for the top. I began by die cutting the white card with an egg shaped die and then blended ink through the stencil and blended around the edges.
After layering everything together I added Stickles Glitter glue to the rabbit and edged it with a black pen. Finally adding the sentiment.

This is a fairly a quick card to make once you have the Masterboard and quite simple to put together too and ofcourse we have lots left over for more cards too.

I would love to hear your comments about the Masterboard and card.

Many thanks for stopping by and happy crafting,

Angela x

Wednesday, 8 April 2020

WOYWW - 566 What's On Your Workdesk Wednesday.

Welcome to all my new followers, hope you enjoy the journey. 

Hi Workdesk friends. 
Here we are for another Wednesday at the Workdesk. 
I am here again to show you:

"What's on my Workdesk this Wednesday".

If you don't know what this is all about then please visit the
 
Stamping Ground, our host Julia will explain.


So here is my desk for today!


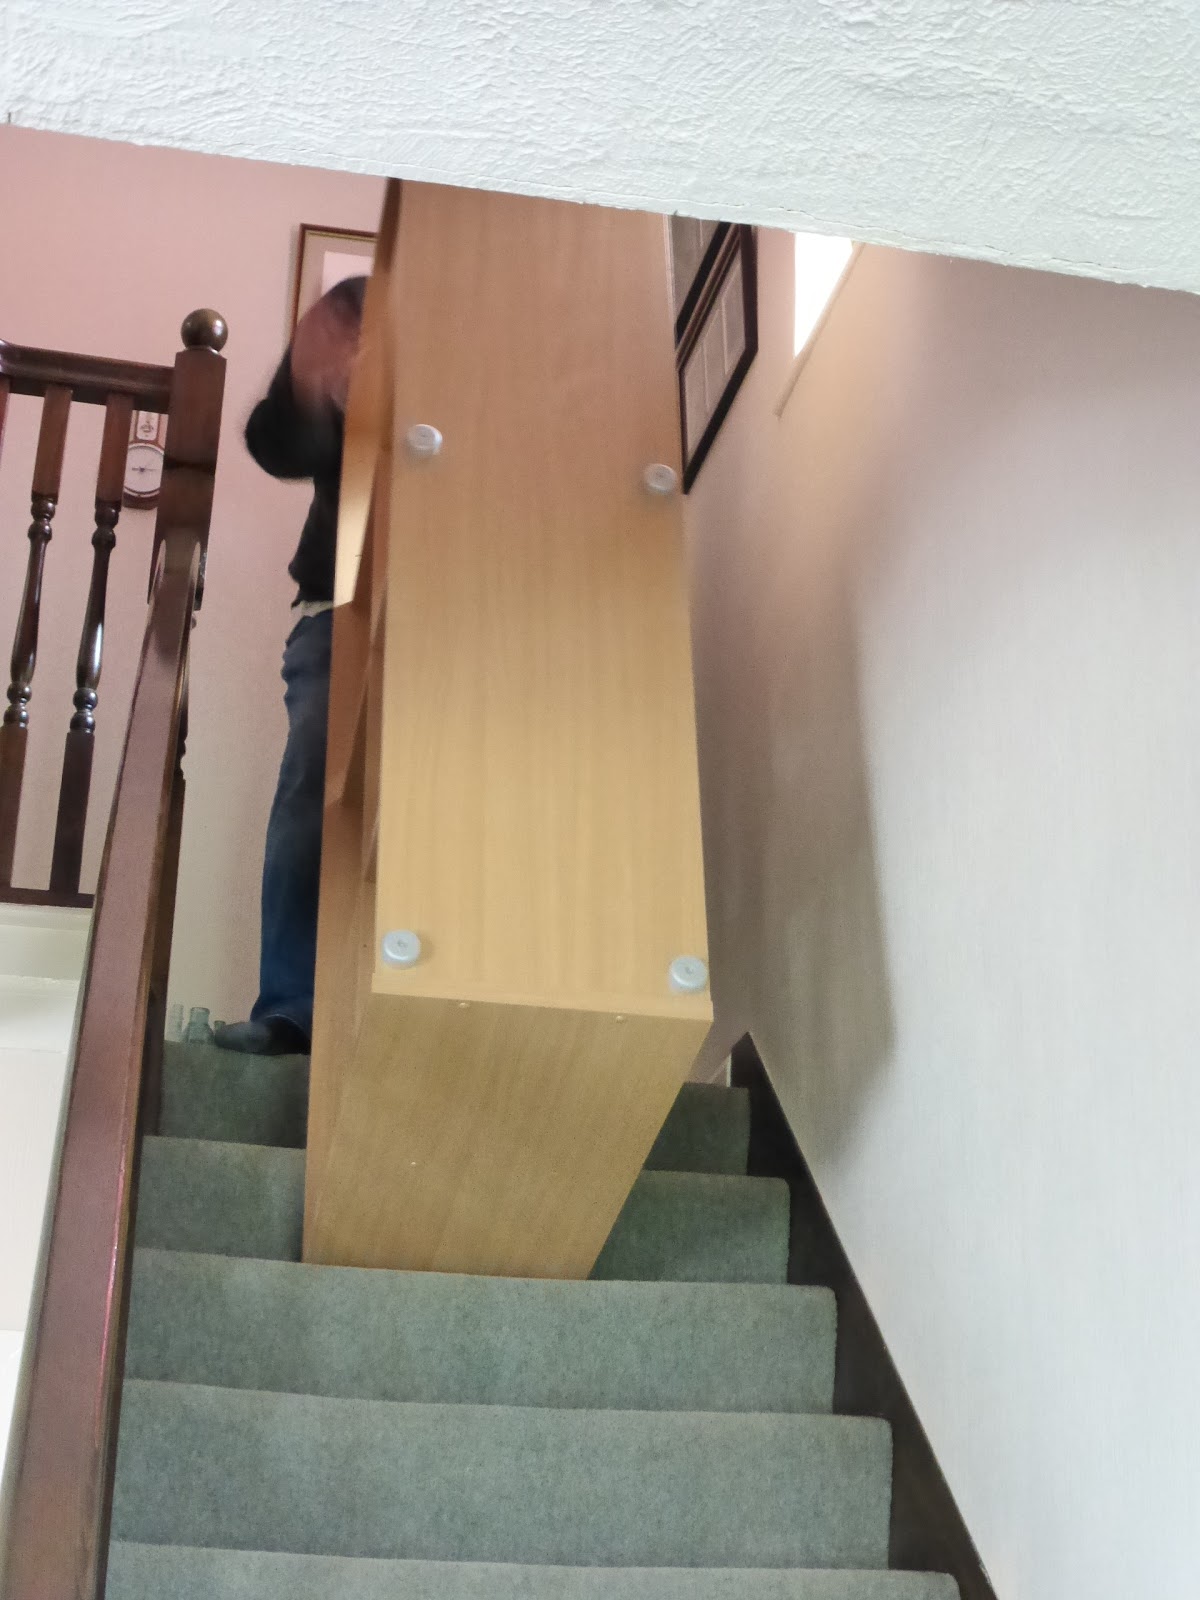
 Well shelving actually.


But as many of you were asking to see this here it is, one set of shelving on it's way down to the cabin.


All this furniture removal has not been good for the crafting which is why the desk is so tidy.

But I have done some crafting seeing as how it will soon be Easter.


So that's me done for today.
Happy Easter to all my friends out there.


 I have a tutorial for this card if you would like to see it, here:


Thanks for stopping by and hope you will pop over and join in the visits around the other desks.

 I'm off now to see what everyone else is up to.
Have a great woyww 
and 
happy crafting,

Angela x

Monday, 6 April 2020

Crafty Cardmakers Challenge - 254 Easter.

Welcome to all my new followers, hope you enjoy the journey.
Hi! back again to tell you that it's time for another challenge over
at Crafty Cardmakers.

 Marlene is hosting today and our challenge is Easter.


As usual you can enter anything you fancy, it doesn't have to be cards, as long as it meets the challenge. 

Hope you will join in.
And here is my project for the challenge:


This is a Tuxedo Box card, something I've been wanting to have a go at making.


The scoring is done first at 2 3/4", 5 1/2", 8 1/4" and 11" which will leave you with a small strip at the end.

Turn the card once clockwise and score again at 2 3/4" and 5 1/2".


I marked this with a pencil those parts that need to be removed and scored.


This probably makes it easier to see the stage.


 Reinforce the score lines and it should look like this.


It's not often I do this but I have had this book for ages so decided it was time to use some of the papers.


Cut out the shapes slightly smaller than the card blank and edge the pieces with a matching colour before attaching them to the background sections.


The flaps are used to hold the embellishments.
Cut these 3/4" wide by 3 3/4" in length and fold 1/2" at each end.
Attach these at the side panel as shown then dab glue onto the two loose ends, gently close the card to position the tabs and attach.


Attach double sided tape to the joining flap and attach it to the other side.


Ensure as you do this that the card will lie flat.


It should now look like this.


At this stage you can add the embellishments.


Which are attached to the inner flaps.

I hope you will pop over to see what the rest of the DT have been up to and maybe join in the challenge.
I look forward to seeing what you come up with too.
 Happy crafty card making.
Angela x 

Monday, 8 April 2019

Crafty Cardmakers Challenge Blog - 231 Easter.

Welcome to all my new followers, hope you enjoy the journey.
Hi! back again to tell you that it's time for another challenge over
at Crafty Cardmakers.


Mary is hosting today and our challenge is  Easter.

As usual you can enter anything you fancy, it doesn't have to be cards, as long as it meets the challenge. 

Hope you will join in.
And here is my project for the challenge:


I always have some A4 sheets of paper that I use as mop up cloths when I'm applying ink or paint to my Masterboards and decided to use this one to stamp on.


I used Black Archival ink and then clear embossing powder and heat embossed the design.


This will need trimming later.


The stamp set also comes with some separate leaves and I used these to decorate the edge of a square card blank (6"x 6").


I continued the design onto the back of the card,


 stamped the Easter greeting and layered the design with a black card finishing with yellow gems.


And stamped the inside too.
Nearly forgot to say this stamp set is by Woodware.

So that's your lot!

 I hope you will pop over to see what the rest of the DT have been up to and maybe join in the challenge.
I look forward to seeing what you come up with too.

Happy Easter crafting
Angela xXx

I would like to enter this card in the following challenges:
Country View Challenges - April 2019 - Easter and/or Spring. 
Tales from the Craft Room - Challenge #3- Easter/Spring.
Dragonfly Dreams Challenge - Include an Animal.

Monday, 2 April 2018

Masterboard Monday.

 Welcome to all my new followers, hope you enjoy the journey.

I am here today to show you a card made with this Masterboard:

As we are still in Easter I thought I would show you one more final Easter card.
 
The Masterboard was created by stamping the image, repeatedly overlapping it and heat embossing using Clear pigment Ink and Wow Clear Gloss powder.
Next using watercolour pencils, I coloured in the shapes and then added the shading into the spaces around them.

 
The stamps were Jofy for Paper Artsy but using just the top section of the flower as you can see here.
 
 
To make the card take a blank measuring approximately 8"x6" and trim off the end to leave a square 6"x6" card.


 Open the card and score and fold one side in half and do the same with the narrow strip.

 
Next you need to cut the Masterboard to size and layer onto a backing paper to match and mount onto the card blank.

 
The main images were coloured using brush tip ink pens, highlighted with a white pen and finished with sequins.


 This shows how the fold of the strip appears on the card and is attached to the inside section.
 

 The Easter greeting is a Tim Holtz stamp.
 
Hope you enjoyed watching me make this card and I would love to hear your comments.
 
Many thanks for stopping by and happy stamping,
 
Angela x
 
I would like to enter this card in the following challenges:
 

Blogs I follow

01 09 10