Showing posts with label Graphic 45 Steampunk Spells. Show all posts

Monday, 28 October 2013

Masterboard Card Ideas

Hi Blogbeasties  almost the bewitching time and as I still have some paper left from the last Masterboard I decided to make another Halloween card, hope you like it?

 
This little chap just had to be in the photograph.

The accordion card uses the paper that I stamped with the Graphic 45 Steampunk Spells stamps from Ali-Craft and several Sizzix dies by Tim Holtz though the web is actually Cottage Cutz.
I also used a cuttlebug embossing folder for the background and went over this with gilding wax.
I finished the card off with brads and gems.


              Inside of the card.


Back of the card.


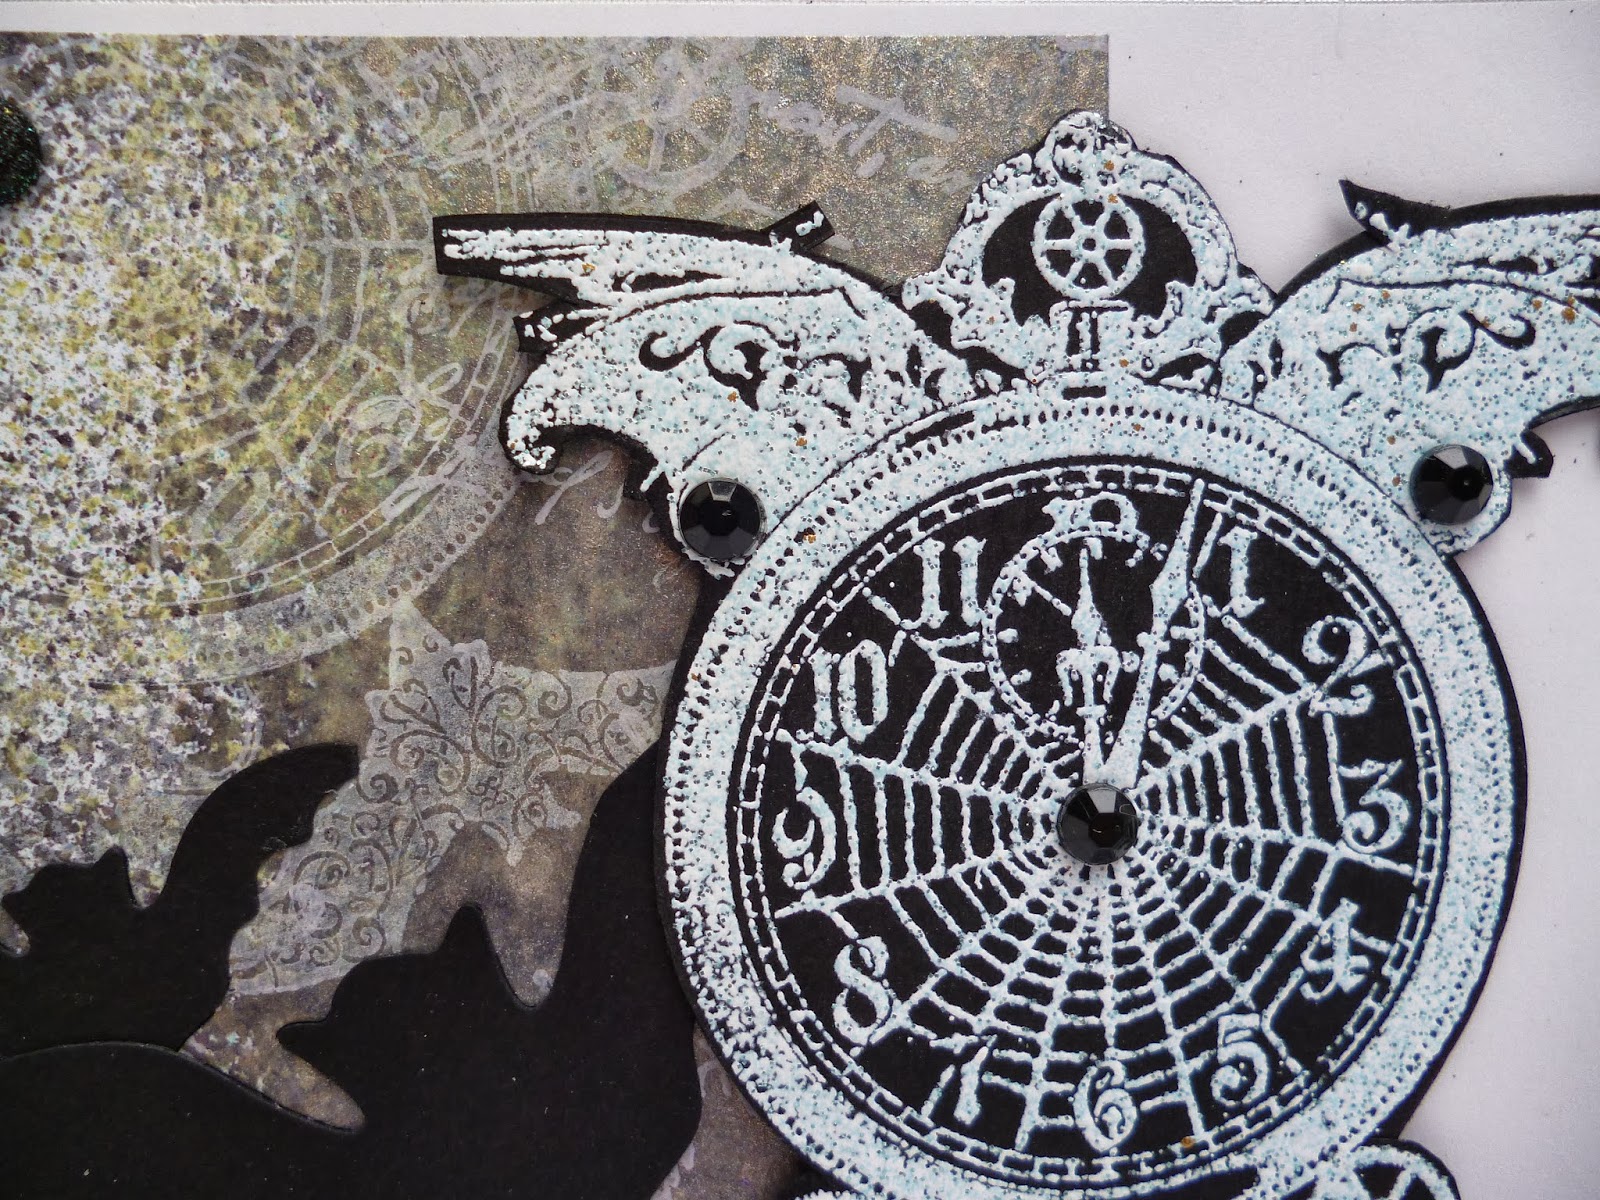
             Close-up of the images.


I have used some Tim Holtz Distress Crackle Paint to give the images a more distressed metalic look.


Hope you all have a great Halloween.
Craft On,
Angela x


Monday, 21 October 2013

Halloween Accordion Card

Hi Bloggyfriends  time for Halloween cards and just had to try out the accordion die by Karen Burniston, so here goes.
This is my contribution to the DT projects this month over at the Ali-Craft blog.
It felt a bit strange for me when making this card as it doesn't have any stamping on it but I can live with it for once Lol!

For this card I have used:
  • Graphic 45 Steampunk Spells Papers and Stickers from Ali-Craft.
  • Stiff Acetate.
  • Tim Holtz Cobweb Sizzlits decorative strip available from Country View Crafts.
  • Karen Burniston Accordion Flip 3D die from Country View Crafts.
  • Sizzix Sizzlits Bats die.
  • Tim Holtz spider from the Candlelight Fright Bigz die available from Country View Crafts.
  • Stickles Glue.
  • Gems.
  • Metal Brads.

This card may look complicated but is actually quite easy to make and there are instructions which come with the die.

Inside of the card.


Card Front.


 Back of the Card.

  • First die cut the chosen papers to create the front and back sections. I have used four sections but any number can be cut, it's your decision.
    I have also cut the same pieces in a plain card as I didn't feel that the patterned paper was stiff enough for this type of card.
   I know you are probably thinking this is a shame as the paper is double sided but that's life lol!
  • Next, attach the die cut paper sections to the card sections and join together to create the front.
  • Die cut the bats and attach to the acetate, these will need to be attached before the back is completed.
  • Attach the pattened paper to the back and position the stickers.
  • I did mat and layer some of the stickers before attaching them to the main sections and added metal brads.
  • Complete with ribbons, gems, cobwebs and Stickles.
Hope you liked the card and will nip over to Ali-Craft to see what else the DT members have been making this month.
Crafty Hugs.
Angela x


Friday, 18 October 2013

Masterboard Card Ideas

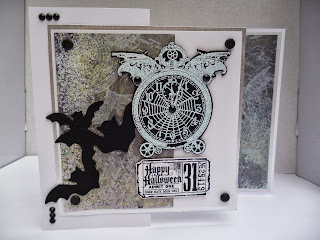
Hi Bloggies another Halloween card today made with the Monday Masterboard.
It's amazing really how much you can make from three A4 sheets of card.
Anyway here it is.


Those bats seem to get everywhere lol! but I do like them.
I have heat embossed the clock, this time with Frantage Shabby Green Embossing Enamel by Stampendous which has helped bring out the colour of the Masterboard and then mounted it with 3D foam tape.
 
 
Every time I use these stamps I am amazed at how clear the images are even when embossed.
 I finished the design by adding some black gems.

 
This gives a view of the insert.
 
Happy crafting,
Angela x


Wednesday, 25 September 2013

Masterboard Card Ideas

Hi  Blogging Friends,  back with the next sample again using black card for the main section and the remains of the masterboard.
I have only used one A4 sheet of Masterboard to create the two cards so good value for money!

I also stamped the wings from the stamp set ( Graphic 45 Steampunk Spells) and added a large gem. The brads were attached before mounting the card sections.
I have included a birthday tag.


Really like this one although I hadn't planned it, the clock on the insert appears to be peeking out through the card.
It's so cute lol!
 
 
Close-up of the front section.

 
It seems strange but the clocks do feel kind of cute, maybe it's the angle I stamped them but I do like the look.
Bye for now,
Angela x


Blogs I follow

01 09 10