Showing posts with label wedding card. Show all posts

Monday, 1 June 2020

Crafty Cardmakers Challenge - 258 Weddings

Welcome to all my new followers, hope you enjoy the journey.
Hi! back again to tell you that it's time for another challenge over
at Crafty Cardmakers.

Jackie is hosting today and our challenge is Weddings.

As usual you can enter anything you fancy, it doesn't have to be cards, as long as it meets the challenge. 

Hope you will join in.
And here is my project for the challenge:


I've used a 'Stamps By Me' stamp for this card.


I made this Masterboard some time ago when I was just playing with some ink and gilding foil sheets. I finished the design by adding white dots around the foiled lines and that was it the card just sat in my folder until now.


The stamp has matching dies which is always much better than having to fussy cut the image.
I stamped and die cut two of the main images so that I could cut out the flowers on one of them to use later.


The stamp also comes with some single flowers which I used on the layering card. Next I added a doily which I trimmed once it was glued onto the layering card and then attached this to the card blank.


I cut a piece of the Masterboard and layered this with a narrow piece of the pink card and then attached it.
I used the same pink card and die cut two frames which I arranged and glued down. I felt this would help the cake to stand out more.
Before attaching the cake I added some shadow to give a little more depth to the image.
To complete the design I finished it with  Stickles Glitter Glue and a die cut sentiment.


I hope you will pop over to see what the rest of the DT have been up to and maybe join in the challenge.
I look forward to seeing what you come up with too.
 Happy crafty card making.
Angela x 

Monday, 22 July 2019

Wedding card.

 Welcome to all my new followers, hope you enjoy the journey.

I am here today to show you a card I've made using the pop-up box technique:


Started by measuring, scoring and cutting an A4  sheet of Mirri card.

.
As this is only shiny on none side I have added more pieces of the Mirri card to the opposite side at the top. 


Layering next with some nice patterned Mirri card a kind of silver grey.
I've also prepared the inner support strips and lots of die cut hearts plus a large lace heart which will decorate the back.


I applied the larger heart first leaving one side loose so that it will not effect the fold.


Then tucked the loose section towards the back out of the way.


Then attached a smaller embossed heart and turned the box.


By turning the box it helps you to remember which direction these sections need to be decorated.


Once the outer sections are completed the box can be joined at the sides and the support inserts attached ready to add the rest of the heart embellishments.


I've also added some net to the inside and matching gem stones.


The sentiment is a rub on from my stash.
All that's left to do is to fold it flat and place it in the envelop, just hope the happy couple enjoy it.

If you like this card I do have a set of instructions which can be found here though there are lots on the internet too.

Many thanks for stopping by and happy crafting. 
Pleased to hear any thoughts you have about this project.

Angela x

Monday, 6 May 2019

Crafty Cardmakers Challenge # 233 - 3, 2, 1,

Welcome to all my new followers, hope you enjoy the journey.
Hi! back again to tell you that it's time for another challenge over
at Crafty Cardmakers.


 Glenda is hosting today and our challenge is 3, 2, 1.


As usual you can enter anything you fancy, it doesn't have to be cards, as long as it meets the challenge. 

We would like to see your creations using 3 of one thing, 2 of another and 1 of a third. For example, 3 patterned papers, 2 diecuts, 1image. It would be helpful in your post if you could mention what your 3,2,1's are.

Hope you will join in.
And here is my project for the challenge:


Three different dies used, two different card stock and one ribbon though I have finished it off with lots of gems.

And if you like that, this is how I made it.


One is ivory card and one pink satin card.


Once the die cutting was complete it was time to put the card together.
I think this is my favourite part of the project.


The very centre section of this was die cut and embossed with a 3D embossing folder by Crafter's Companion. The dies are Spellbinders.


I  added the gems as the work progressed as some of these would be covered by other pieces. 


For the inside, a small die cut heart by Tim Holtz and the stamps by FISKARS.


This die comes with embossing folders too.


And the completed card with it's ribbon and completed gems.


This was an unusual card for me as I don't normally get to make anything so pretty but I bet you can guess what it's for so I get to use my favourite prettiest dies and ribbon.


 I hope you will pop over to see what the rest of the DT have been up to and maybe join in the challenge.
I look forward to seeing what you come up with too.
 Happy crafty card making.
Angela x

I would like to enter this card in the following Challenges:
Crafty Friends Challenge Blog: Challenge 109 - Use More than One Die.
As You Like It Challenge. Favourite Flowers or ribbon and why.  My designs are normally grungy so I don't get to use these pretty flower dies and ribbon even though they are some of my favourites.
Crafty Chicks Challenge # 453 "Celebration" It's a wedding though I'm sure you guessed that Lol!

Friday, 25 July 2014

Wedding Card Update

A big welcome to all my new followers, hope you enjoy the journey.

So many people have asked to see this card when complete, so here it is Blog Buddies.

Such a pretty card will probably surprise those who know me but I can make them when I have to.
Quite enjoyed making it actually LOL!


As you can see it is an easel card.


These are the dies used.


So there you are!
Hope you enjoyed looking.
 
Back soon.
Happy crafting,
Angela x


Wednesday, 23 July 2014

WOYWW 268 # What's On Your Wordesk Wednesday.

A big welcome to all my new followers, hope you enjoy the journey.
Hi Workdesk friends.
Angela here to show you "what's on my work desk this Wednesday"(WOYWW) and if you visit Julia you will have access to desks throughout the world, so hope you will hop over to the Stamping Ground and all will be revealed.
And here is my desk offering for this week.
I have been tidying up though you probably can't tell there is much difference......
 
 
until you look at the next picture, everything back to normal now LOL!


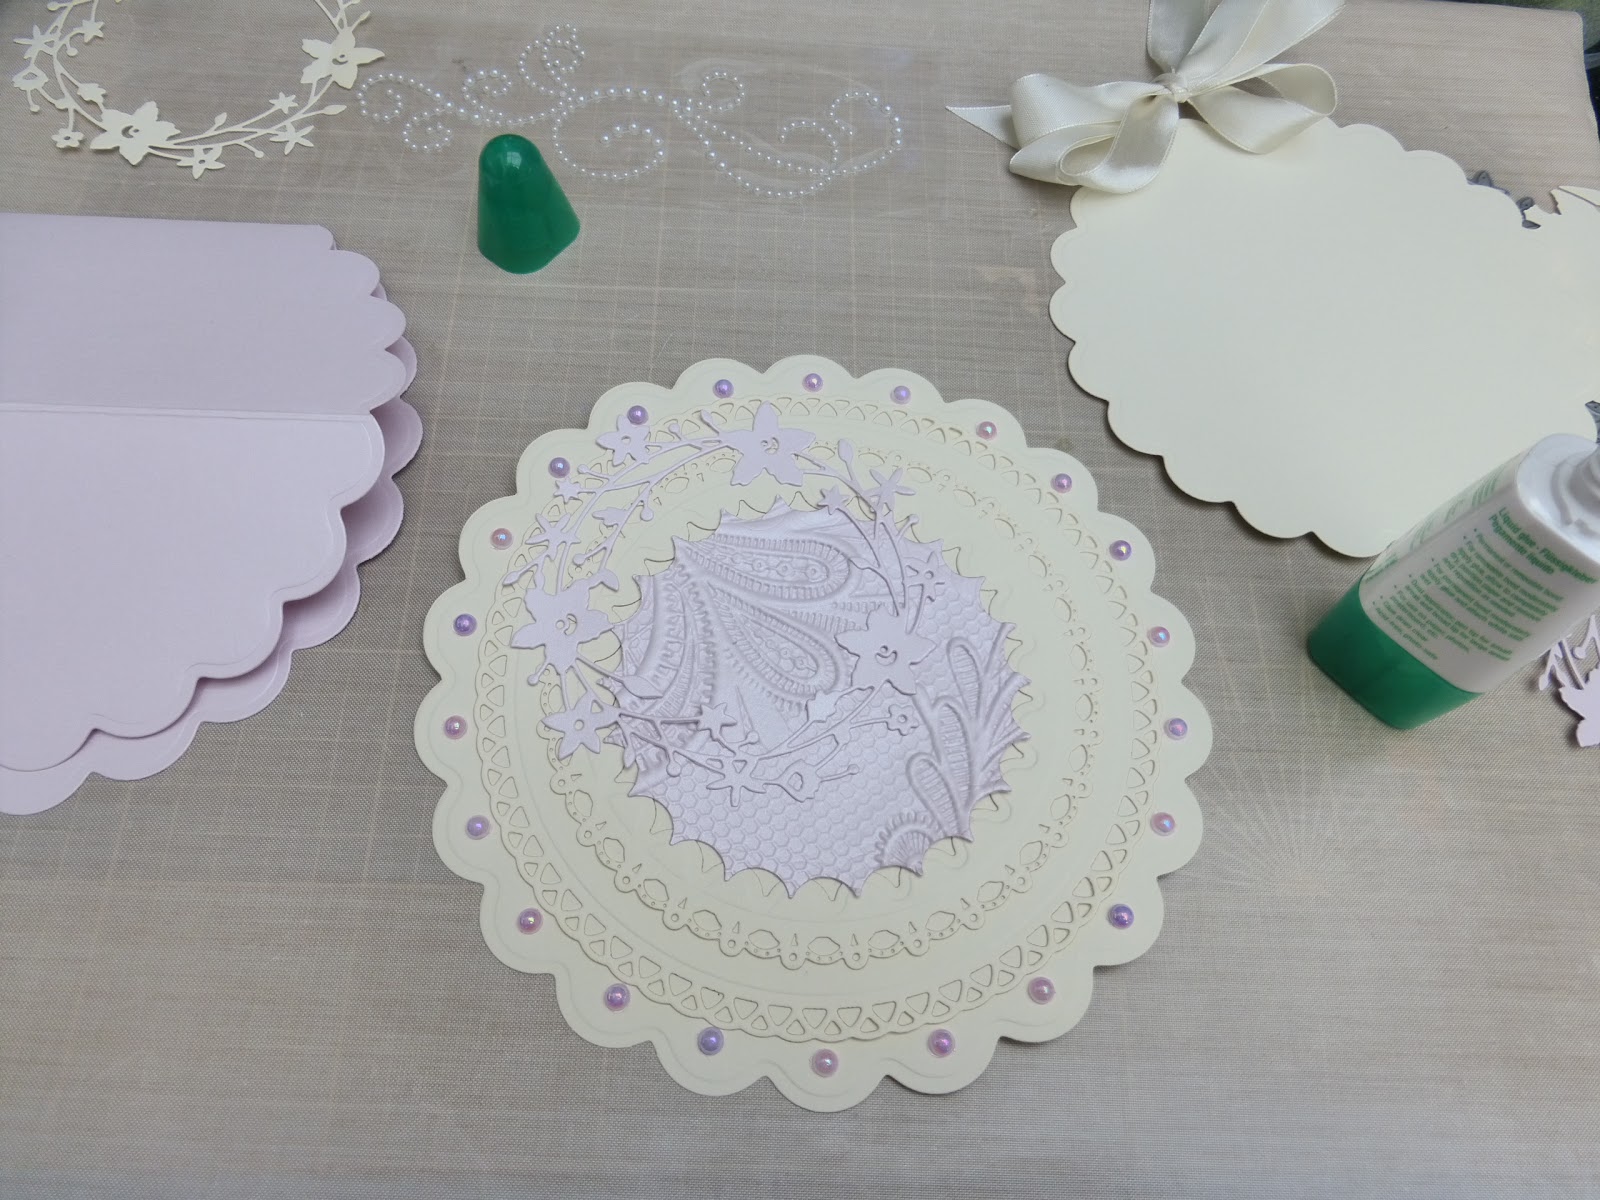
I have had an unexpected request for a wedding card on Sunday so my other jobs have had to stop for a short time.
 
The request was for something cream with pearls.


 Anyway it's quite a short post today, must get on but hope you like the card so far and will post the completed project later in the week.
 
Happy crafting,
Angela x


Friday, 15 November 2013

Wedding Card

Hi Bloggies, been busy making a greeting card for the Bride and Groom.
A friend of mine is going to the wedding and wanted something special, just hope it fits the bill! 
The couple are a little more mature so needed something a bit more sophisticated.
I have been allowed to know the colour of the dress though it is a secret really lol! but as none of the invited guests know about this blog they are unlikely to see the card or connect me with the wedding.
Hope you like it.

It is as you can see a Twisted Easel card.
For this I used:
Patterned papers - House of Zandra.
Dies - Spellbinders.
Heart punch - not sure!
Sentiment stamps - Fiskars.
Flourishes and ribbon - Chloes Creative Cards.
Embossing folder - Sue Wilson for Creative Expressions.
Satin card - Touch of Craft.
The Rose Cameo - Hobby House Limited.
Textured card - Crafters Companion.
Stickles Glue.

 
Insert.

 
I always think the folded section needs something, so I have added a pop-up flower and matching flourishes.

 
Close-up of the front section.

 
Rose Cameo with Stickles glue for a little added sparkle.

 
Close-up of the front sentiment.

 
Hope you like it and hope they do too!
 
Crafty Hugs,
Angela x
 

Blogs I follow

01 09 10