Welcome to all my new followers, hope you enjoy the journey.
Hi Workdesk friends.
We are here for another Wednesday at the Workdesk and here is:
"What's on my Workdesk this Wednesday".
If you don't know what this is all about then please visit Sarah's Craft Shed and our host Sarah will explain.
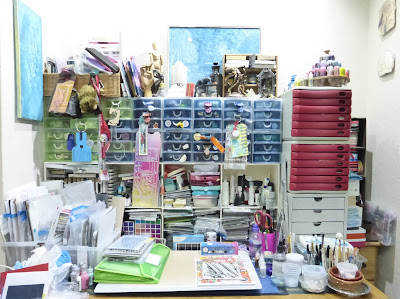
So here is my desk for today!
There doesn't seem to be much going on as I've had a cold again which has left me feeling tired and not really in the mood for standing at the desk though I did do a bit at the weekend cutting up some old Gel printed paper to make journal grids which you can see here: in the post below this one.
To the left is the stencil that Julia sent me with the sweet little card and a teabag which smells delightful.
Thank you Julia, I will do something with them soon.
The paper to the right of them is more of my efforts to use double sided patterned paper, this one is from Crafter's Companion.
New stamps from UNIKO, can't wait to play with those and some stencils too. The dies above those are not new but got them out to make some decorative elements to go on the cards.
And I guess that's it really.
So that's me done for today.
Thanks for stopping by and hope you will pop over and join in the visits around the other desks.
I'm off now to see what everyone else is up to.
and
happy crafting,
Angela x


.jpg)
.jpg)


.jpeg)


.jpeg)


.JPG)


.jpg)


