Sunday, 11 April 2021

What no Masterboard! It's an MDF project today.

 Welcome to all my new followers, hope you enjoy the journey.

Crafty stuff has taken up some of my time but the project is complete and I'm here to show you what I've been up to. 
I warn you in advance that this is a photo heavy post but I think you will like it.


A new MDF piece from Hobbilicious. Definitely made me smile! They do these in several different shapes.


And the first stage is to put it all together.


The instructions were useful but it's actually quite easy.


This is a clock shaped shadow box.


Everything you need to put this together including the glue comes with the set. At this stage I've lined the outside.


And then lined the inside too.
To curve the card ready to put it in place I wrapped it around a roll of tape and attached elastic bands to keep it in position. Doing this stops the card from cracking when you push it in place.


I think this looks quite neat.


Never let it be said that I waste anything, this was the tissue paper that was in the box. 
I screwed it up nice and tight, spread glue on the surface of the MDF and then applied the paper roughing it up to maintain the texture. This could just as easily be white tissue paper as I will be painting it later.

And this is where we are at the moment. Don't worry if it looks messy that's part of the fun.


Next I attached the numbers for the front.


I have had this furnishing braid for years just waiting for the right project and I think it works well. 
I attached it using Heavy Body Gel medium.

And this is how it looks at the moment...messy I know but don't worry it gets better.


That is after I've made a bit more mess Lol!

A little Distress collage medium and a good spoon full of Finnabair Art Stones then apply them around the braid and leave to dry.


Sorry I meant a little more texture!


Moulding next. 
I know there seems to be a lot of moulds here but I wasn't completely sure which ones I would use so completed a few extra but I'm sure any spares will come in useful for another project.
Most of these are by Prima, the pink and green dragon moulds are by Prosvet, available at Hobbilicious.

And when they were completed it was ready for the construction.


At this stage I added some black Gesso.


A few more additions, some stencilling and then I started adding the colours and wax. 
Rubbing the wax over the stencilled parts and the tissue paper highlights the texture then added the dragon wings.


This dragon is one of my favourite moulds, the detail is brilliant, another one by Prosvet.


Now it's all coming together.

I've added some sparkle medium through a star stencil on the right side of the box while the left side has the brick work. My aim was to try and get the effect of a building on one side and the night sky on the other.

Here is the dragon attached to the back climbing up this vintage style Plaque. 


And so to the finishing touches.


The front piece is loose and can be removed.
You may well recognise the dragon on the right as it is one I made some time ago and I thought he would enjoy being part of the photograph.
I've also added some tiny metal stars by Finnabair and a chain and key.


The base of this frame was covered with the black tissue as before and rubbed over with blue and green metalic paints, gold wax and stencilled stars. I've added another gorgeous moulded dragon painted with  metalic paints and rubbed over with a metalic wax.
The frames come as a pack of five so still have some left to play with.


Side view which also shows the dragon's heads.


I got these Dragon Head door pulls from Hobbilicious intending to use them on the lid of a box but couldn't resist adding them here and I think they work well.


And the inside has another clock piece by Calico Craft Parts and a moon from one of the Finnabair moulds available at Hobbilicious. 
If you look closely you can also see a smaller moon and star in the center of the wings also by Finnabair.


The sentiment tag at the bottom is also by Finnabair but not sure where I got the little metal bat from as I found it in my craft stash.


For now the box is holding some of my semi precious stones which I like to collect.


So here is the finished project from the front.


And this is how it looks from the back. 
You can probably pick out another of the little bats and a tiny pearl at the top of the plaque.


And with the lid off.


Not much further to go, nearly finished.


So that's it all done and well done to you too if you managed to get to the end.

Have a great week and hope to see you all again soon.
Angela x

I would like to enter this project in the following challenges:

Friday, 9 April 2021

Friday Fun Day with Smiles.

 Welcome to all my new followers, hope you enjoy the journey.

Angela here again to show you what I've been up to this week though I'm not sure what I've been doing really, mostly family stuff but I'm still here with a few things to show you.

We've been walking in the park again this week and found another new metal sculpture and this time it's a butterfly.


How gorgeous is that!


The new path is progressing.


New project finished. More dragons have landed here again and if you like the look of this peak the full tutorial will be here on Monday.


The fish are all waking up.


And been doing some sorting in the cabin.


This week it's Stan's turn to show his face. 
How comfy can one dog get!


Well just a bit more maybe.


You will know by now that the ship on the Suez Canal has been moved but did you know how! 
So now you do!

And a few more funnies to finish.


Have a great weekend everyone and
 thanks for stopping by.

And if you would like some more smiles you just need to pop over to see what our other friends have been doing this week at Annie's for
"This Week's Smiles" and you can also share your  smiles too.

Angela x

Wednesday, 7 April 2021

WOYWW - 618 - What's On Your Workdesk Wednesday.

 Welcome to all my new followers, hope you enjoy the journey.

Hi Workdesk friends. 
Here we are for another Wednesday at the Workdesk. 
I am here again to show you:

"What's on my Workdesk this Wednesday".

If you don't know what this is all about then please visit the
 
Stamping Ground, our host Julia will explain.


So here is my desk for today!


Now this might have come as a surprise! the desk is all tidy today as I have just finished the Shadow Box which you can see on the left there.
I have done a tutorial for this which will appear soon.

  • Other than that I still have my Gessos, black and white on the left next to the exploding box which also looks as though it needs some sorting.
  • At the back is my spray bottle and water jar, a small bowl that holds one of my moulded dragons and next to it two jars of Gel paste, thin and heavy and a container which holds a variety of glue and half used tissue and the new blending brushes.
  • The blue box has all my paint brushes, rulers, scissors, general tools that I use every day.
  • In front of that are my wet tissues
So that's me done, there isn't much going on today as I'm having a little rest after the Shadow Box which I enjoyed making but was very time consuming. It wasn't so much the construction as thinking about the way to develop it.

 Thanks for stopping by and hope you will pop over and join in the visits around the other desks.

 I'm off now to see what everyone else is up to.
Have a great woyww 
and 
happy crafting,

Angela x

Monday, 5 April 2021

Masterboard Monday

  Welcome to all my new followers, hope you enjoy the journey.

I am here today to show you a card made with this Masterboard:


Unlike most of my Masterboards this is only A4 in size.


You may remember this from last week.


To make this Masterboard I started by stamping the card with Versa Mark Ink and embossed it with clear powder.


You can see the effect here.
This technique is often known as Ghosting because of the pale backgrounds it produces.


And now it's time to start adding the colour using a blending tool and more Oxide ink.


When you've done that, stamp again and heat emboss as before.


I did this three times, embossing and colouring.


Then it's time to remove the embossing powder. 
Cover with kitchen towel and iron over the design slowly, removing the kitchen towel as it fills up with the embossing powder. 
You will be able to see this on the towel.


I have also splattered water onto the surface and pulled off  some ink to create a splatter effect.


Cut the pieces and mount one of these onto white card.


Mount this onto a piece of the black card and then attach to the card blank.

The stamps I used here are 'butterfly INKognito' and the sentiment is from the set 'flower inkognito'.

If you like this I have made another example which you can find here.


I would love to hear your comments.
If you would like to see other cards made with these Masterboards you can find them here and here.

Many thanks for stopping by and happy crafting,

Angela x

Friday, 2 April 2021

Friday Fun Day with Smiles.

 Welcome to all my new followers, hope you enjoy the journey.

Angela here again to show you what I've been up to this week.

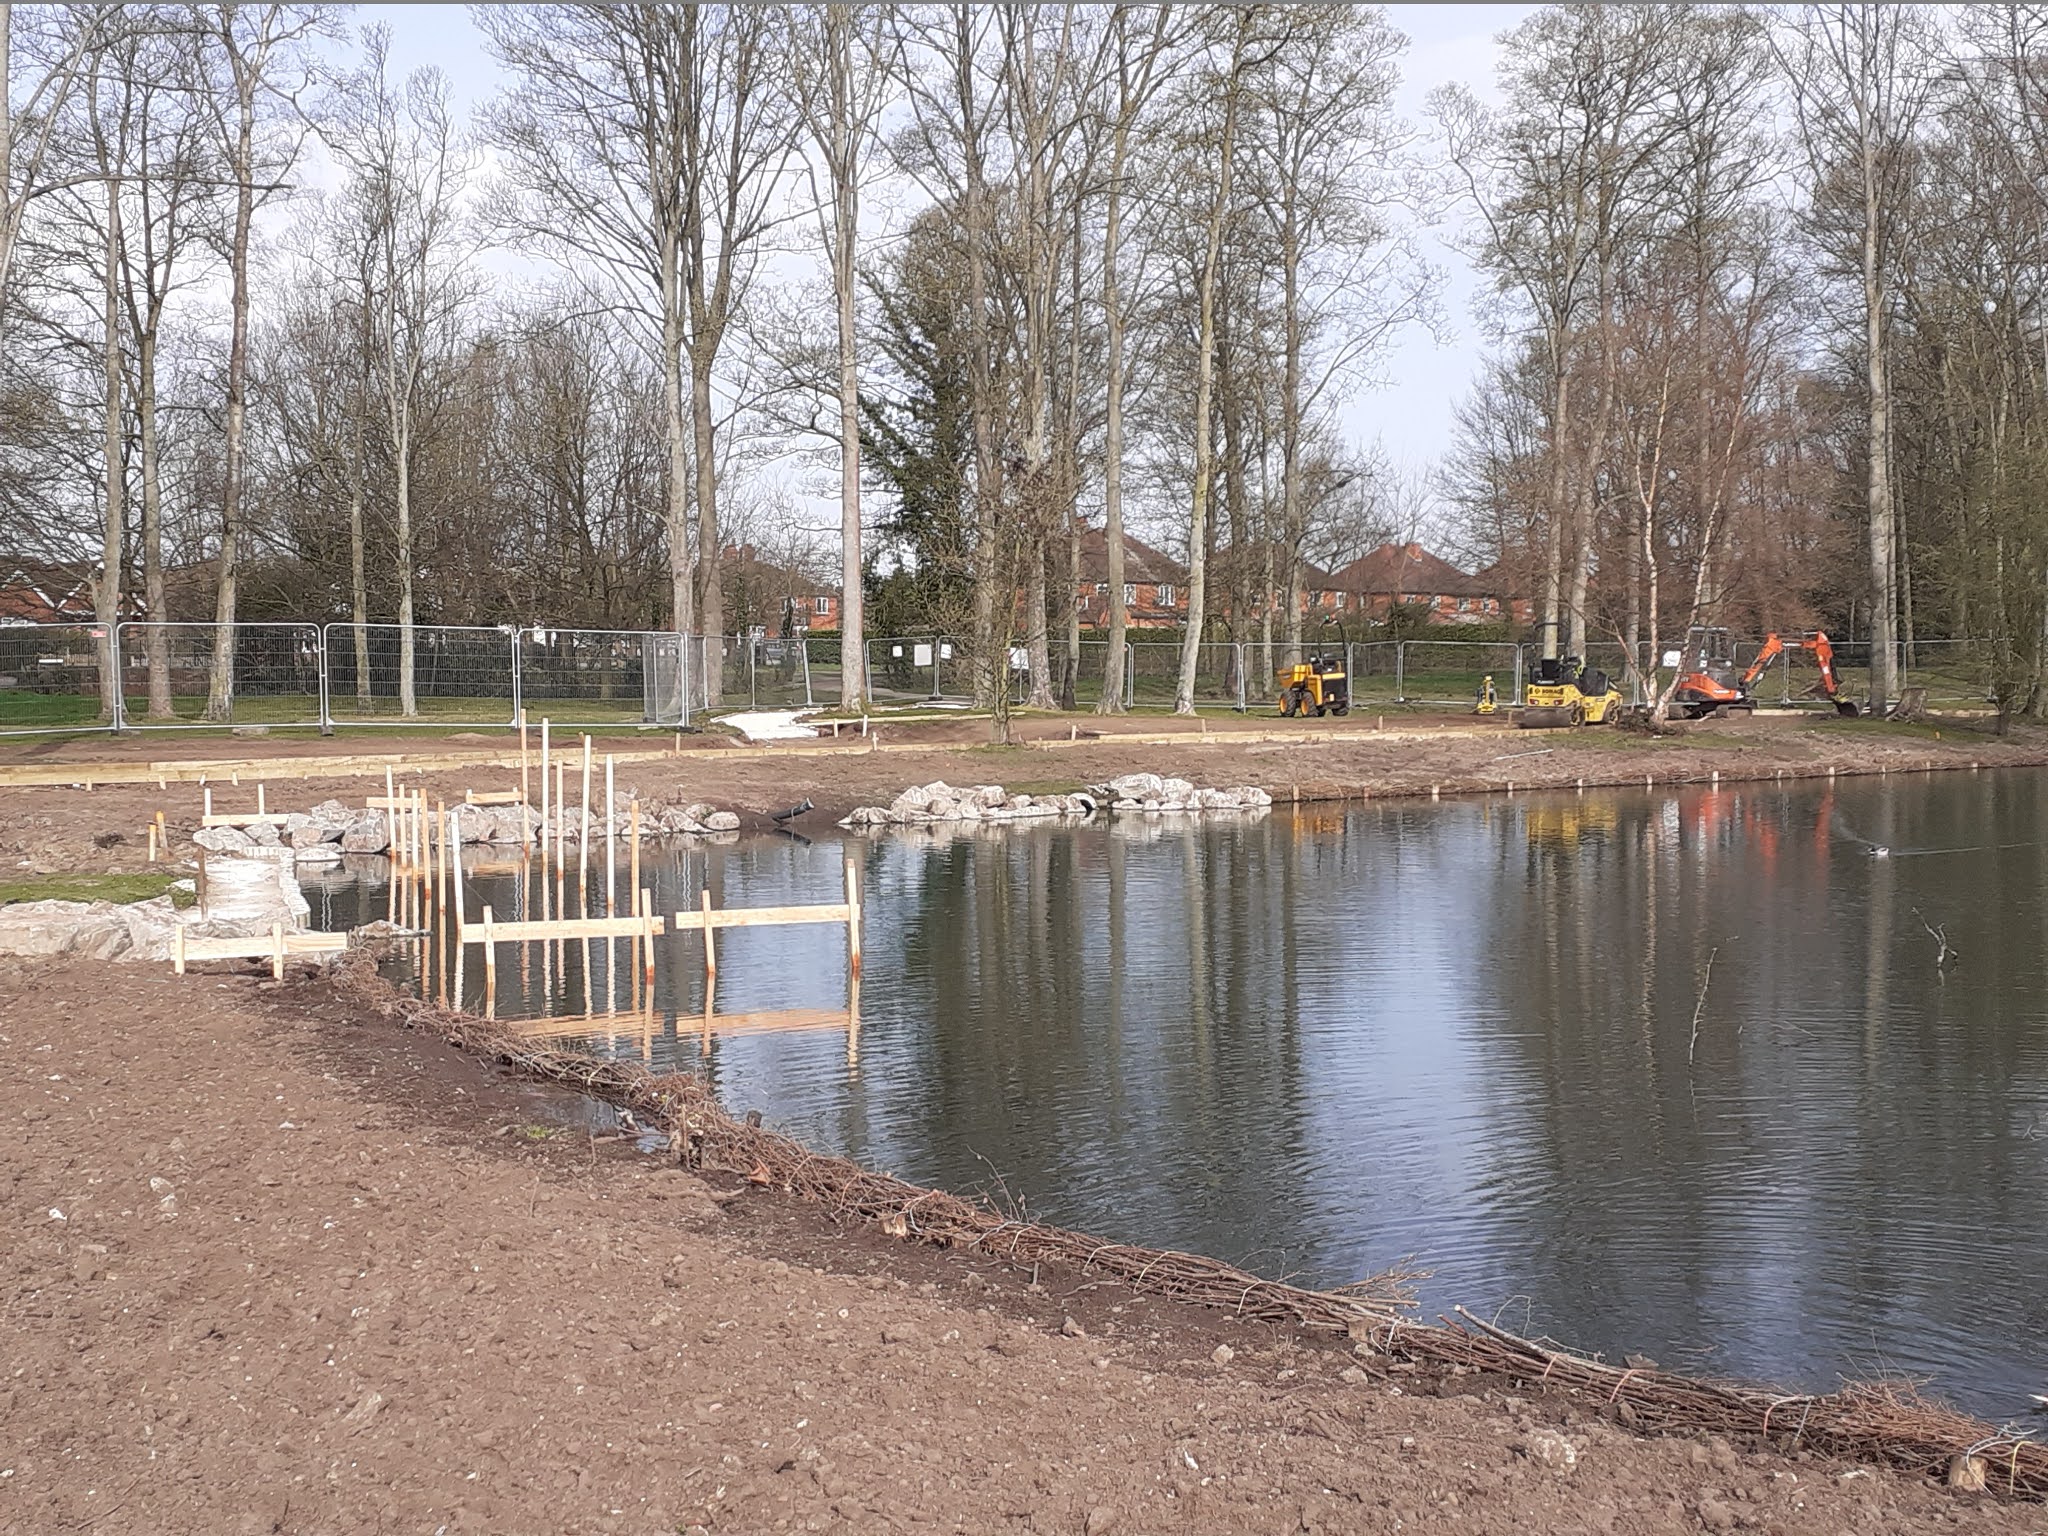
We've been in the park again to see how things are progressing:


This had been put up and is what they are hoping for on completion.


This was Monday.
It's almost looking tidy.


And this was Thursday. 
They are making some kind of viewing area.


Not sure how clear this is but the little bird is building it's nest and obviously has no intention of letting the workmen stop it's plan for the spring.


And the swans too have built their nest among the trees but it's difficult to see her. She's the bit of white hidden among the trees in the center of the photograph.


Sadly all I'm getting here is the photograph sent to me by our friend who live in France. The egg was made at the Chocolate shop near where they live. Obviously the French think that chocolate shops are essential and must stay open!


Of course Maisie must show her face. No idea where Stan was.


Gosh it's a dog's life here!


A friend sent me the photograph below.


I gave her this some time ago when I was re. potting the plant and it's decided to flower. It must like the spot where she keeps it.

Some of you may have seen this before but being a Yorkshire lass by birth it just made me smile so much.


And this one too.


Have a great weekend everyone,
 a very happy Easter and thanks for stopping by.

And if you would like some more smiles you just need to pop over to see what our other friends have been doing this week at Annie's for
"This Week's Smiles" and you can also share your  smiles too.

Angela x

Wednesday, 31 March 2021

WOYWW - 617 - What's On Your Workdesk Wednesday.

 Welcome to all my new followers, hope you enjoy the journey.

Hi Workdesk friends. 
Here we are for another Wednesday at the Workdesk. 
I am here again to show you:

"What's on my Workdesk this Wednesday".

If you don't know what this is all about then please visit the
 
Stamping Ground, our host Julia will explain.


So here is my desk for today!


I'm busy doing some moulding so no room at the moment for much else but you can see the MDF project which is coming together tucked to the back and that's about the only thing that's different today.

So that's me done, nice and quick.

 Thanks for stopping by and hope you will pop over and join in the visits around the other desks.

 I'm off now to see what everyone else is up to.
Have a great woyww 
and 
happy crafting,


Angela x

Blogs I follow

01 09 10